Kitchen adventures
I enjoy being in the kitchen a lot. I love creating meals that my kids and my husband will enjoy especially ones that are healthy. Most of the time the creating requires little time because the kiddos tend to be needier than usual. Moms know what I am talking about for sure. Meal times tend to be trickier for us moms.
Sometimes I feel like I am on Food Network doing one of those food basket challenges. I have 30 minutes to bring something from nothing. At least that is how it feels especially when I have no meal plans in place. Now that we focus on eating a lot more fruits and veggies, meals seem to come together a lot quicker. Thank God!
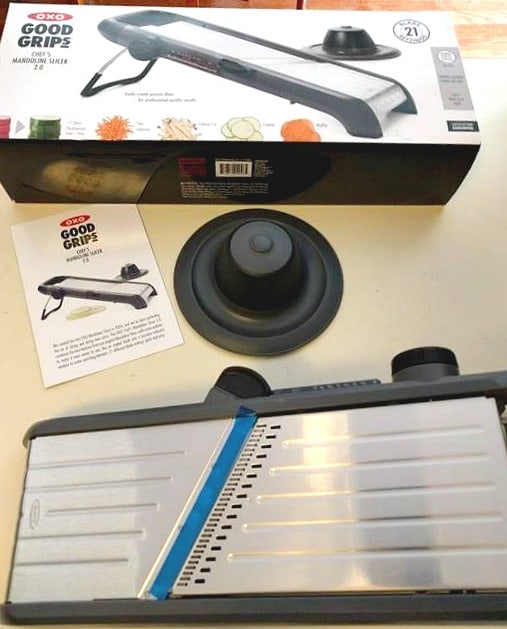
OXO Chef’s Mandolin
I had a chance to put a mandoline to the test thanks to OXO. I have to say that I have been a little scared of using a mandoline for fear of losing a finger or two. Luckily, I read through my product directions and went on my way testing and creating with my fruits and veggies. I have heard that when veggies are sliced in fun shapes kids are prone to eat them more. I think it is safe to say that fact is pretty accurate.
The OXO Mandoline creates up to 21 different cuts with thickness settings in 0.5-mm intervals, straight and wavy blades, and built-in julienne and French fry blades. There is a knob on the side of the mandoline that changes the width of the blade. The blade can easily be removed to go from straight slices to wavy slices. Easy clean up is also great! The handle is easy and comfortable to hold while the other hand focuses on slicing food. A spring-loaded handle protects hand from blade by grabbing the food in place.
Foods that Love the Mandoline
I tried a variety of vegetables and I almost had a love/hate relationship with the mandoline. It really does have to do with where you are standing facing the mandoline while slicing. If I stood parallel to the mandoline, I had the hardest time finding the right rhythm to slice foods. When I stood perpendicular to the mandoline, I was able to up and down rhythm as opposed to a side to side rhythm that made things a lot more difficult.
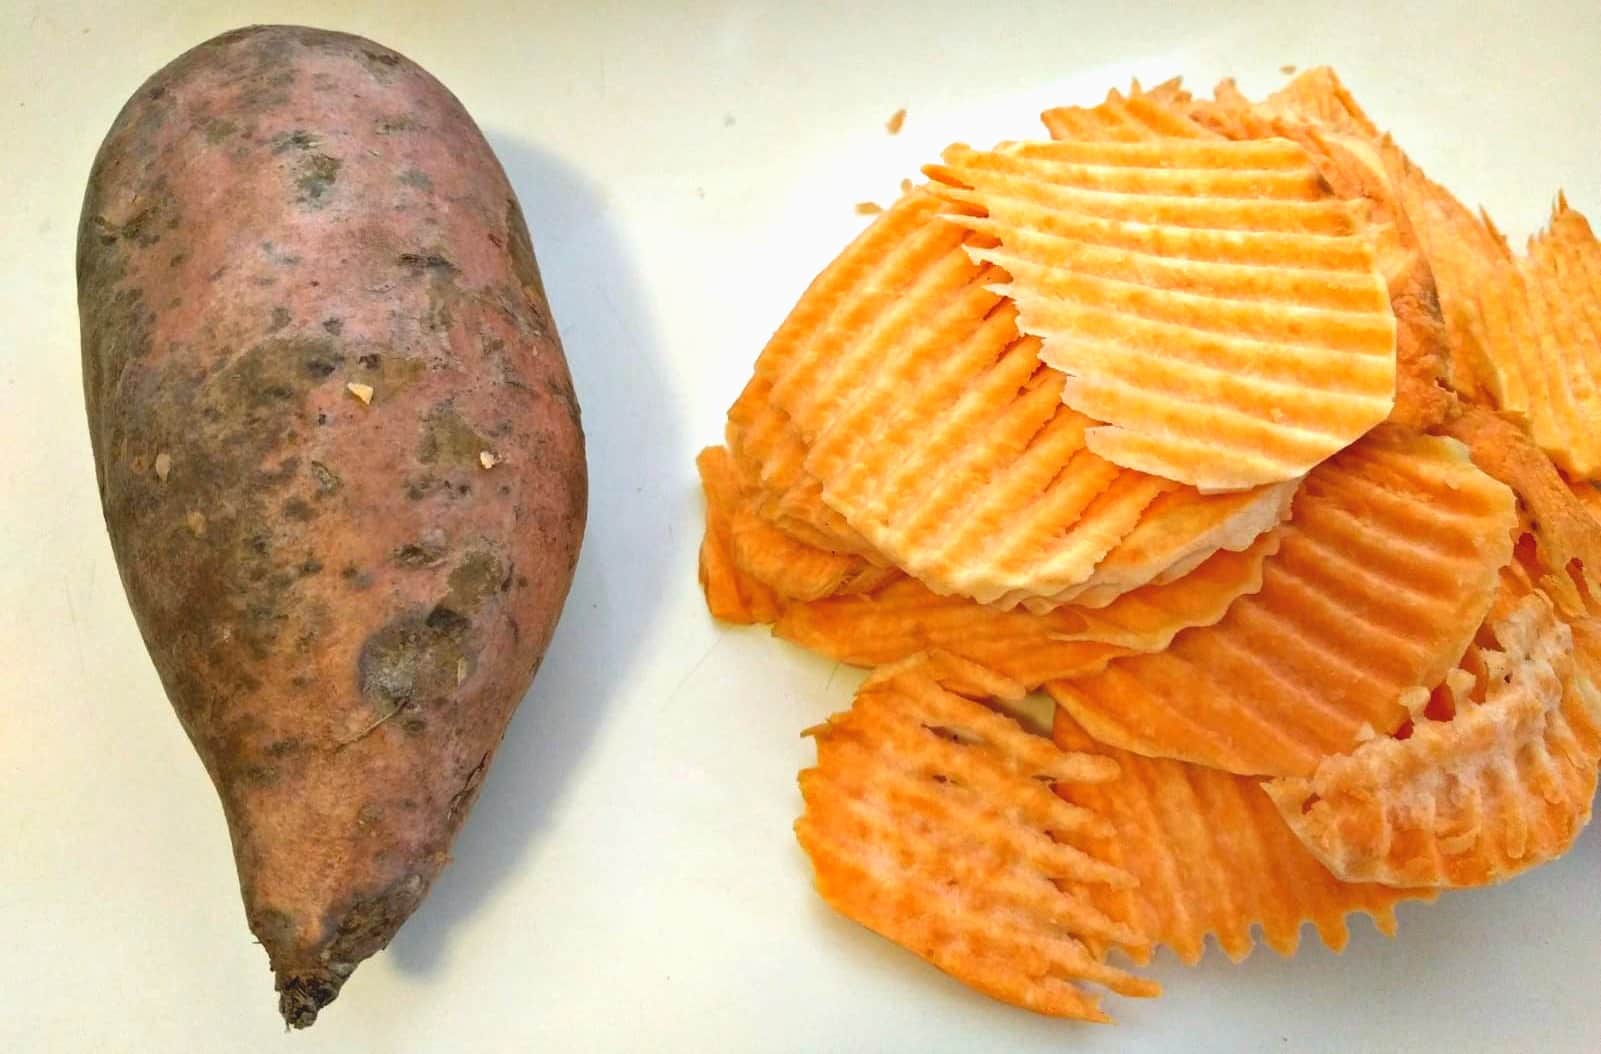
I sliced sweet potatoes, potatoes, zucchini, carrots, jicama, tomatoes, cucumbers, apples. I loved having the perfect slices for my food especially if I was going to have a dinner party. Having uneven slices of anything is just strange. I made crinkle zucchini that seriously tasted better because they were sliced up so nicely. 🙂 I tried making sweet potato waffle fries but those seemed to give me a hard time. Want to know what I fell in love with?
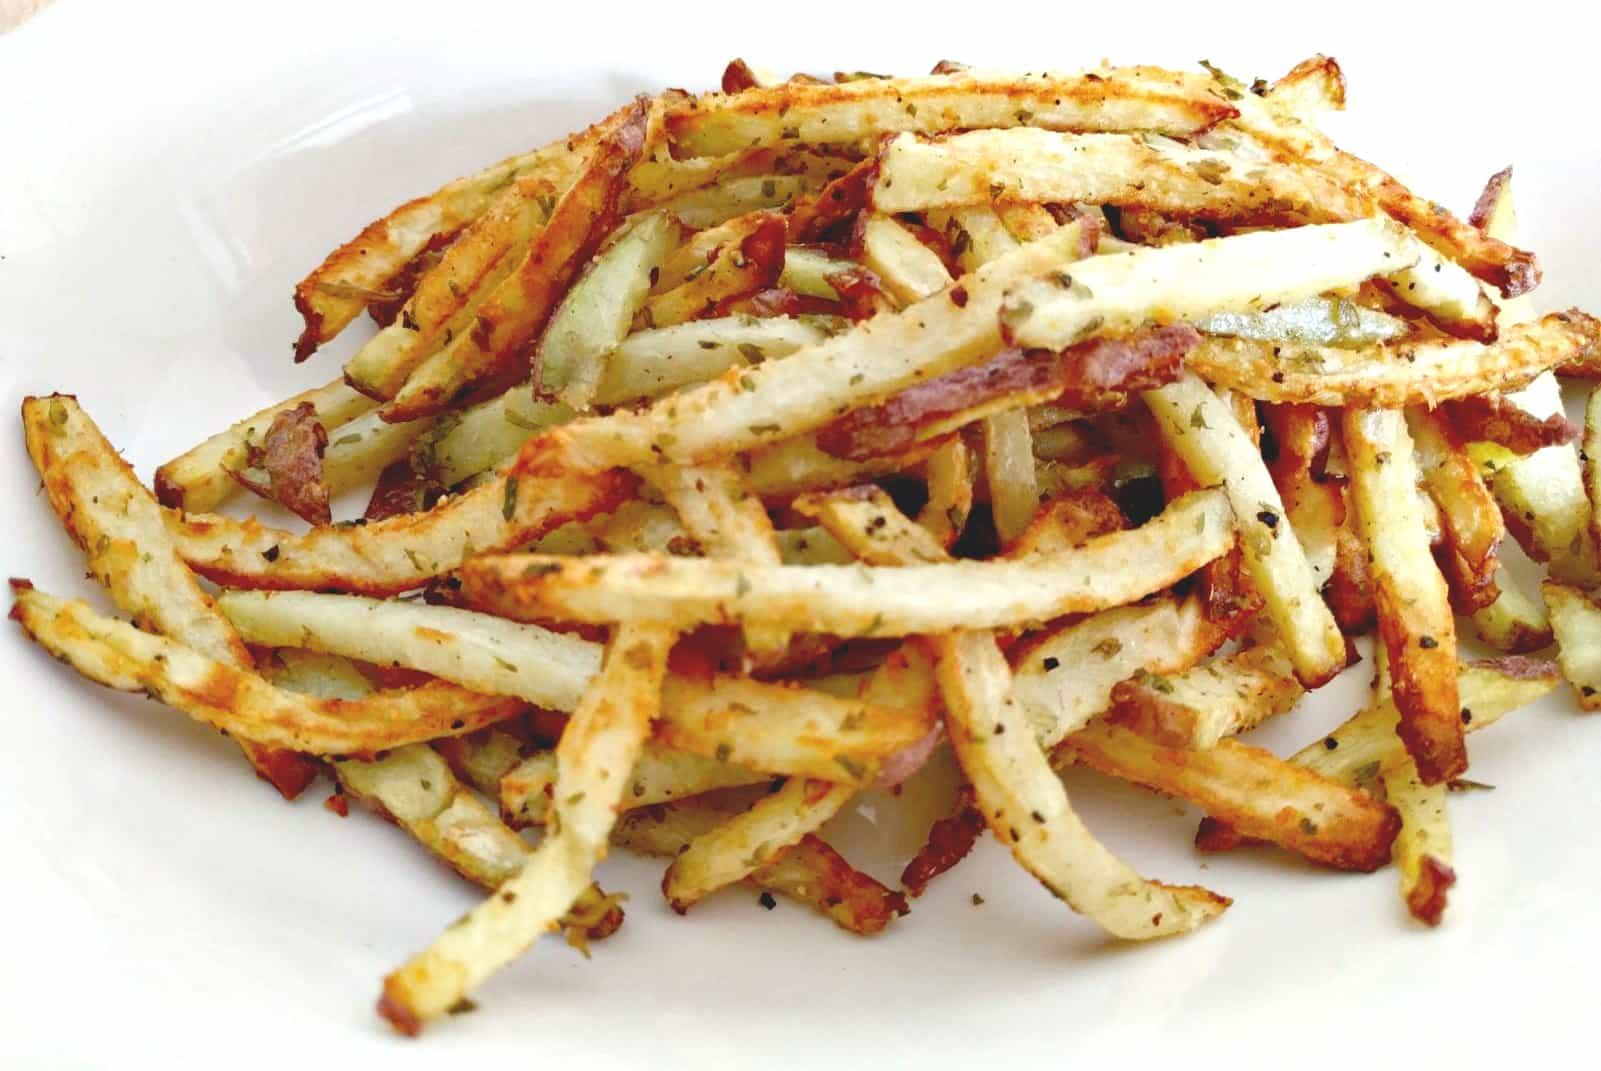
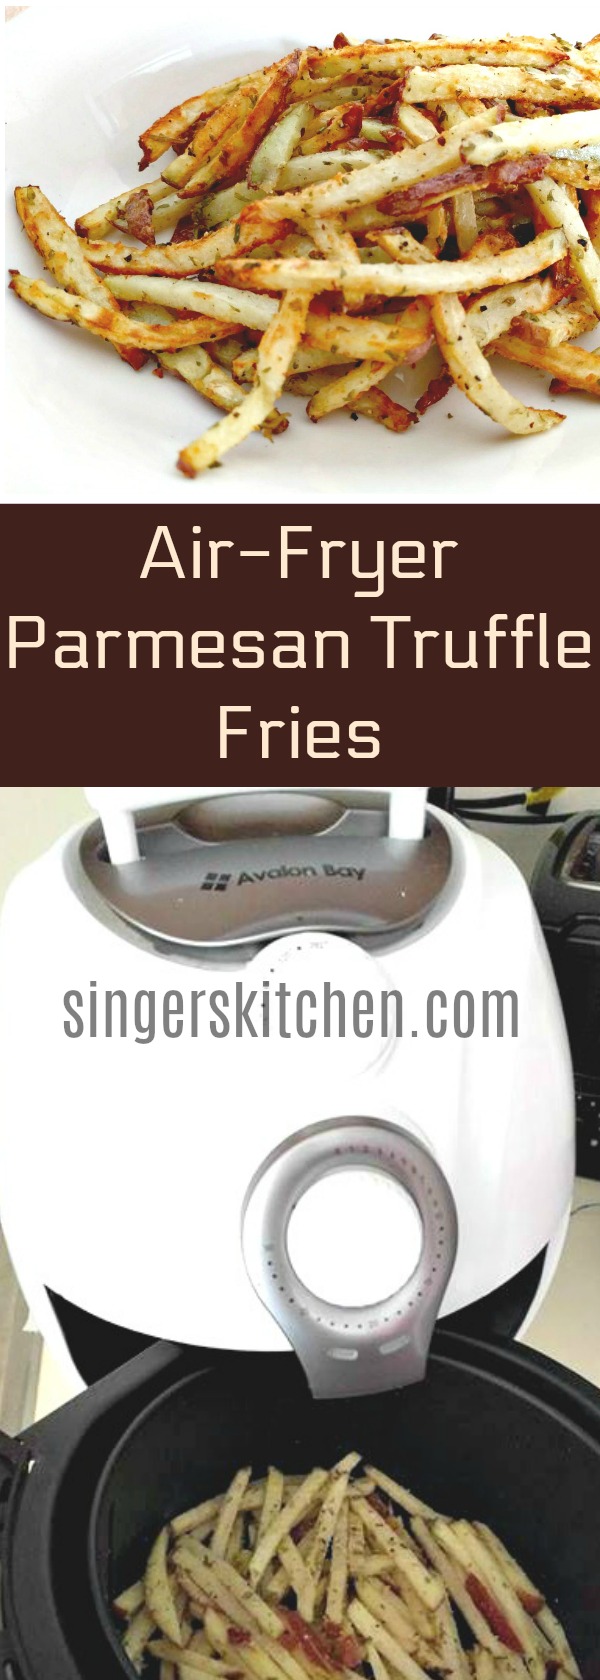
Air-Fryer Parmesan Truffle Fries
The French fry setting was so much fun to use. I did not think I would get anything at first but as I sliced and finished, I had a perfect pile of evenly sliced French fries. I created a quick recipe for an appetizer that I normally would love to order at restaurants. Truffle fries are my weakness so I decided to make my version using an air-fryer which means it has a lot fewer calories.
Air-Fryer Parmesan Truffle Fries

by Noelle Kelly
Prep Time: 10 minutes
Cook Time: 15 minutes
Ingredients (2 cups)
Air-Fryer Truffle Fries
- 2 large gold potatoes, peeled
- 1 tablespoon parsley flakes
- 1/2 teaspoon garlic powder
- 1 teaspoon black pepper , crushed
- 1/2 teaspoon truffle salt
- olive oil spray
- 2 tablespoons parmesan cheese
Instructions
Using a mandoline with a French fry setting, slice whole potato using the spring-form handle to slice in to French fries.
Place sliced potatoes in a bowl and spray with olive spray for about 3 seconds. Add garlic powder, black pepper, parsley flakes and add to air fryer basket.
Cook for 7 minutes on 392 degrees. Take out basket and flip fries in order to evenly cook the fries. Cook another 8 minutes and remove and add to a bowl. Sprinkle with truffle salt and parmesan cheese.
Disclaimer: I received this product to review. My opinions are my own.


