
Posts by admin:

- Spanning 86 acres, the new Longwood Gardens Meadow Garden—designed by Jonathan Alderson Landscape Architects and a team of artisans—showcases the best practices in ecological garden design with artful interventions. Meander through three miles of walking trails, experience sweeps of native wildflower plantings; explore four learning pavilions, the historic Webb Farmhouse & Galleries, and more. The story and evolutionof the Meadow landscape over time is revealed as you experience the harmony of nature’s variety and man’s careful stewardship.
- Longwood’s Meadow Garden is on view every day, weather permitting. Explore the 86 acres of the Meadow during Gardens hours until dusk.
- Meadow Garden access is included in Gardens Admission.
- Join Longwood Gardens for Meadow Days on September 20 (11 am–3 pm), October 11 (11 am–3 pm). Meadow Days offer more opportunities for fun andexploration. Experts will be on hand to answer questions and share the story of the Meadow Garden’s flora and fauna as you explore our walking trails, embark on a nature seek-and-find for kids, and more. Learn more about Meadow Days here: http://longwoodgardens.org/events-and-performances/events/meadow-days
- Be sure to take advantage of our guided Meadow Garden walks and hikes offered on select days. View the schedule here: http://longwoodgardens.org/events-and-performances/events/meadow-garden-walks-hikes
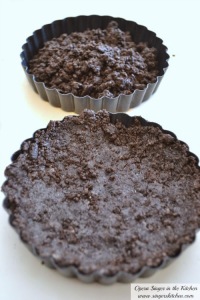
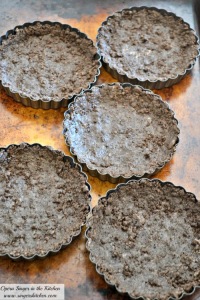
- 1 package of cream-filled chocolate cookies (about 30 cookies)
- (you can use gluten-free version)
- 1/3 cup butter, melted
- 1/2 teaspoon cinnamon, ground
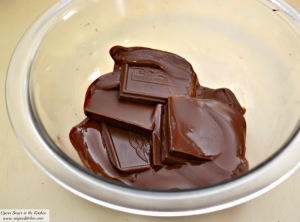
- 6 ounces bittersweet chocolate
- 6 ounces semi-sweet chocolate
- 2/3 + 1/4 cup heavy cream
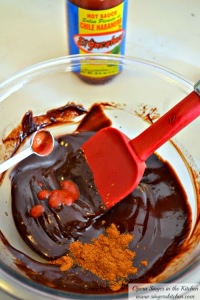
- 1 1/4 teaspoons El Yucateco red hot sauce
- 1/2 teaspoon cinnamon, ground
- 1 teaspoon vanilla extract
- 1 cup fresh strawberries, sliced
- 1/2 pound 80% ground beef
- 10 ounces white button mushrooms, chopped finely
- 1/4 teaspoon cumin
- 1 teaspoon oregano
- 1 teaspoon black pepper,ground
- 1/2 teaspoon sea salt
- 1/4 teaspoon onion powder
- 1/2 teaspoon garlic powder
- 1/4 cup breadcrumbs or coconut flour (to keep gluten-free)
- 1 egg
- 2 large poblanos
- 2/3 cup whole milk mozzarella cheese, shredded
- 2 tomatoes, chopped
- 2 garlic cloves, minced
- 1/2 yellow onion, diced
- 1 Tablespoon olive oil
- 1/3 cup Mexican crema or sour cream
- 1 garlic clove, minced
- 1/2 lemon, juiced
- pinch of salt
- (cook while peppers are grilling)
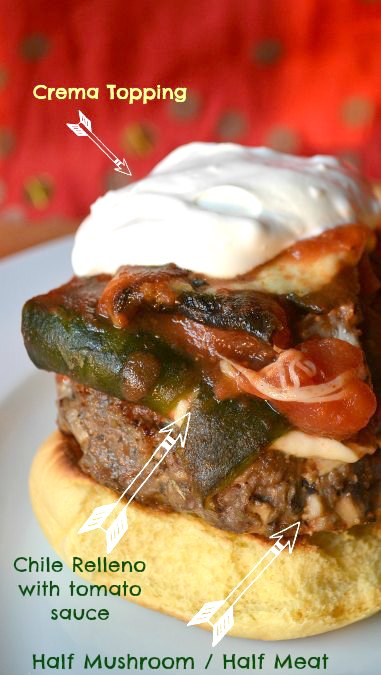
- In a medium bowl, mix in the ground beef and mushrooms together. Add the spices, breadcrumbs, and egg and continue to mix until well combined. Divide into 4 patties.
- Do not cook burgers until the poblanos peppers are finished roasted. Grill on a skillet for 7 minutes on each side until medium rare. Keep burgers warm in oven.
- Preheat oven to broil. Place large poblano peppers on a baking sheet lined with foil and lightly oil the peppers. Place baking sheet on second to highest level in oven. Broil for 10-12 minutes rotating the pepper every 3 minutes. The skin on the pepper will start bubbling, and gets toasted and blackens. No burning though!
- As soon as the peppers are removed from oven, place peppers in a plastic ziplock bag to allow peppers to sweat, allowing the pepper skin to soften. After 10-15 minutes, remove peppers, and remove outer pepper skin with a paper towel. Using gloves and a knife, carefully remove the stem and empty some of the seeds. This keeps the pepper a bit spicy. If you prefer a less spicy pepper, then remove all seeds.
- Split the pepper in half and fill with 1/3 cup of mozzarella cheese and close the pepper, repeat with second pepper. Heat a medium nonstick pan with 1 Tablespoon olive oil on medium heat. Grill peppers for 5 minutes on each side or until cheese is melted. Cut each pepper in half for a total of 4 chile rellenos.
- In a medium skillet, saute onions and tomatoes in olive oil over medium-high heat for 7 minutes.Add garlic and cook for another 5 minutes. Add the grilled chile relleno to the tomato sauce.
- (topping)
- Mix crema or sour cream, lemon juice, garlic and salt until well combined.
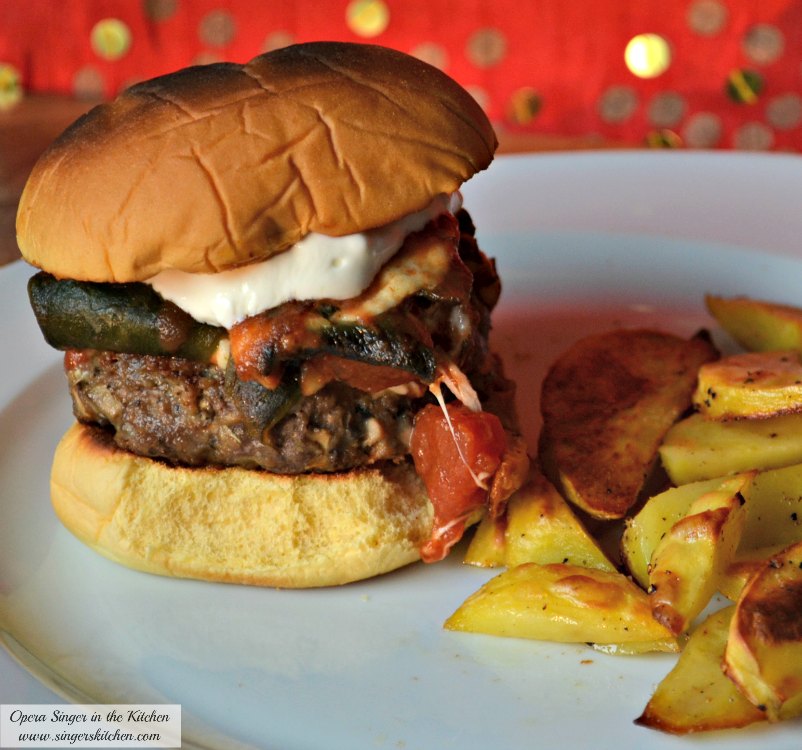
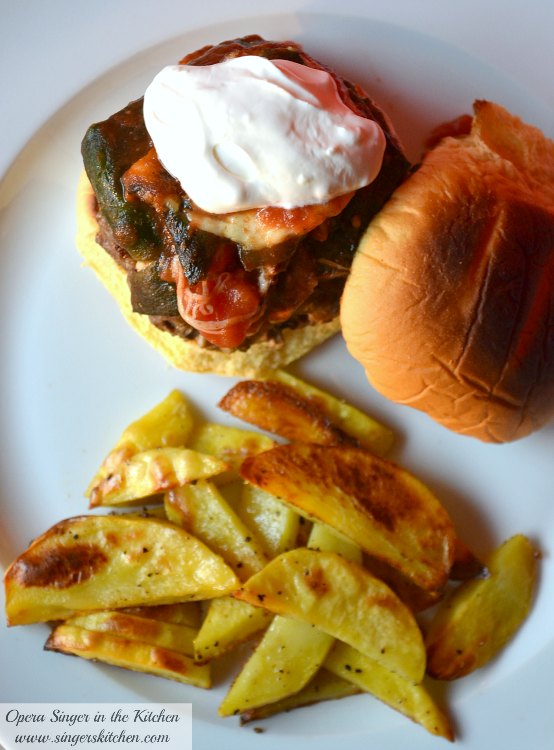
- Toast the potato buns. Add one burger patty to base of bread. Top each burger with a chile relleno with tomato sauce. Add a dollop of crema on top and close with a hamburger top. Enjoy!
- Now dishwasher safe for easy cleanup, Calphalon Contemporary Nonstick is created with multi-layer nonstick for ultra durability. The stunning, contemporary design looks beautiful in the kitchen, and heavy-gauge, hard-anodized aluminum ensures even heating. Taking cues from traditional woks, this 12-in. Wok has a flat bottom for easy stir frying on gas or electric ranges. It’s a great size for making tempura, too.
- Calphalon Contemporary Nonstick combines durability and performance with fast clean-up and easy low-fat cooking.
- Dishwasher safe for easy cleanup.
- Full lifetime warranty.
- Heavy-gauge, hard-anodized aluminum for even heating.
- Long, cast stainless steel handle stays cool while you’re cooking on the stovetop.
- Oven safe to 450°F / 230°C.
- Triple layer, PFOA-free nonstick for lasting release
- 2 chicken breasts (about a pound), sliced
- 2 Tablespoons soy sauce
- 1 Tablespoon cornstarch
- 1 Tablespoon sesame oil
- 3/4 cup Xylosweet (xylitol) or white sugar
- 1/3 cup white vinegar
- 1/3 cup pineapple juice
- 1/3 cup water
- 1/4 cup soy sauce
- 2 Tablespoons cornstarch
- 1/4 cup low sodium soy sauce
- 16-ounce bag of frozen Asian mixed veggies
- 1/4 cup crushed peanuts
- 1 cup pineapple chunks, juice drained
- Cilantro, chopped (optional)
- sriracha (optional)
Summer’s end Beach Party at Lionville Chick-fil-A #CFALionville
August 21st, 2014
The summer is quickly coming to an end and everyone is getting ready to go to school. There have only been a few weeks left before all fun activities come to an end for busy families. One of those activities is the beach party family nights at Chick-fil-A Lionville.

There is always something exciting going on for families with kids so something that they did differently was add a water slide. The slide was open at 2pm with water activities starting at 5pm. Water balloon games were a hit with the kids especially when tossing them to each other. The games were all well prepared with fun prizes to give to kids who participated.

The band started playing as families moved from station to station. Kids loved going up and down the water slide despite the cooler temperatures that evening. The water kept filling the slide and the kids continued enjoying the accessibility. Who needed to go to a water park when there was a fun water slide like that?

There were families gathered around the band, listening to a variety of hit songs and even tunes familiar to the little ones. It was entertaining hearing the band play their own version of lullabies and nursery rhymes.

The cow definitely was having a grand time dancing and twirling to the music which ended up being great entertainment for the small kids.

Even though the summer is coming to an end, make sure to check out Lionville Chick-fil-A for all their local events. There are also always a lot of deals in stores during the week like buy one get one free lemonade or free iced coffee when you reserve a spot online. Check it out! You never want to miss out on a good deal!

Sharing is Caring!

New Meadow Garden at Longwood Gardens +Giveaway #100MeadowDays
August 18th, 2014
This weekend our family enjoyed a lovely time outdoors visiting the new garden that debuted in June. I tend to enjoy going to Longwood Gardens with my husband since he can help with the girls, so I know it is a rare treat. We arrived as early as we could after having a nice breakfast at a local cafe, and meandered in flashing our member card.


We forgot our double stroller so we only had a single one and alternated having the girls ride in it for a rest while my husband carried one of the girls on his shoulders.We brought a small ball for the girls to throw while walking but then that was forgotten as we chased butterflies and discovered a lake. I noticed that actively speaking to our daughters about all the beautiful things we saw, made the experience much more enjoyable.
When we first arrived at the garden I showed the Meadow garden map to my almost 3-year-old. She had it in mind we were visiting the Carillon only but we promised her that we would eventually arrive after checking out the Meadow, fountains, and flowers. She was patient and she kept asking to see the map available at different checkpoints. I was glad that this kept her attention.
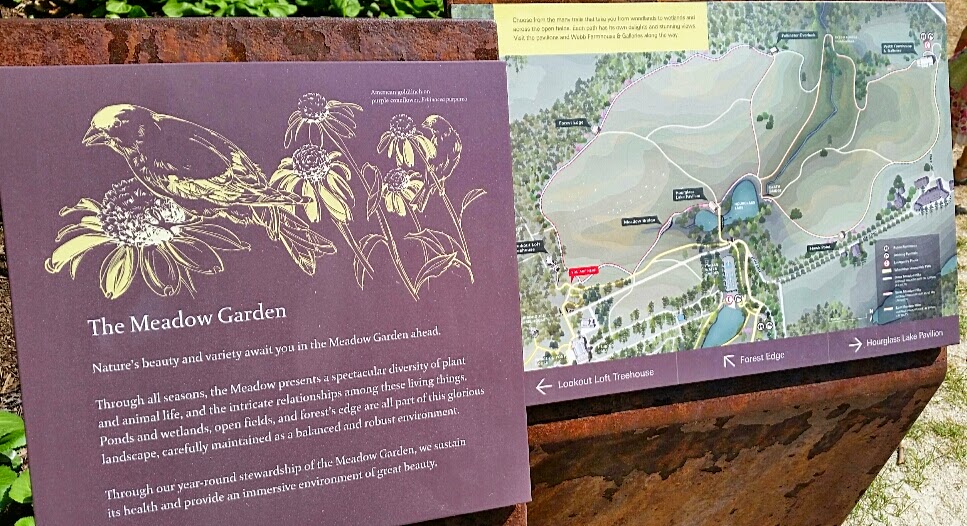

We met several families and people throughout our little journey on the trail but we noticed that we were the only young family walking the trail. At first I thought the girls would lose interest but we kept reminding ourselves that although the girls might not be interested, that my husband and I wanted to enjoy the trails available to us.


As we continued with our adventurous walk, we noticed signed describing and pointing out interesting facts. I noticed that at different points in our walk that there was a tram available for those wanting take a rest from walking.We loved the bridges we came across and the little lessons we could explain to our girls. We showed them birds nests and little fish in the pond, and we even spotted a turtle in the pond as well. I really cannot wait to go back!








We head to the Carillon only to find out that the area was roped off since the garden staff were setting up for fireworks for the evening. My poor toddler was sad but then the bell chimed and she lit up. Even though disappointed I distracted her with smelling roses and chasing her around the topiaries.

Here is a little more about the new Meadow Garden:

Have you ever been to Longwood Gardens? How about a chance to check the new Meadow Garden with your family? Thanks to the folks at Longwood who have generously donated a pair of tickets for someone to win. Children under the age of 4 are free so the tickets would be good for 2 adults. Enter below:
Sharing is Caring!

Mexican Habanero Chocolate Tart + Giveaway
August 15th, 2014
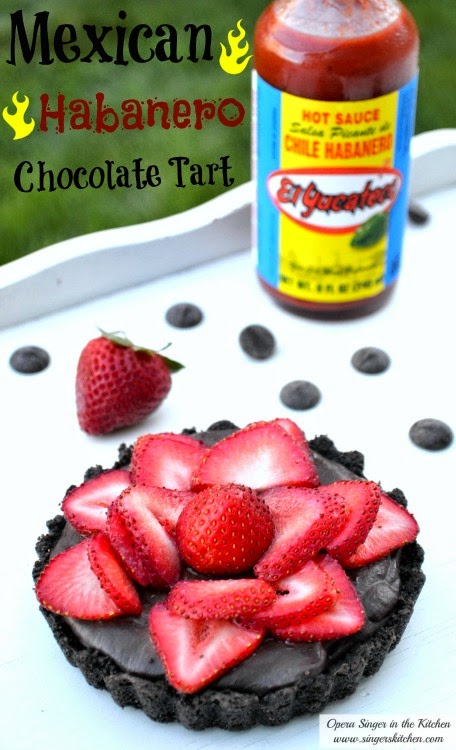
When I make Mexican or Latin-inspired meals I do not always add any spicy ingredients or hot sauce to accent or heighten the flavors. If I do, I will usually cut the spice factor by half to make sure our meals are edible. The spiciest meal I have made has been a mole’ similar to one my grandmother makes in Southern Mexico. I am usually more inclined to want spicier foods when I go to Mexican restaurants and when I am having tacos. How ironic.

A while back I tasted a cookie promising me a mix of flavors that piqued my interest but after tasting the dessert, it was lacking what I imagined. When I started thinking of the many ways I could create what I had in mind, my thoughts turned to hot sauce. Hot sauces like El Yucateco are usually used for savory meals. When I decided to recreate my dessert I did not turn to dry spices as my challenge for #CollectiveBias .

Although it was hard to find the perfect El Yucateco hot sauce for my recipe at Walmart, I finally knew that the red sauce would be the ideal candidate for my decadent dessert.
I find it interesting that the word hot in hot chocolate had a different meaning during the Maya and Aztec civilizations.This popular drink was made with chili peppers and was considered to have medicinal benefits. While I decided not to focus on the temperature of a recipe, I created a dessert that was quick, unique and gourmet using a combination of bittersweet chocolate, semisweet chocolate, cream, cinnamon, and El Yucateco red sauce.

While I was somewhat skeptical about the flavors coming all together, I was thrilled with the finished product and even got our neighbors to confirm on its great blend of flavors. It is incredible to learn that hot sauces, like El Yucateco hot sauce, can be used to make sweet dreams.
Here is how my tart came together:
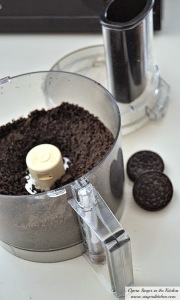


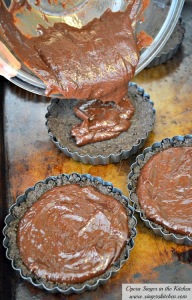

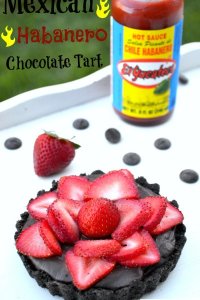
Cookie Crust
Habanero Chocolate Filling
Cookie Crust
Habanero Chocolate Filling
Now the trick would be to try my chocolate tart using the newest of all the sauces, El Yucateco Black Label Reserve, which can only be exclusively found at Walmart. Thanks to my friend’s suggestion, I just might make a spicy chocolate magic shell to go on ice cream. Stay tuned!
Want to learn more about all the different types of El Yucateco hot sauces? Check out and like their Facebook page for recipes, tips, and contests. Get a little more involved by joining me at the bilingual #SauceOn Twitter party and RSVP. The party will inspire and bring ideas on how to bring more excitement to your everyday meals using El Yucateco. We’ll be sharing delicious and exciting recipes using El Yucateco and there will be $550 in Walmart gift cards! RSVP here: http://www.sofabchats.com/parties/233-sauceon
NO PURCHASE NECESSARY. El Yucateco Giveaway ends on 8/29/14 at 6:00PM ET. Open only to (i) legal residents of the fifty (50) United States, the District of Columbia, and (ii) who are at least 18 years old at the time of entry. Void in PR and where prohibited. Sponsor: Collective Bias, Inc.
Sharing is Caring!

Deconstructed Chile Relleno Mushroom Burger #SwapItorTopIt
August 13th, 2014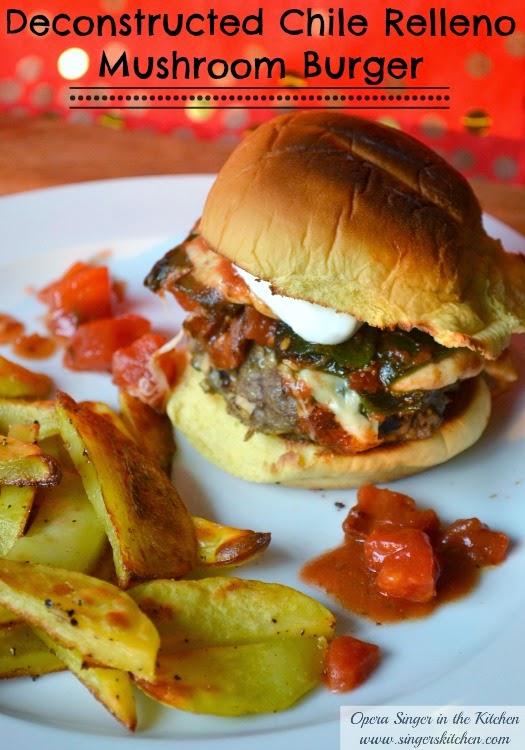
Have you always wondered how you could have one of your favorite veggies in a meal that someone else would not notice? I am a HUGE mushroom fan and some weeks I find myself having mushrooms up to three to four times at different times of the day. I’ve made mushroom pizzas using portabella caps, filling each with cheese and my favorite toppings. I’ve also skipped the meat and have made portabella fajitas for our family. While my husband is not a huge fan, I am always looking at creative ways to incorporate mushrooms in our meals.

Ingredients
Instructions

This is an award-winning burger:

Sharing is Caring!

Quick Sweet And Sour Chicken Pad Thai + Calphalon Giveaway #CouplesCooking
August 11th, 2014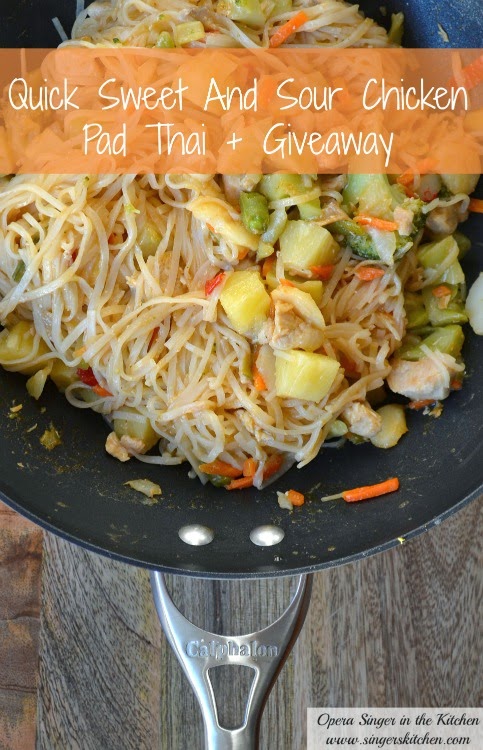
Last week was one of the most challenging weeks ever. As many of you know, I am not much a meal planner and I really just wing my meals most of the days. This probably puts more stress on myself than it should but I know that if I plan meals, I won’t want that specific meal that day so why not add a challenge?

One of the types of meals I enjoy making quite often are stir-fries made with either noodles or rice. It is super quick to prepare and all I use are two pans. My Calphalon Contemporary Non-Stick Wok is my most treasured pan when I make these specific meals because nothing sticks to the pan!

I chose the protein I want to use, whether it is chicken, tofu or beef and I cut these into pieces and toss in soy sauce and cornstarch. Then, I mix my sauce for the stir-fry and this is where I tend to cut corners. Sometimes I make my own and other times I find my favorite packaged sauce mixes without MSG. It really all depends on how my evening is going.

Even though I would love my husband to be in kitchen, helping me with the meals, he usually is not home on time for meal preparation, but he always lets me know his preference for Asian meals. He told me growing up that he always ate rice with his stir-fries but that now he has enjoyed the rice noodles and other varieties that I have introduced to him.
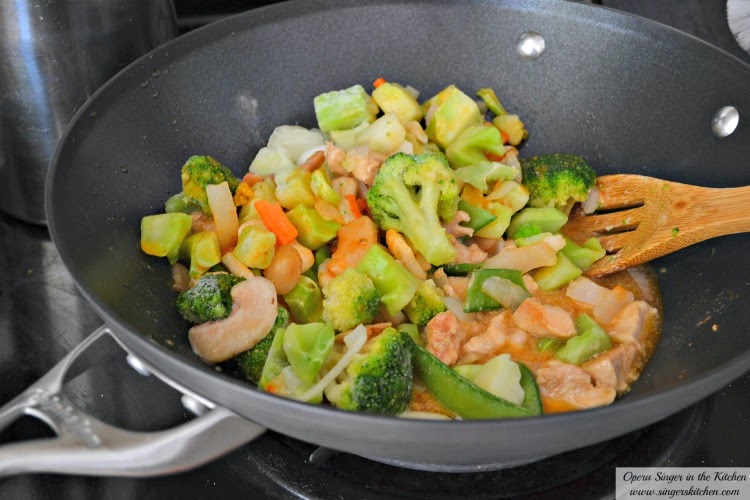
After the meal was prepared and served my husband exclaimed that the meal seemed relatively easy to make which in turn I told him he could easily make. I hope to be able to make this meal together in the future. Between cutting the meat and preparing the sauce and cooking the meal was ready within 45 minutes. What a deal!
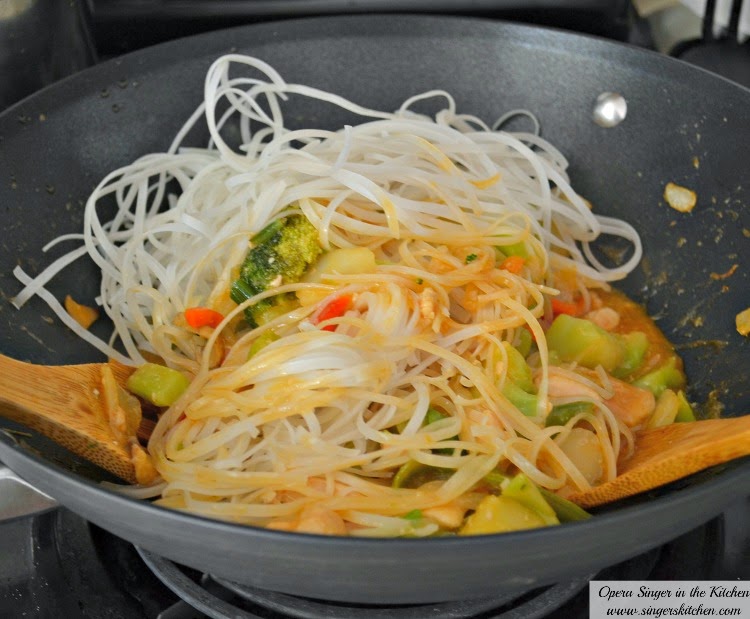
So how about a little more info on the wok? I am super happy to have it in my collection because I used to have a small wok that was made of stainless steel but everything would stick and it was frustrating. With the Calphalon Contemporary Nonstick 12-inch flat bottom wok nothing sticks and it even goes in the dishwasher! Here are a few other attractive facts about this wok:
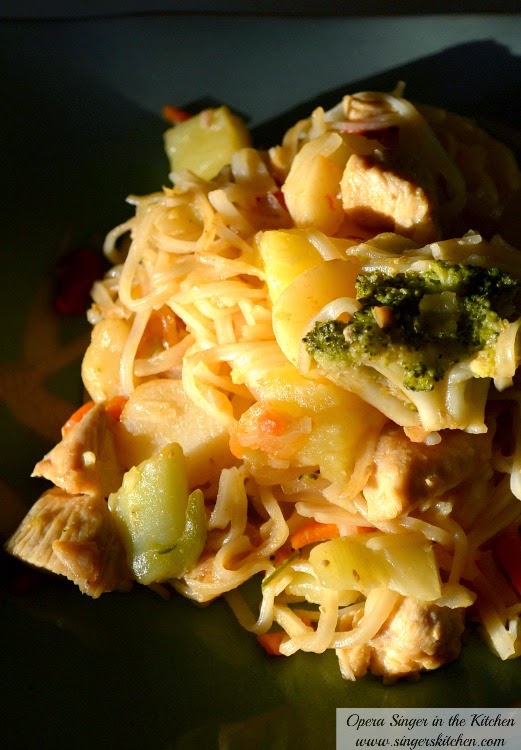
The recipe I prepared is combining two of my favorite recipes, Pad Thai and Sweet and Sour Chicken. The recipe requires to make a double batch of the sweet and sour sauce because the noodles absorb the sauce. I added the pineapple too which made this a delicious and tangy meal.

Chicken
Sweet and Sour Sauce
Additions
Chicken
Sweet and Sour Sauce
Rice Noodles
Cooking


While you do this you should enter my giveaway too! One of my US readers will win an exact Calphalon Contemporary Nonstick 10-inch wok of their own. Make sure you enter the form below and follow all rules.


