
Posts by admin:
- Mahón-Menorca Tender – cheese that has been cured for 21-60 days. The cheese is covered in oil and paprika during its ripening period. The flavor profile is like butter with a taste of nuts.
- Mahón-Menorca Semi-Cured – cured for 2-5 months. It is firm to the touch but easy to cut and has a slight buttery reminiscence of toasted nuts and dried fruit.
- Mahón-Menorca Vintage or Mature – cured more than 5 months – it is a hard cheese with an intense flavor. When cut, it breaks off in small pieces.
- 1 large Savoy cabbage ( about 2lbs) sliced in medium chunks
- salt
- pepper
- 1 teaspoon paprika
- 1/2 teaspoon garlic powder
- 1/2 onion powder
- 2 red onions, sliced
- 2-3 Tablespoons olive oil
- 1 cup Mahon-Menorca semi-cured cheese, shredded
- balsamic reduction (optional)

- 4 ounces pisco
- 3 ounces citrus juice (1 lime, 1 lemon, 1 orange)
- 2 teaspoons Nunaturals Nustevia Simple Syrup
- 1 ounce liquid egg whites
- 1 cup ice cubes
- 3 vine-ripened tomatoes, diced
- 3 shallots, diced ( about 1/3 cup)
- 3 garlic cloves, minced
- 1 jalapeno, deseeded and diced
- 1/2 cup red wine vinegar
- 2/3 cup Steviva Blend
- 1/2 teaspoon cinnamon
- 1/4 teaspoon clove
- 1/2 teaspoon salt
- 2 Tablespoons pickles, chopped
- Bring all ingredients, except pickles, to a quick boil and then reduce heat on medium low and simmer for 30 minutes or when most of the liquid has evaporated. Remove from heat and allow to cool in a Mason ball jar.
- Once cooled, add pickles at the end, and mix well. May be used immediately at room temperature or can be stored in fridge. Good for 6 months.
- Other chances to win was to follow my Instagram profile : @singerinkitchen
- 1 lb boneless chicken, sliced in strips
- 1 Tbsp olive oil
- 1/2 teaspoon salt
- 1/2 teaspoon black pepper
- 2 Tablespoons soy sauce
- 2 garlic cloves, minced
- 1 medium yellow bell pepper, seeded and chopped in big square pieces
- 1 medium green bell pepper, seeded and chopped in big square pieces
- 1 medium onion, peeled and chopped in big square pieces
- 1 cup canned pineapple chunks
- 1/2 cup reserved pineapple juice
- 3 Tablespoons Steviva Blend
- 3 Tablespoons rice vinegar
- 1/2 cup chicken stock
- 4 teaspoons cornstarch, mixed with 4 teaspoons water
- Cooked rice, for serving
Spanish Roasted Cabbage with Caramelized Onions
December 22nd, 2018Christmas and New Year’s is around the corner and you are probably scrambling for last minute ideas. I am in a number of mom groups where many have asked for ideas for desserts and sides. I came up with one that was super delicious with grilled meat. There is nothing like having a side dish within 30 minutes.
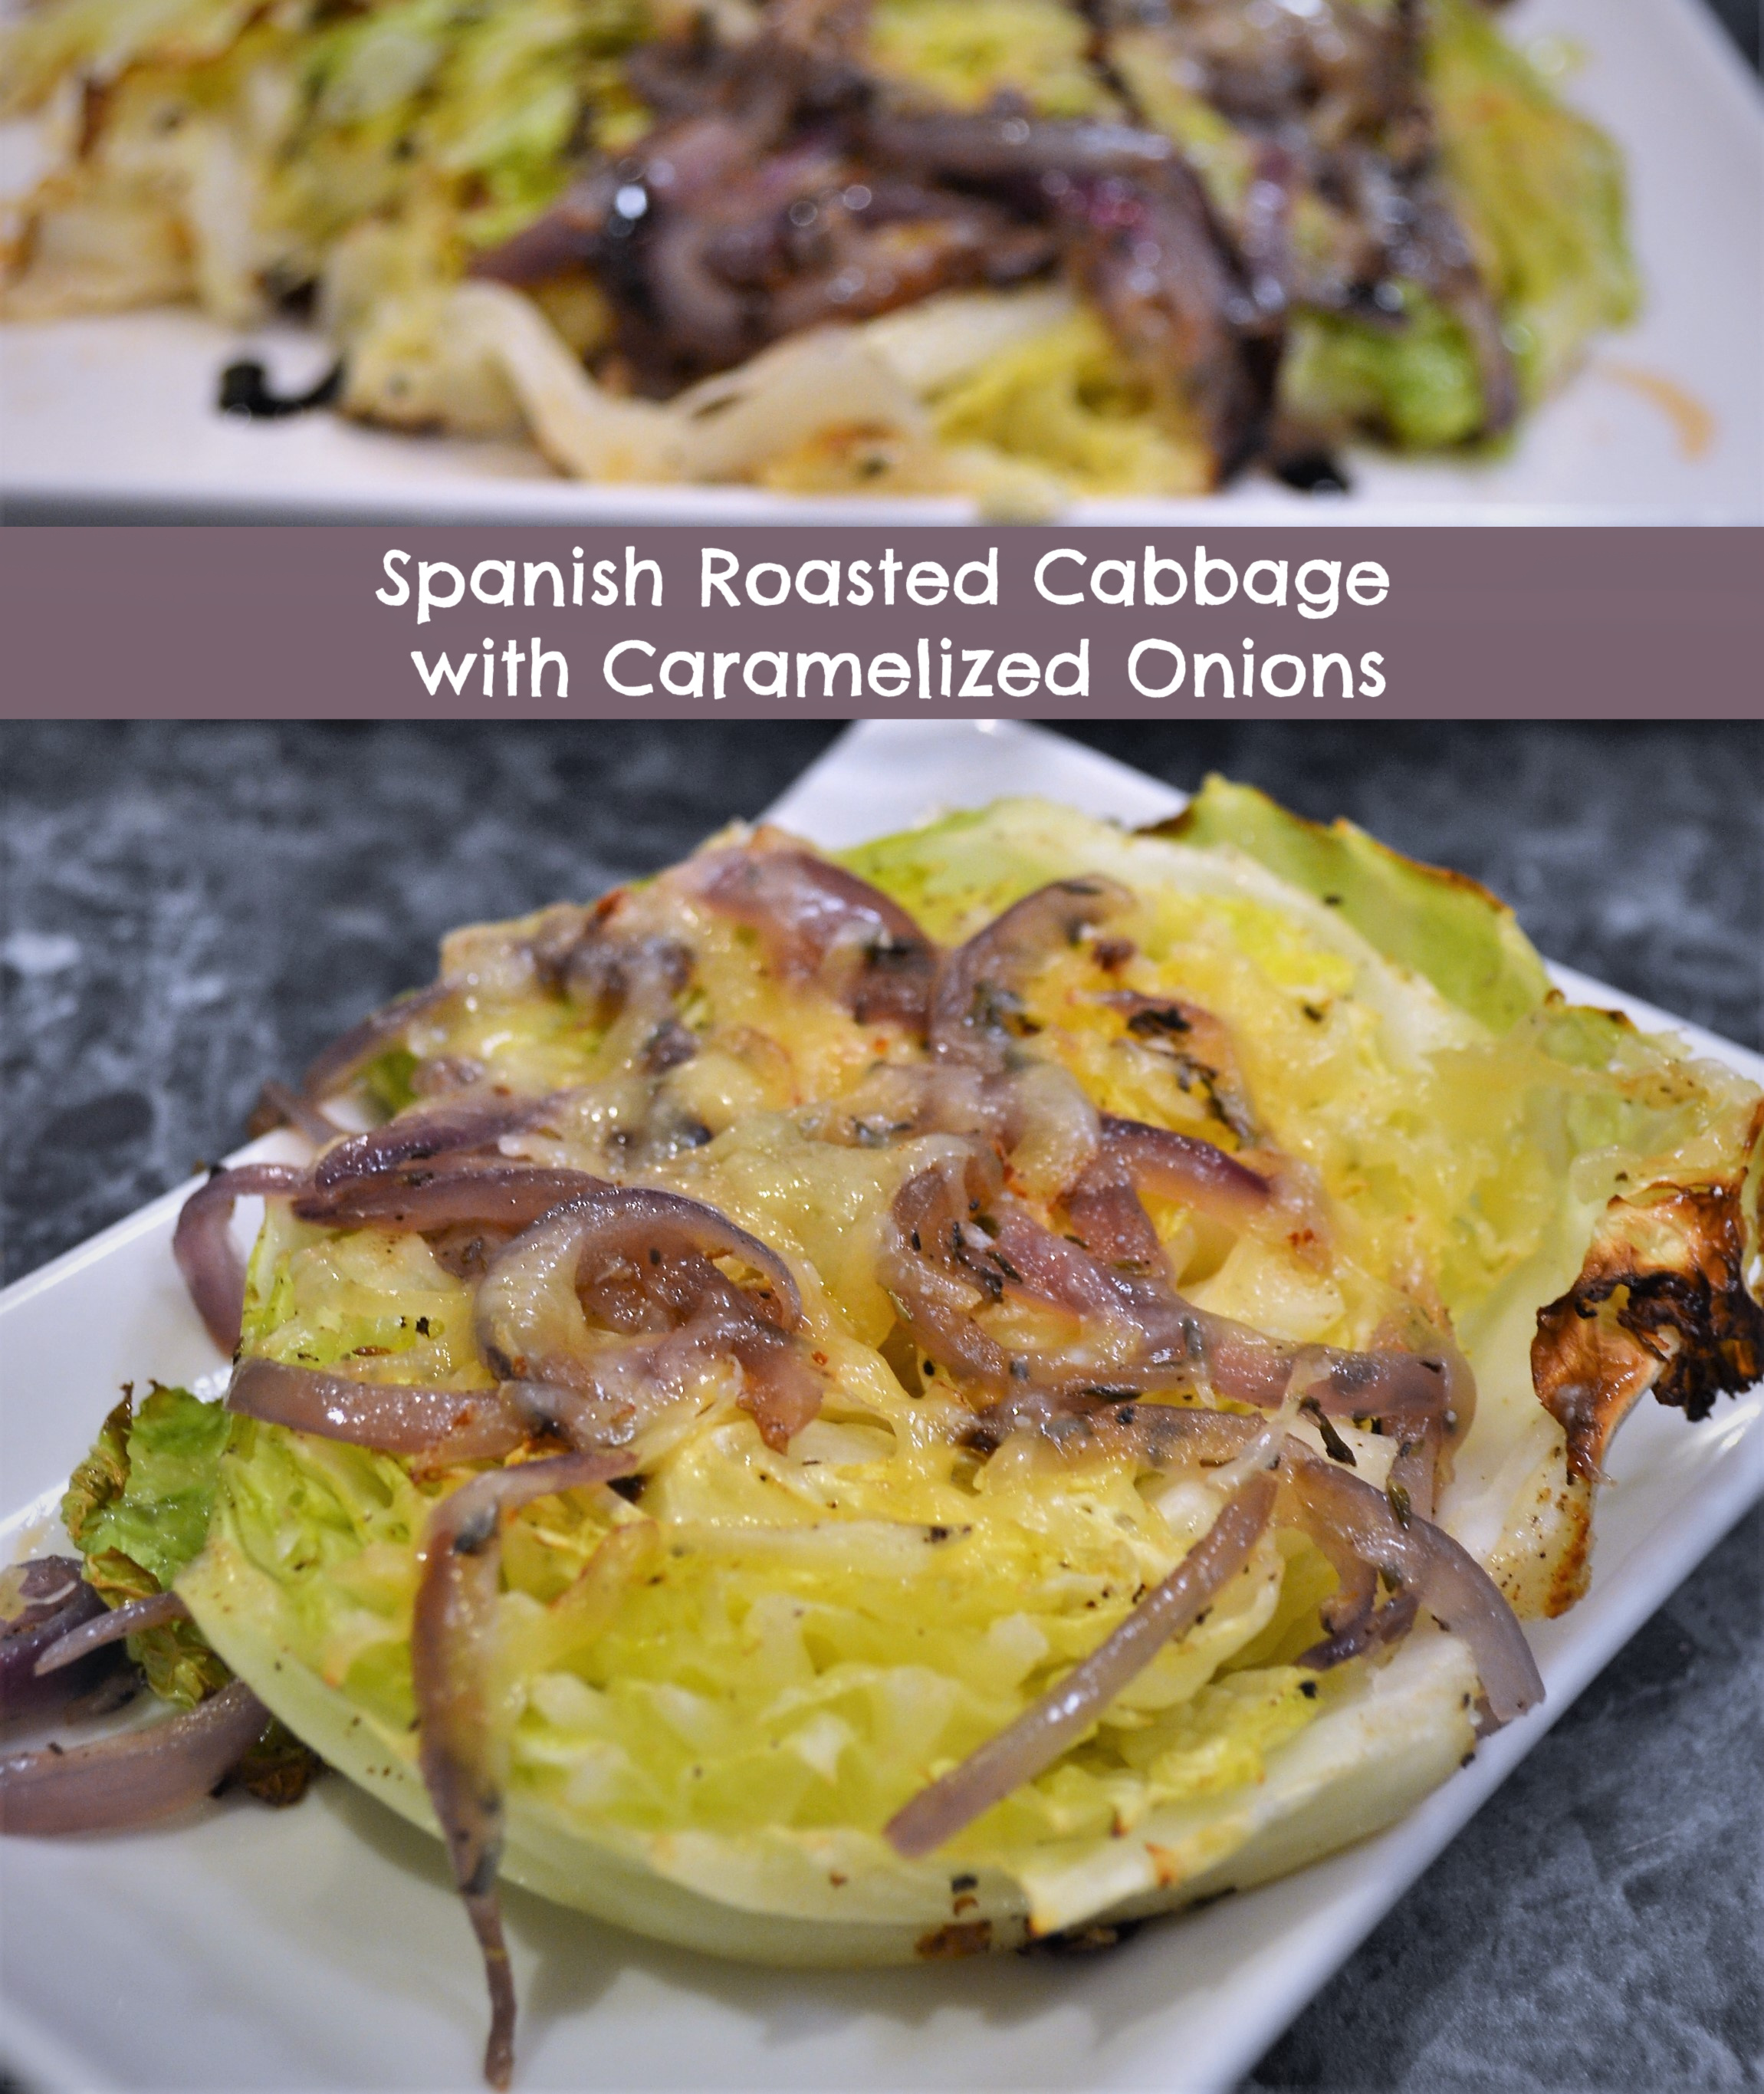
Cabbage is one veggie I enjoyed eating sauteed and steamed. I decided to test a few recipes by grilling or roasting and finally decided that roasting cabbage made the cabbage taste sweeter especially when using Savoy Cabbage.
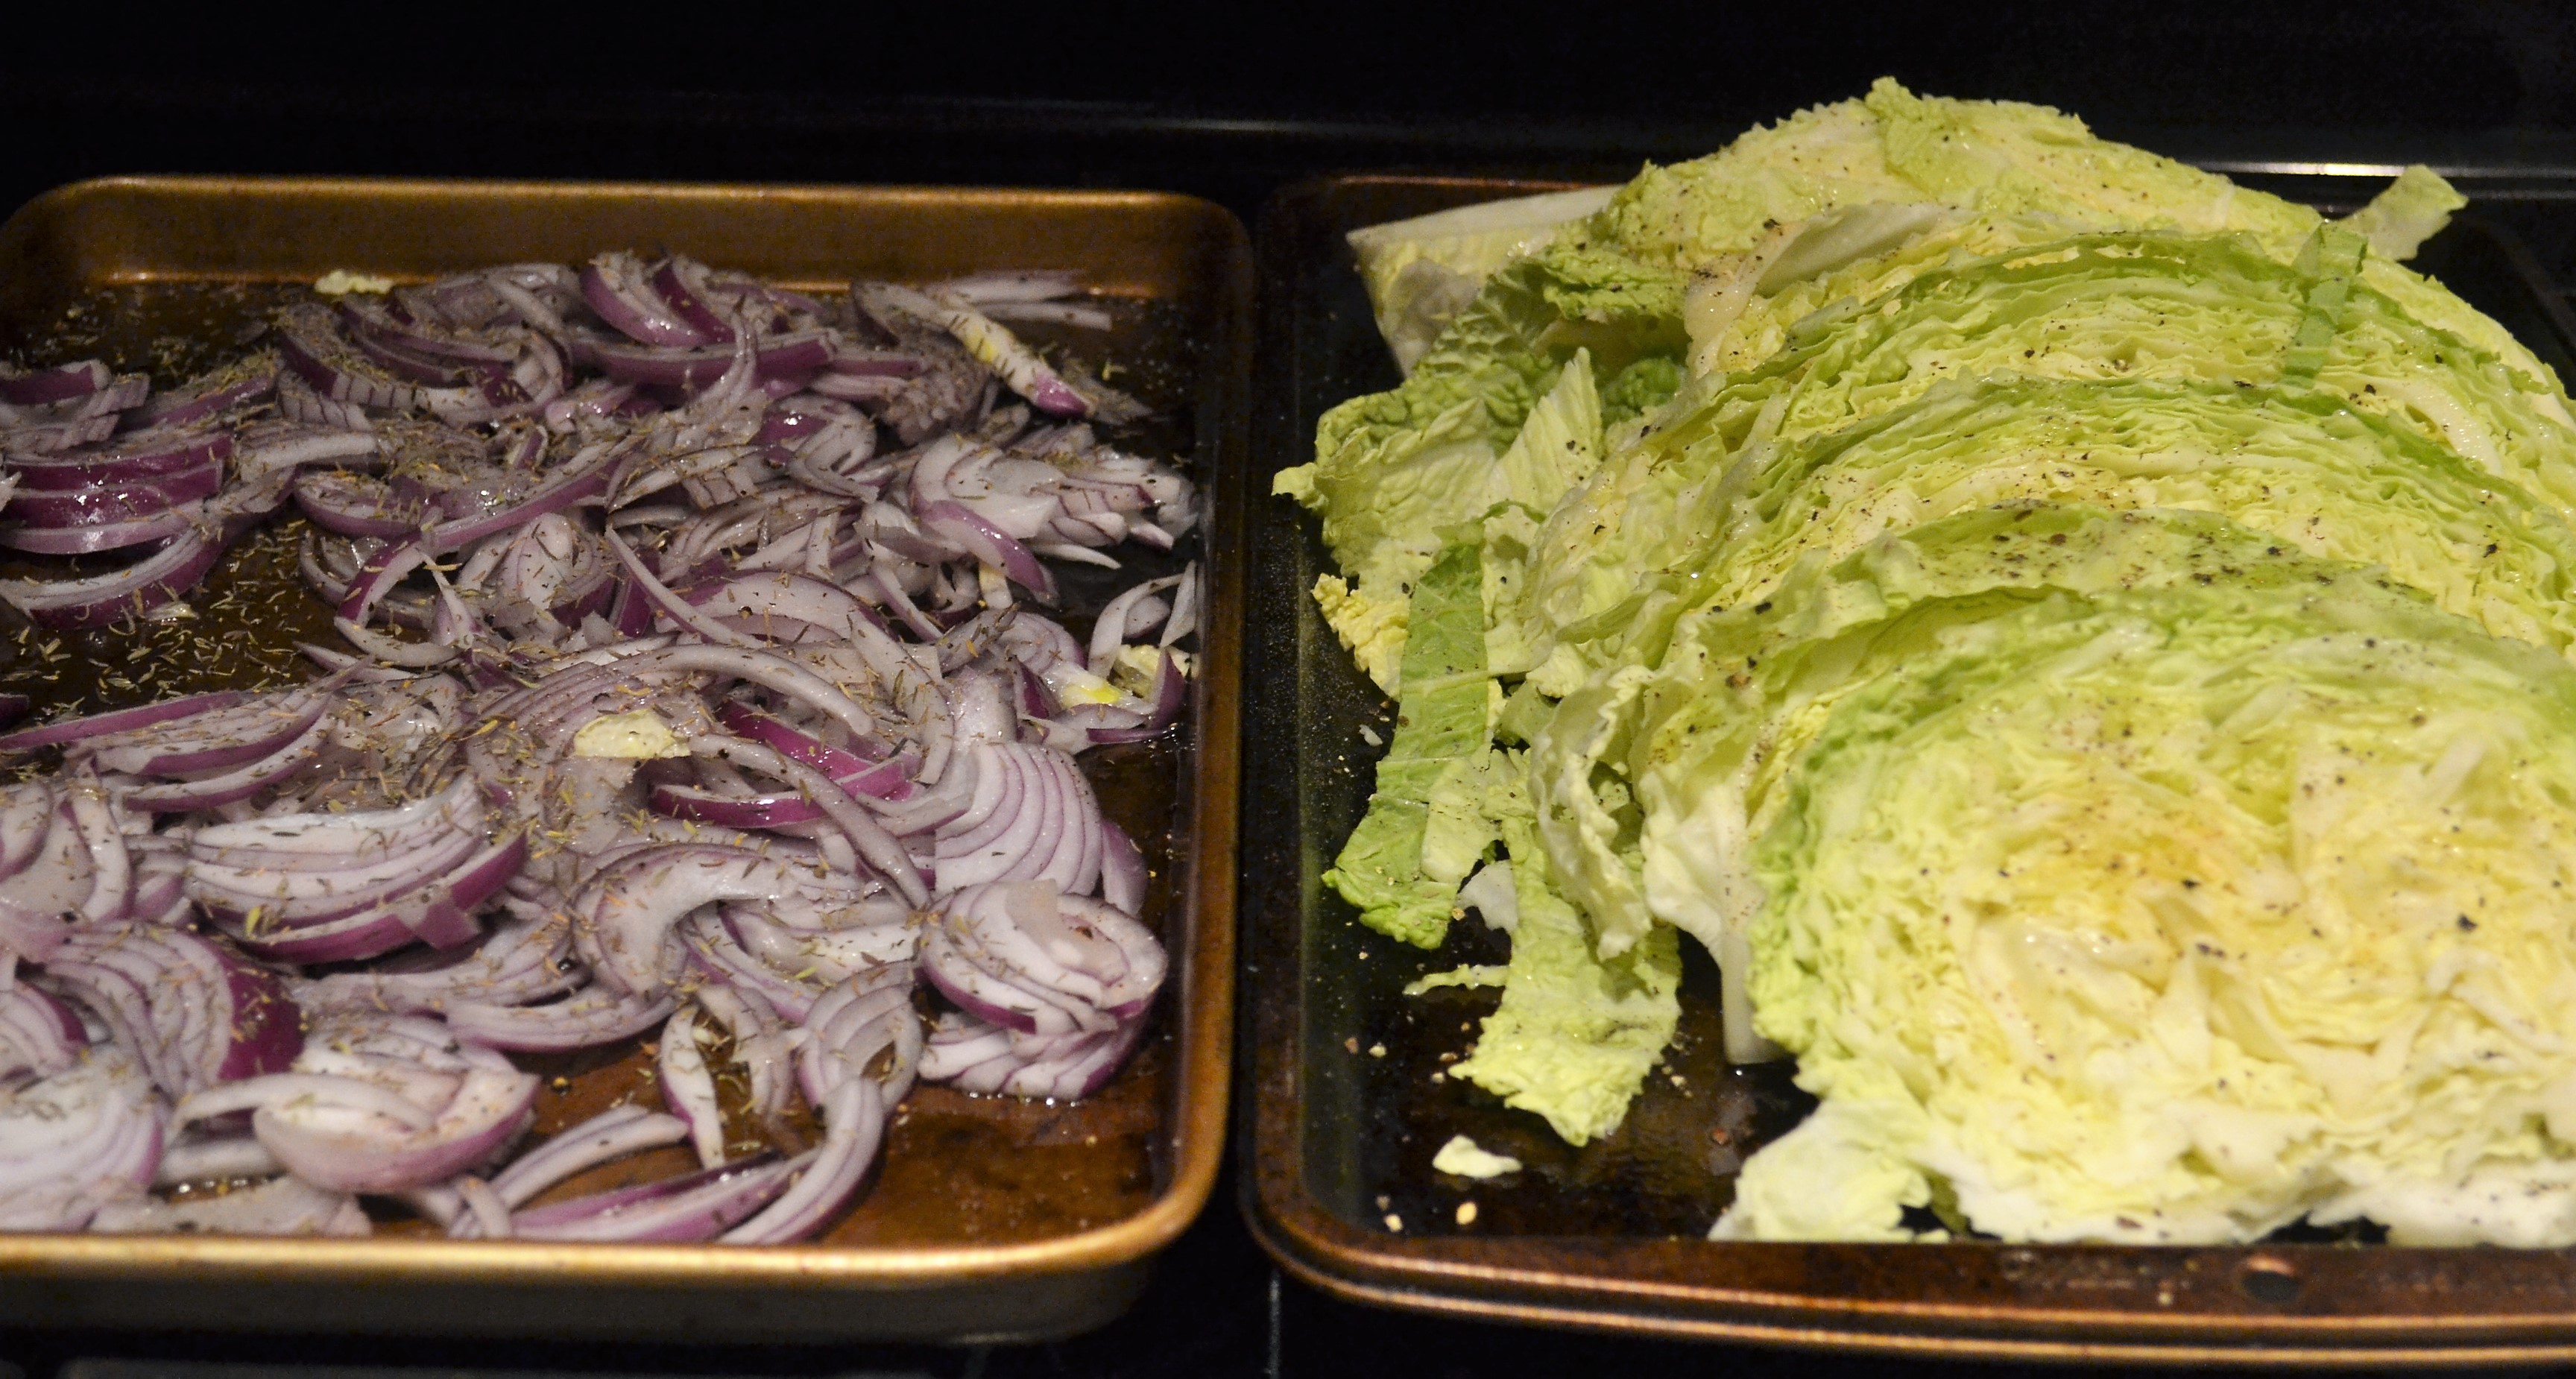
While I roasted the cabbage, I also roasted 2 large red onions. They quickly caramelized while the cabbage cooked. I used no pans and cooked a combination of of veggies. I would say this was easy!
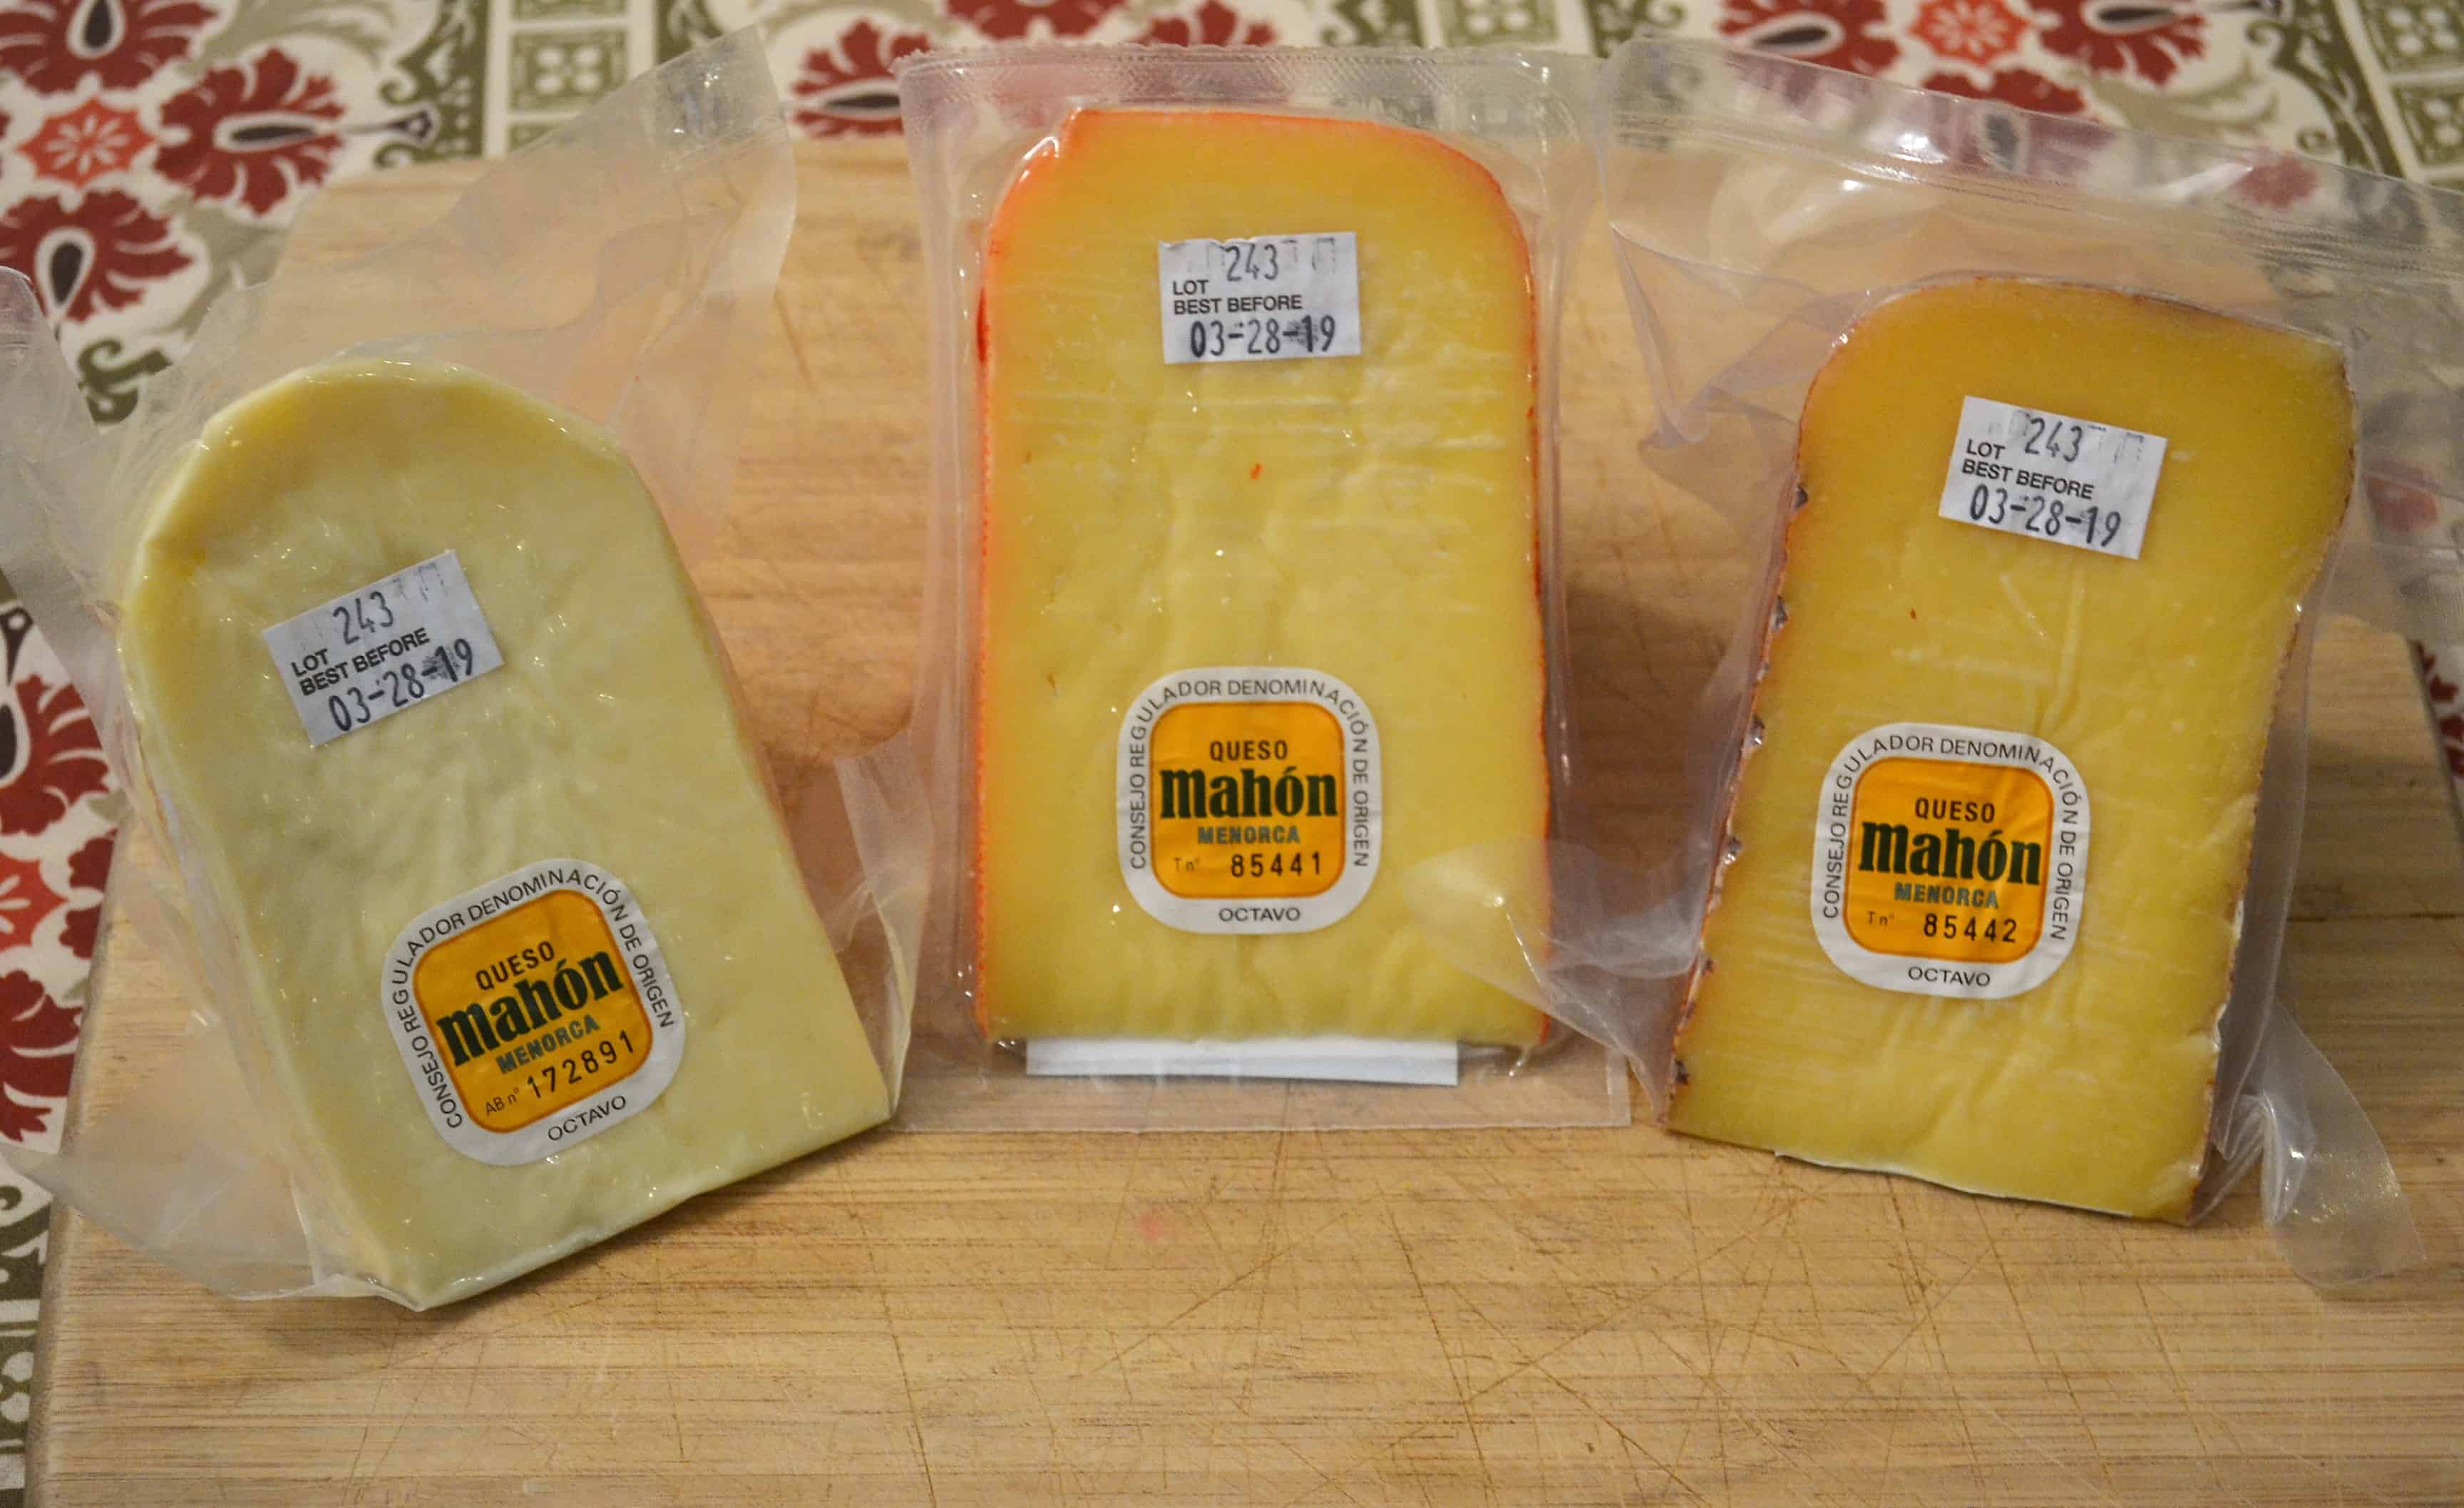
The magic and key to this dish is Mahón-Menorca cheese.This cheese is made from menorcan cow’s milk (pasteurized or raw) and is exclusively matured on the island of Menorca. It is , accordinging to their site, “a Protected Denomination of Origin (P.D.O.) based upon the geographic and distinct climate factors including its temperature, humidity, light, wind and salty pastures, and its ancient farming methods mastered by generations of the Menorca family farms.”
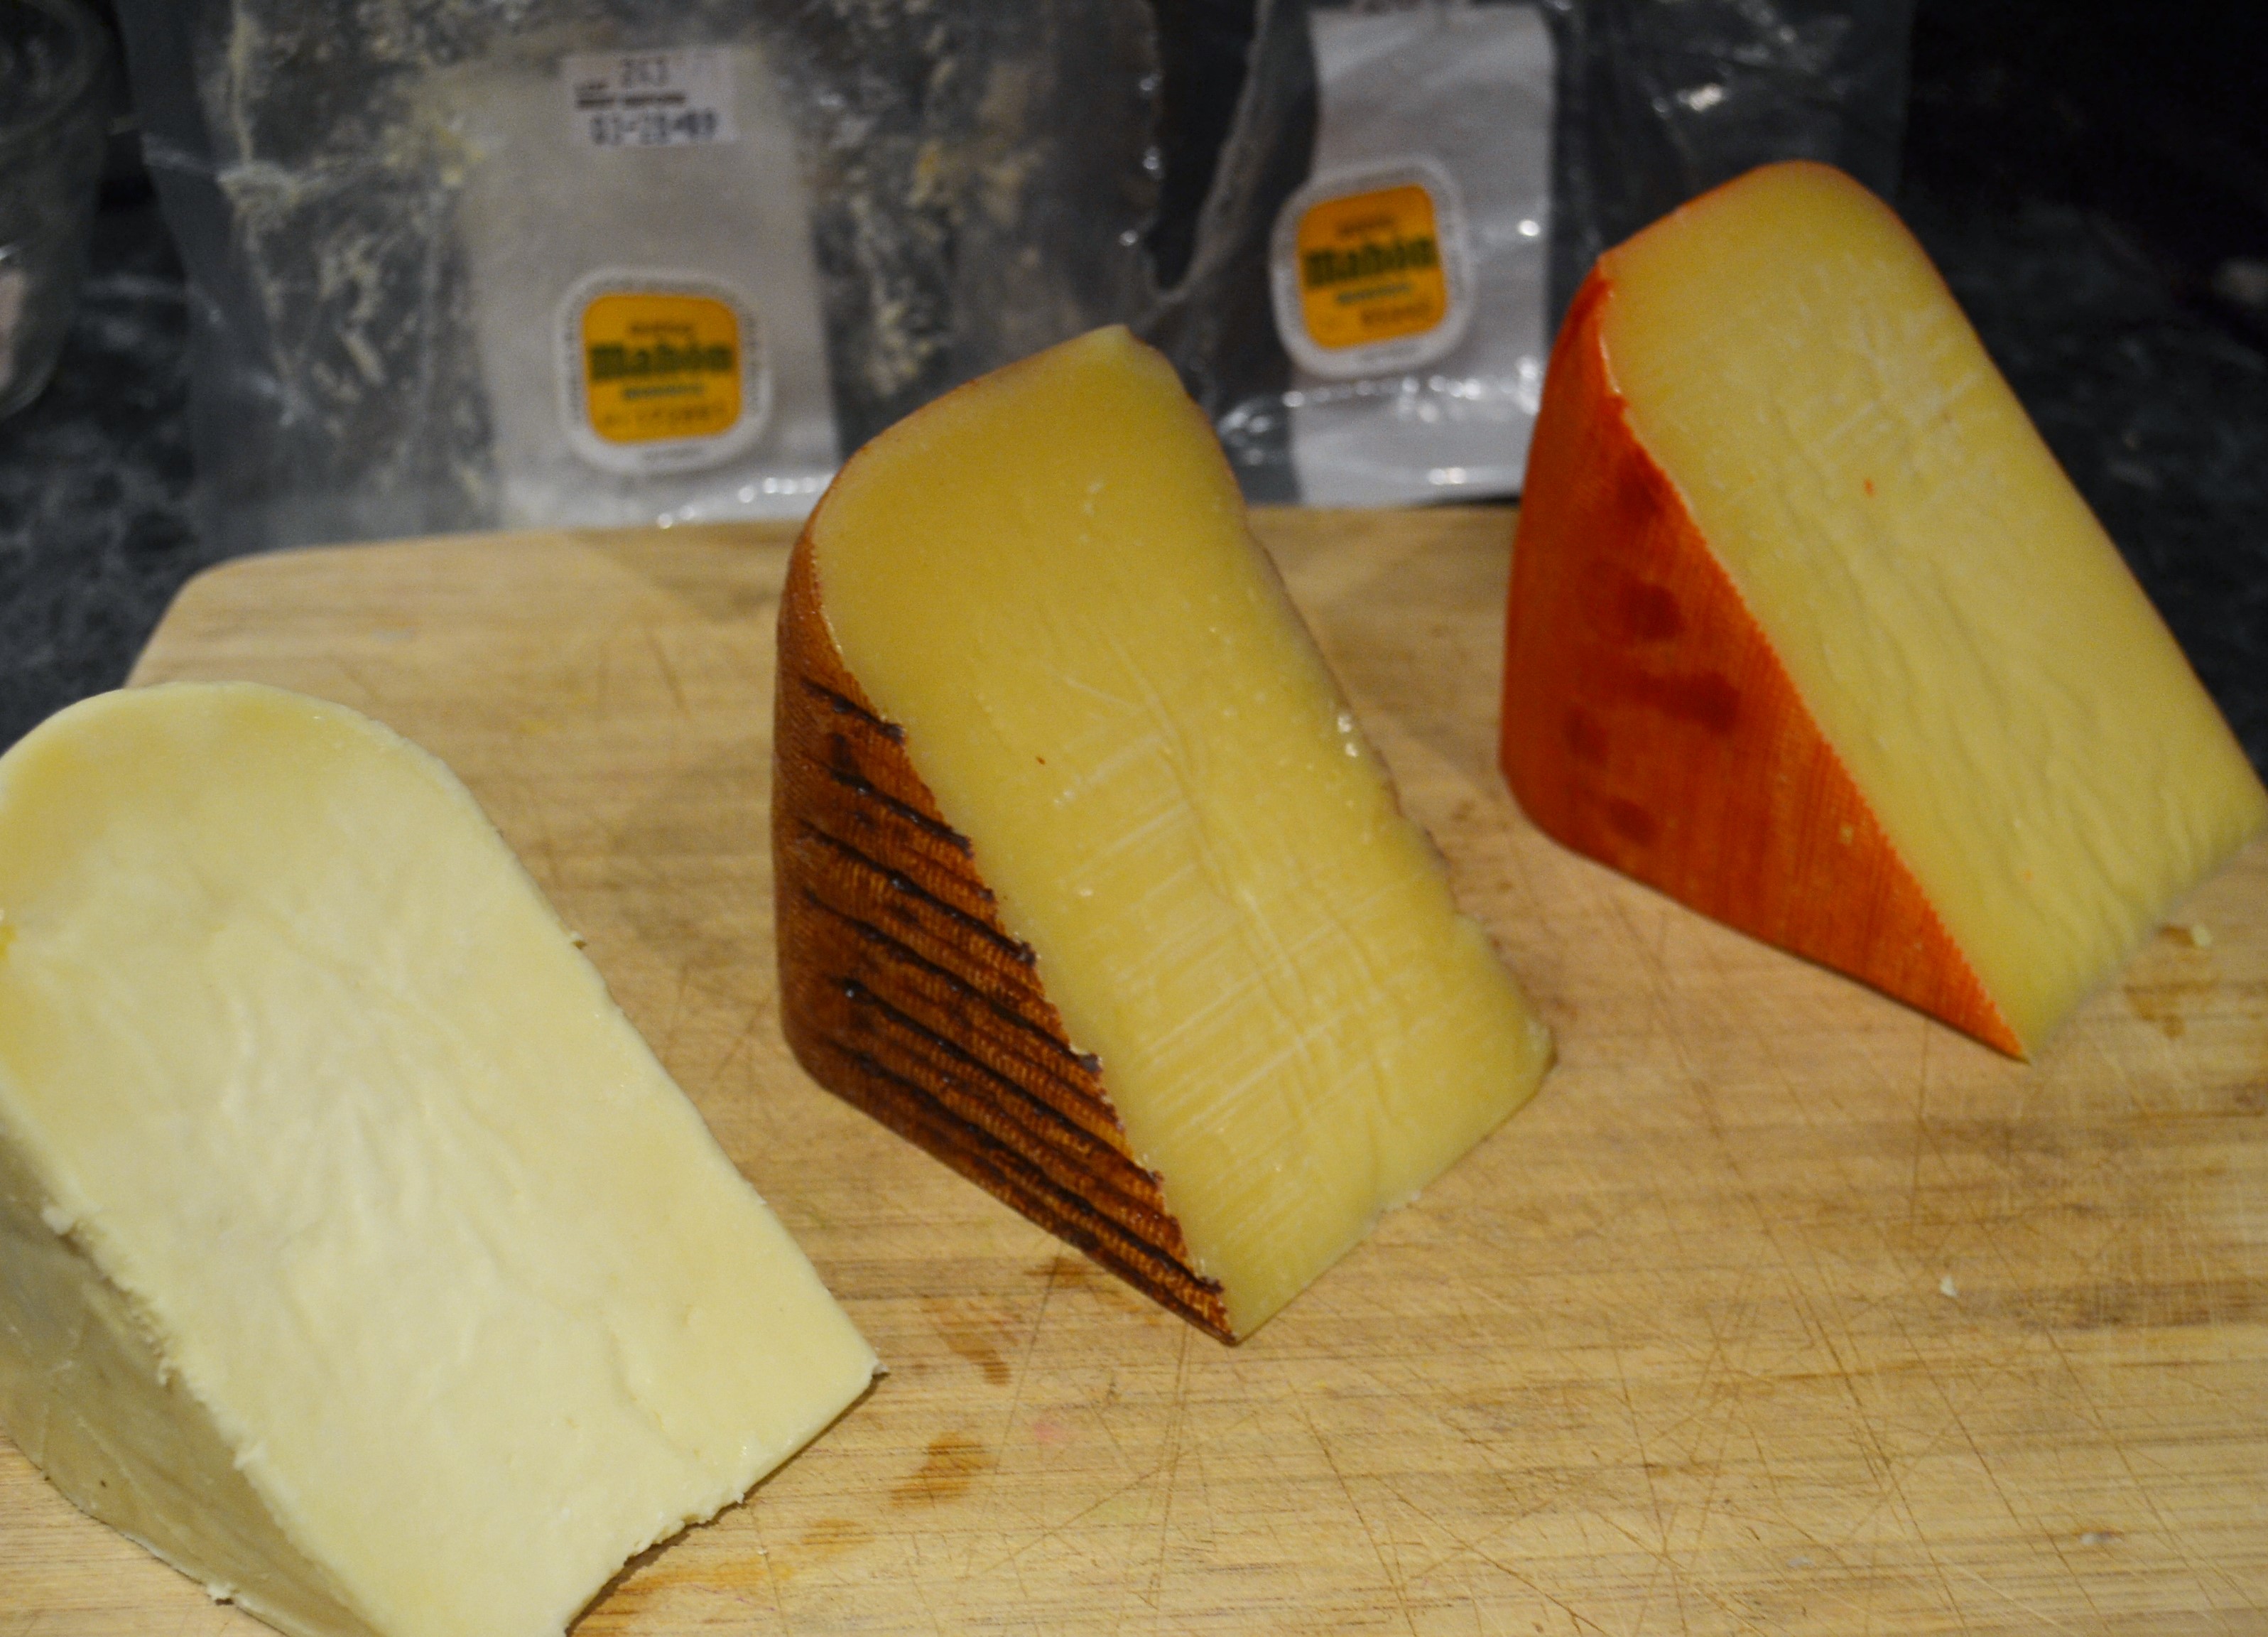
It has been a while since I have enjoyed Spanish cheese and I was happy to receive 3 different types of cheeses to try and to create recipes as part of a challenge. Here are the type of cheeses:
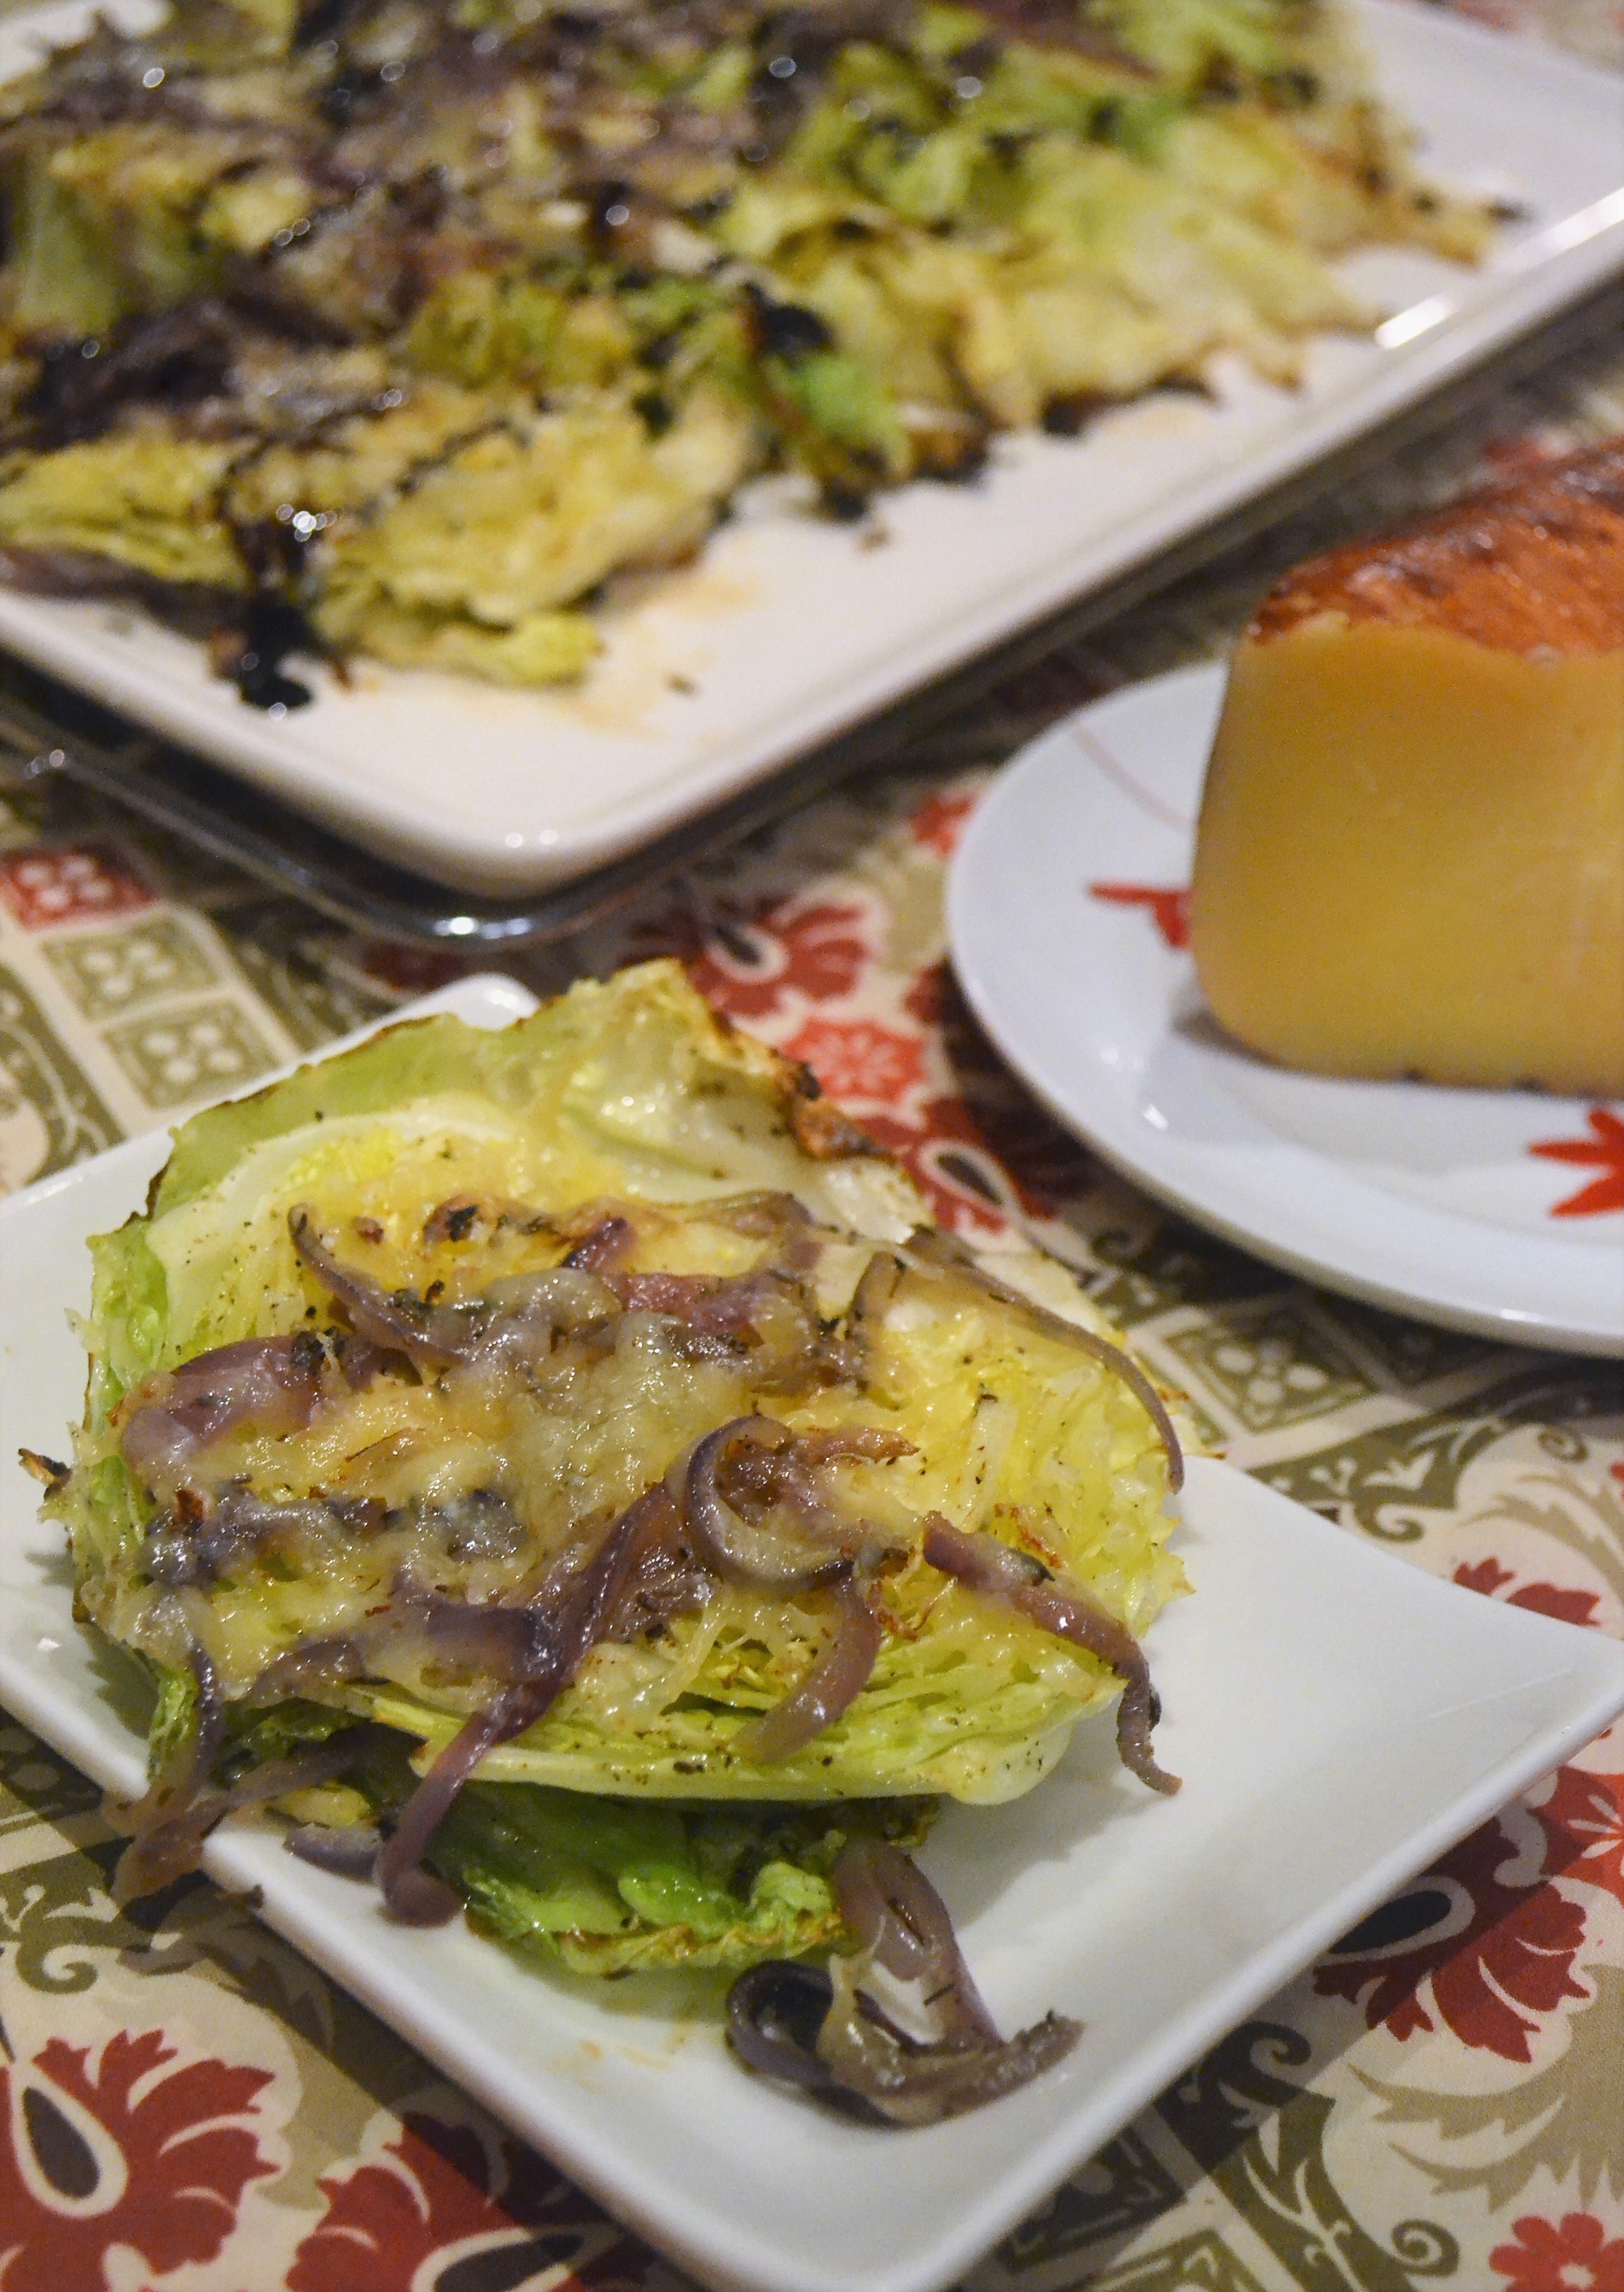
After I tried all three cheeses, I decided to shred the semi-cured cheese and add to the roasted shredded cabbage. It was SUCH a wonderful combination especially with the caramelized onions. The key to testing this dish is introducing a new dish to your family and see if they give it a thumbs up.
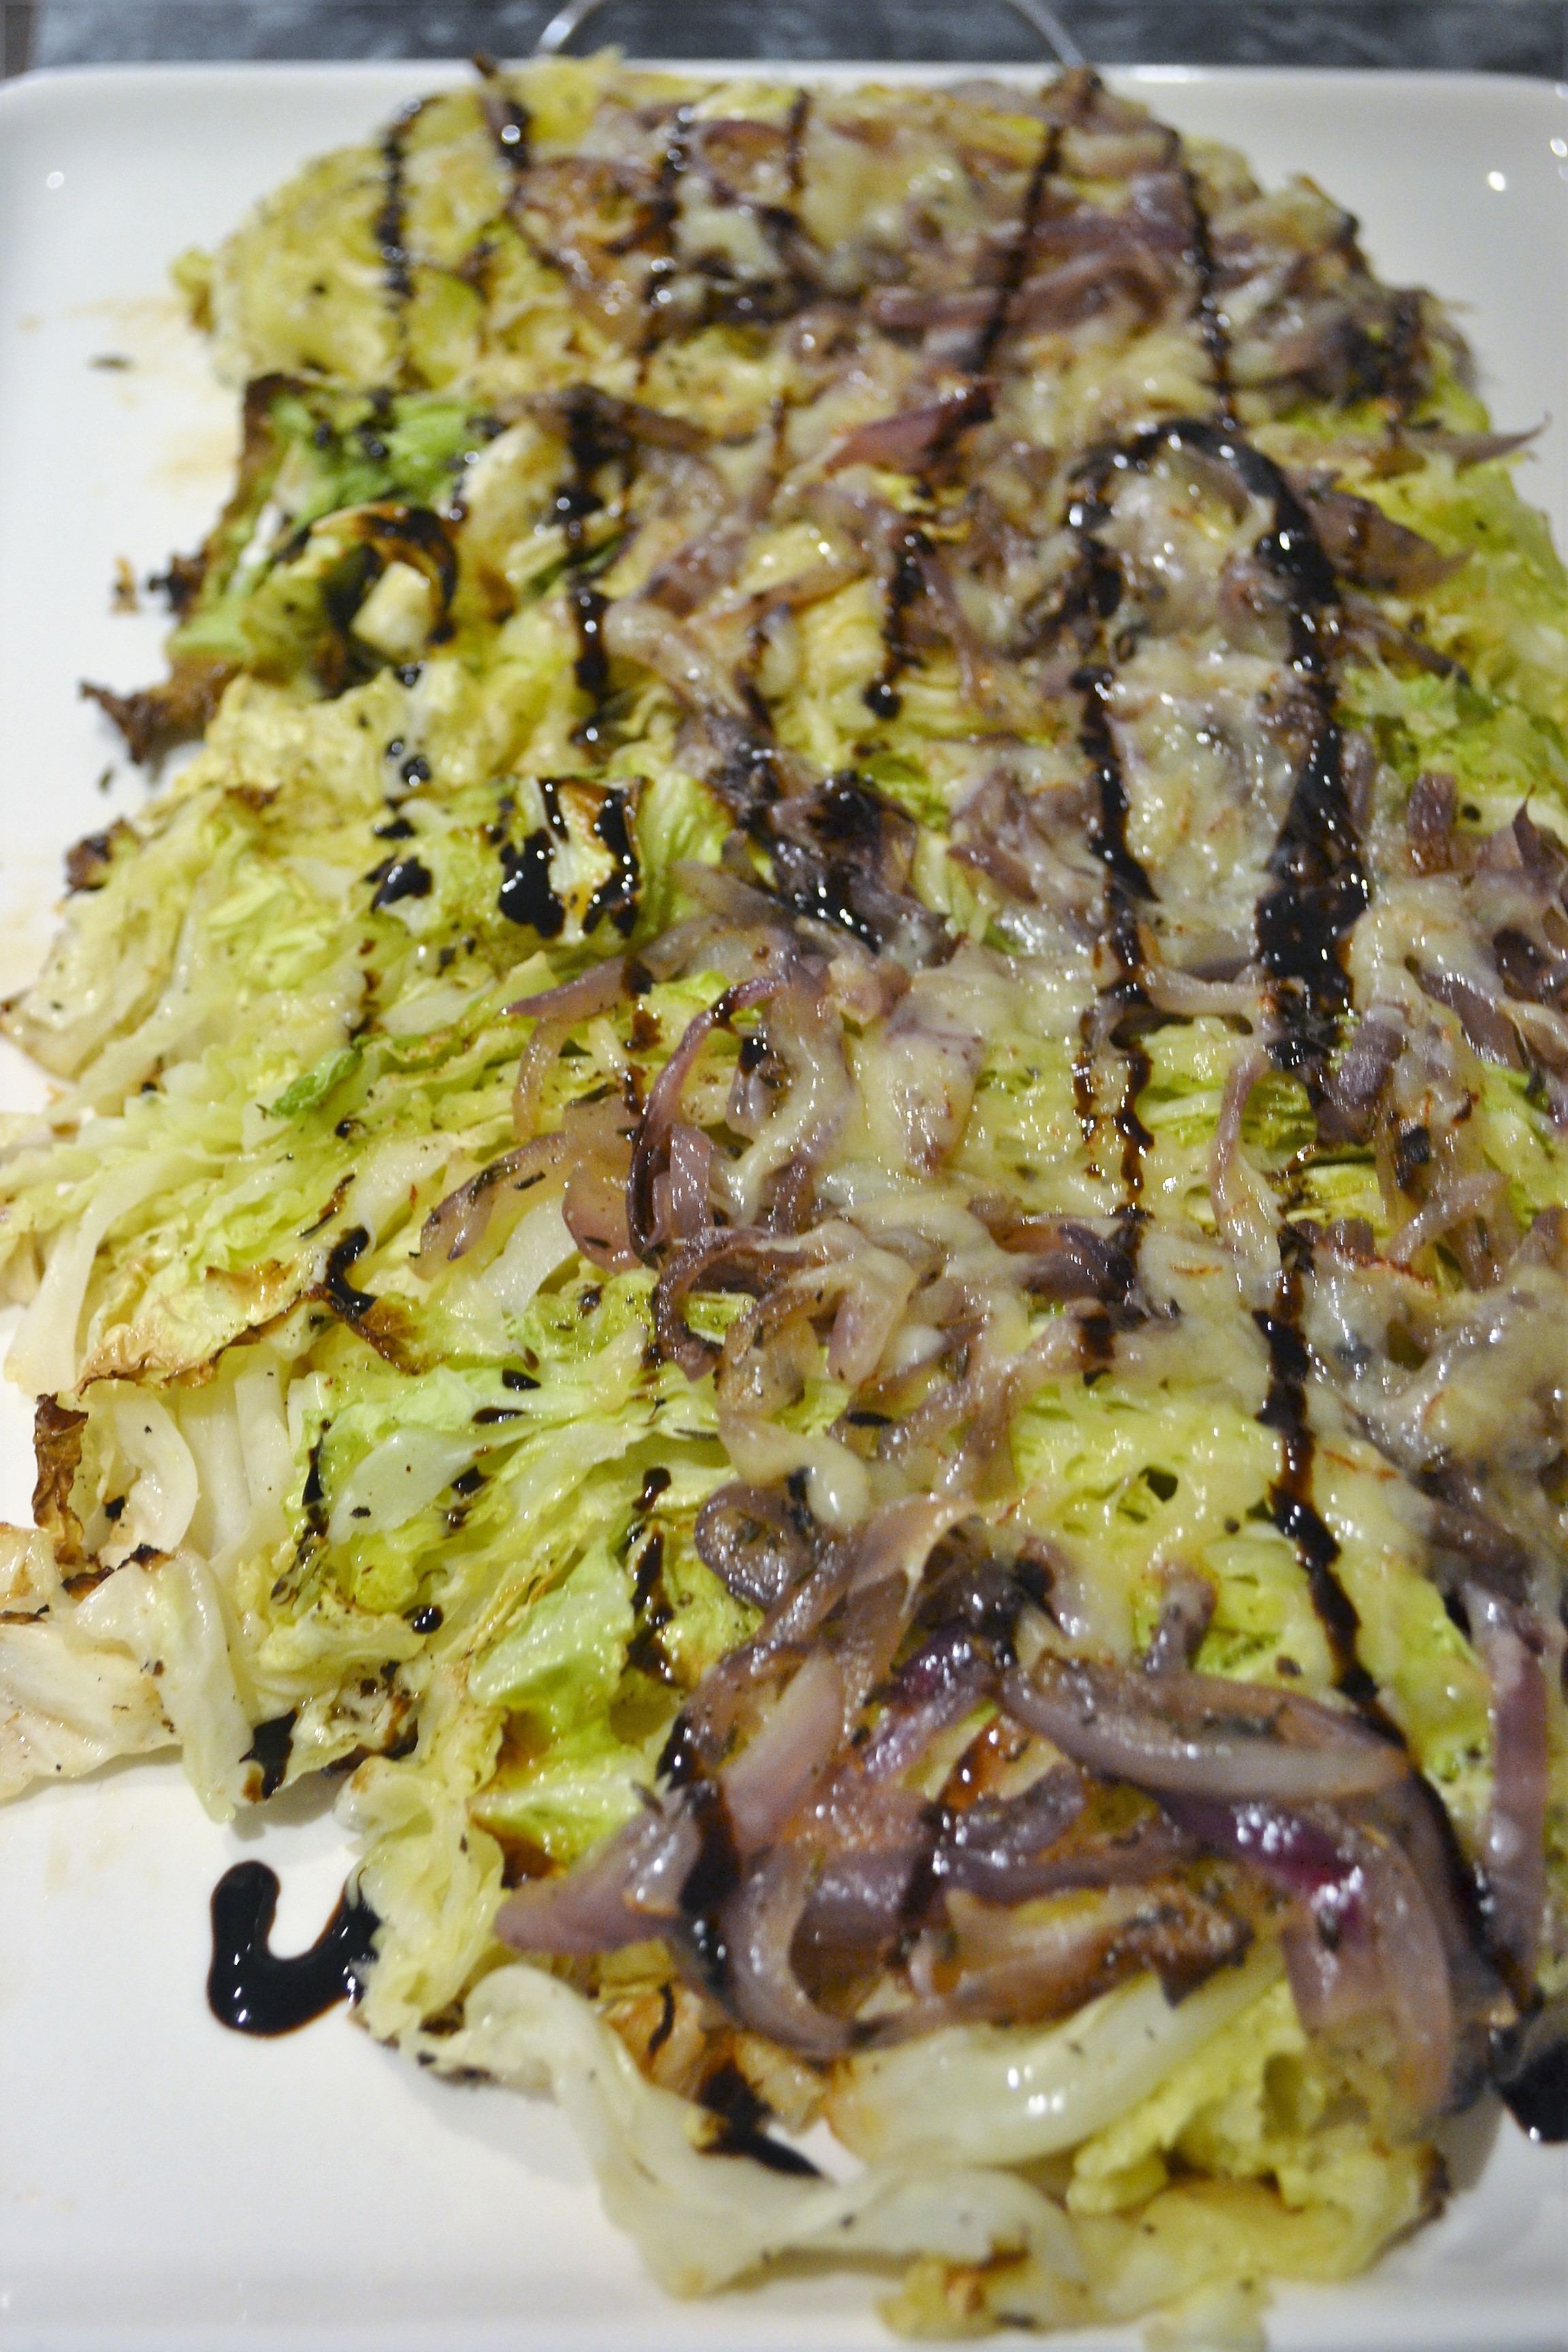
It was a hit.
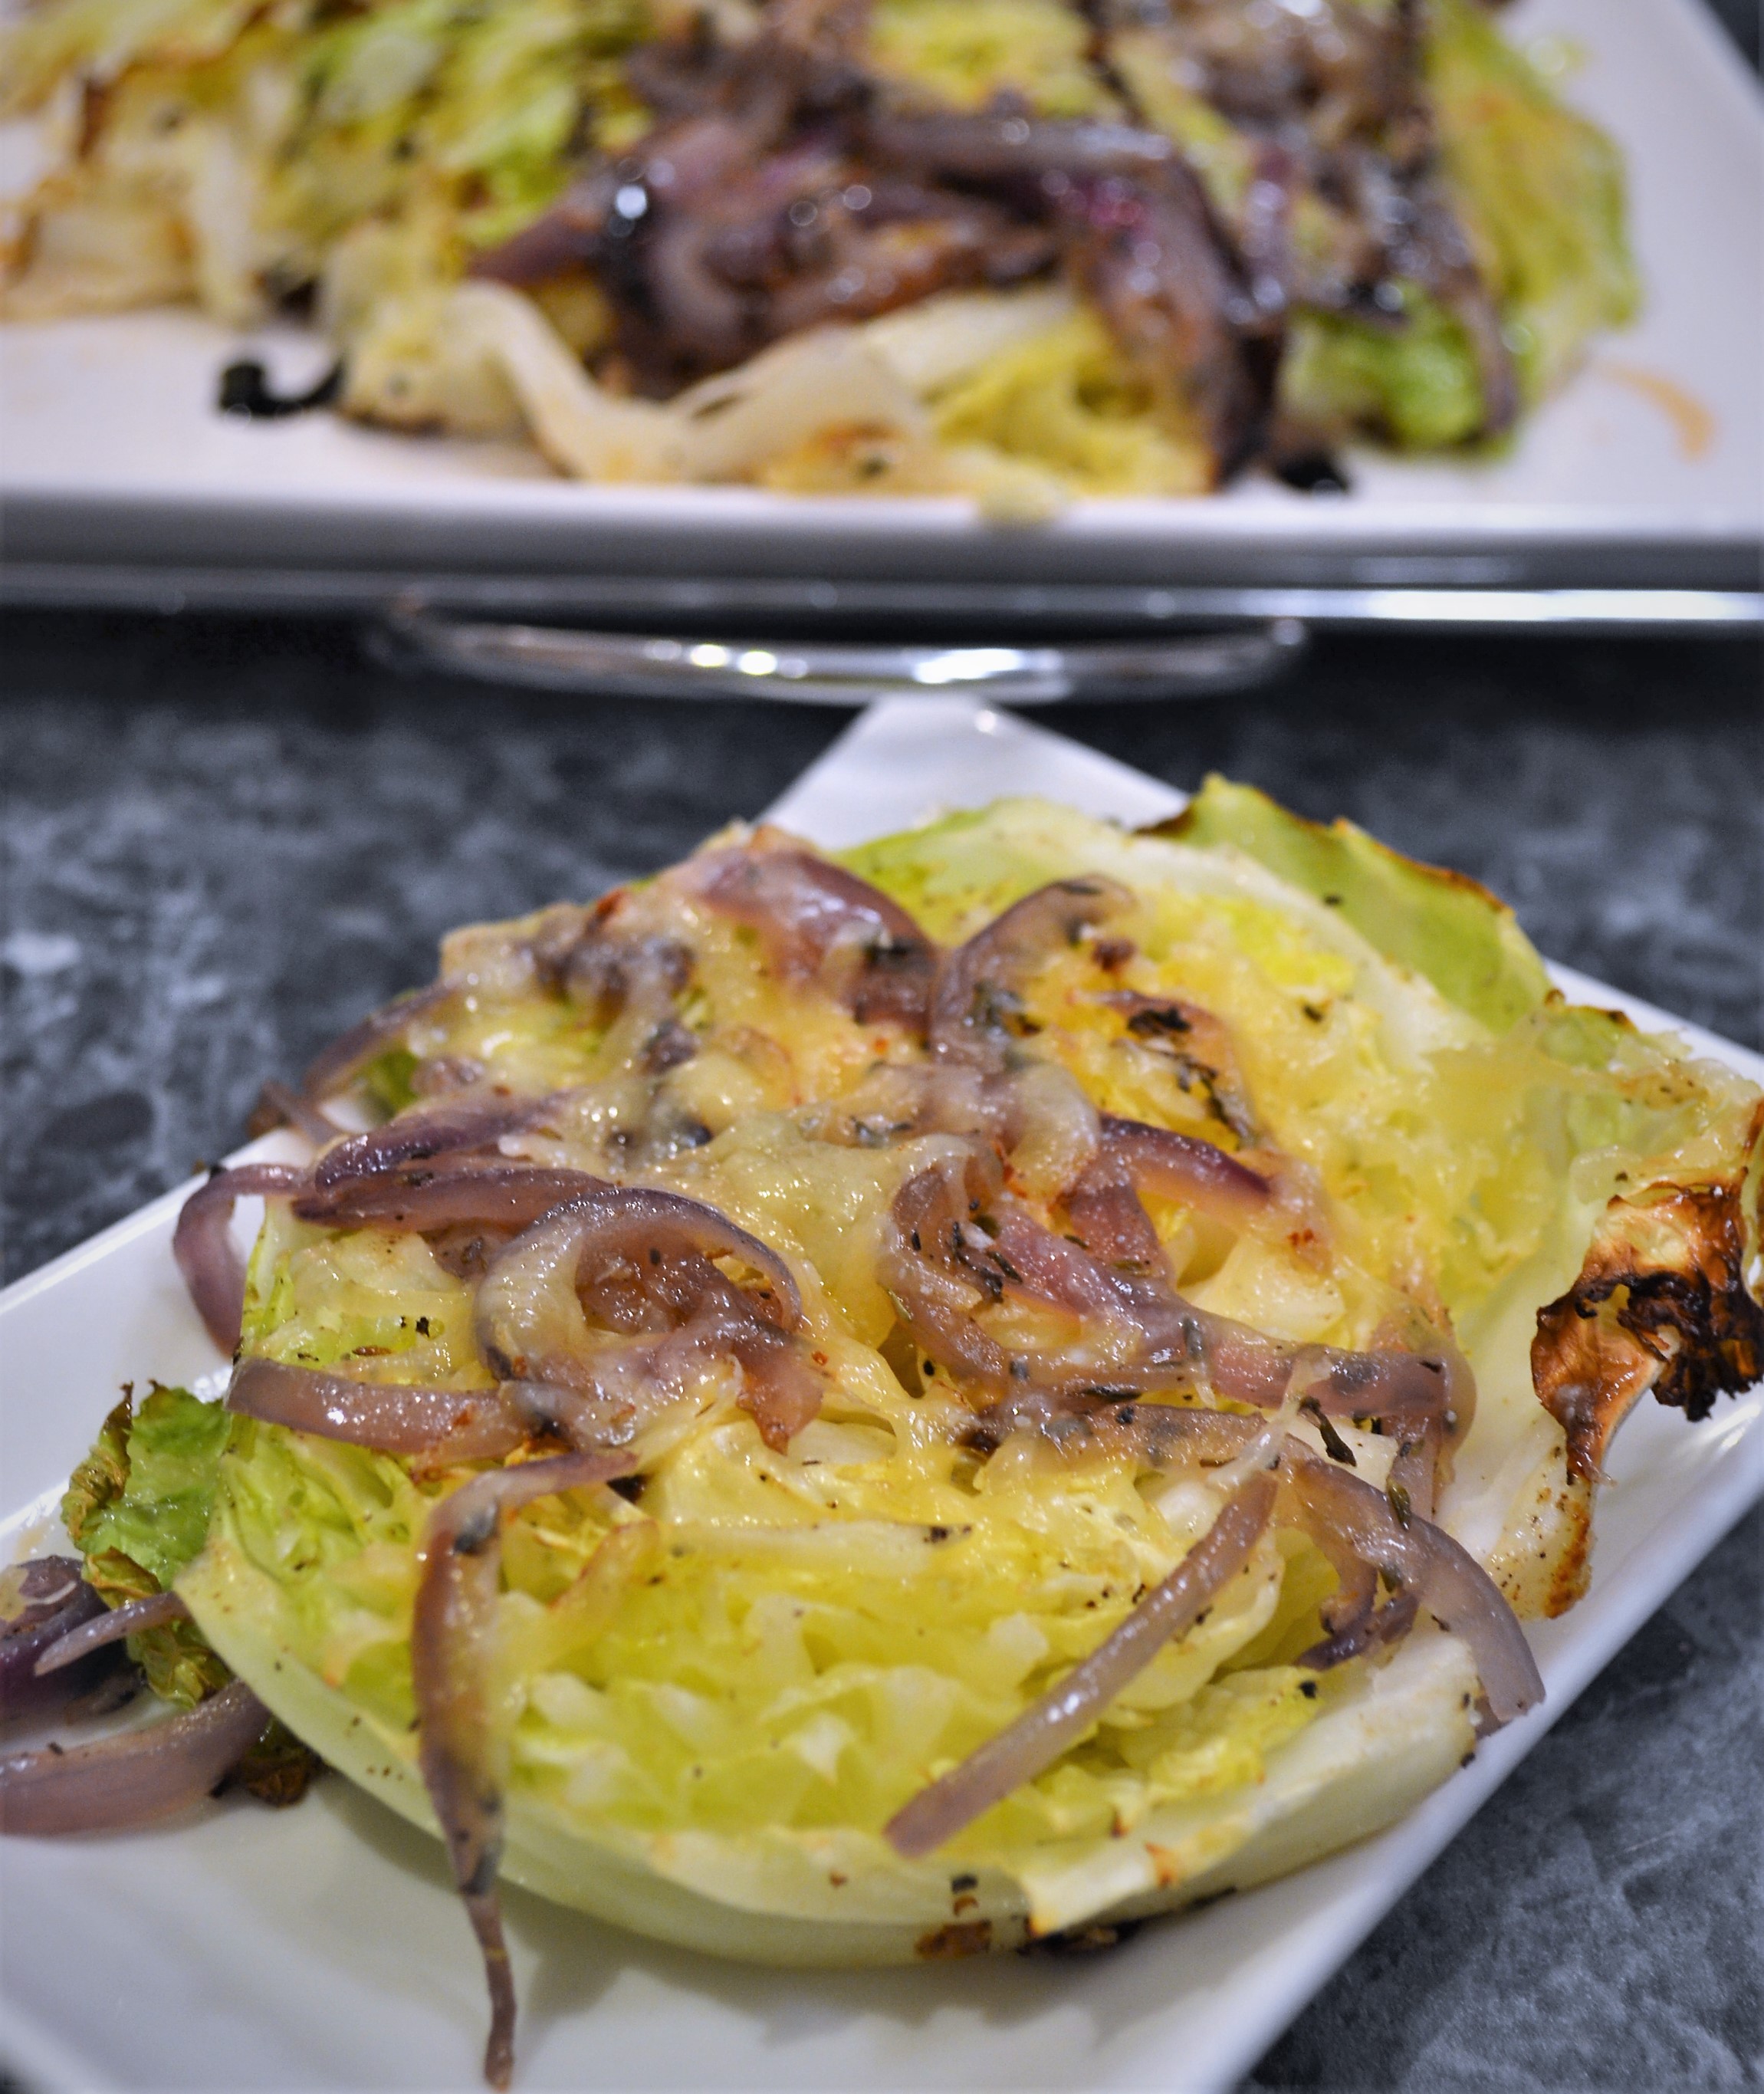
Make this Spanish Roasted Cabbage for Christmas or New Year’s and pair it with a smoked brisket just like we are enjoying.
Spanish Roasted Cabbage with Caramelized Onions
Prep Time: 10
Cook Time: 20
Ingredients (6 servings)
Instructions
Heat oven to 400F. Grease 1 small baking sheet and one large baking sheet. Add sliced red onions and sprinkle with salt and pepper. Drizzle with 1 Tablespoon olive oil.
In the large baking sheet, add the sliced cabbage to the pan. Drizzle with the 1-2 Tablespoons olive oil. In a small bowl, add the garlic, onion, paprika and mix well. Sprinkle over the cabbage. Sprinkle with 2 pinches of salt and grind fresh black pepper over the cabbage.
Cook both the cabbage and onions at the same time. After 10 minutes, open oven and mix the red onions so they cook evenly. Add 1 Tablespoon of water to the onions. After 15 minutes, remove the cabbage from oven.
Cook onions an extra 5 minutes and remove from oven. Spread caramelized onions over the roasted cabbage and then sprinkle with Spanish cheese.
Add back to oven and cook for another 5 minutes for the cheese to melt. Serve immediately. You can drizzle with balsamic reduction but it is optional.
Sharing is Caring!

Sugar Free Pisco Sour – Vitamix Aer Disc
December 19th, 2018We have been entertaining a lot this season and I really made it a point to really enjoy every moment of it. It is not fun getting stuck in the kitchen while guests are in the living room having a good time. I look forward sharing a quick recipe for sugar free Pisco Sours that I prepared using the new Vitamix Aer Disc Container I received for free from Moms Meet (momsmeet.com) to use and post my honest opinions. Compensation for this post was provided and this page may contain affiliate links.

Holiday Prep with Vitamix
A few weeks ago I attended a cooking class with a local chef who focused on preparing holiday recipes ahead of time in order to enjoy time with friends and family. I loved the idea because I am not the best at preparing way ahead of time. Inspiration hit and this season I have to say that I am more prepared than I have ever been.
Making lists of ingredients, buying the ingredients and prepping some of the them makes for an easier relaxing time with company. Using products like the Vitamix E310 Explorian Series Blender allows me to make soups, dips and more. I make large batches of hummus, ranch dressing, and even delicious cold soups.
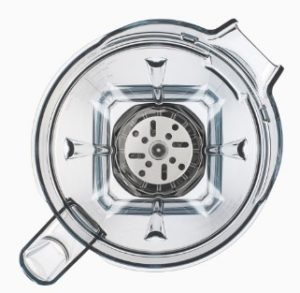
Vitamix Aer Disc Container
One to the things I love preparing for others are cocktails. When I received the Vitamix Aer Disc Container, I was so excited to use this versatile blender attachment to master whipping, muddling, foam, and emulsifying any recipe. While I have used other products to emulsify or whip, I loved the fact that the Aer Disc is 48-ounces, big enough to make a large quantity of any recipe.
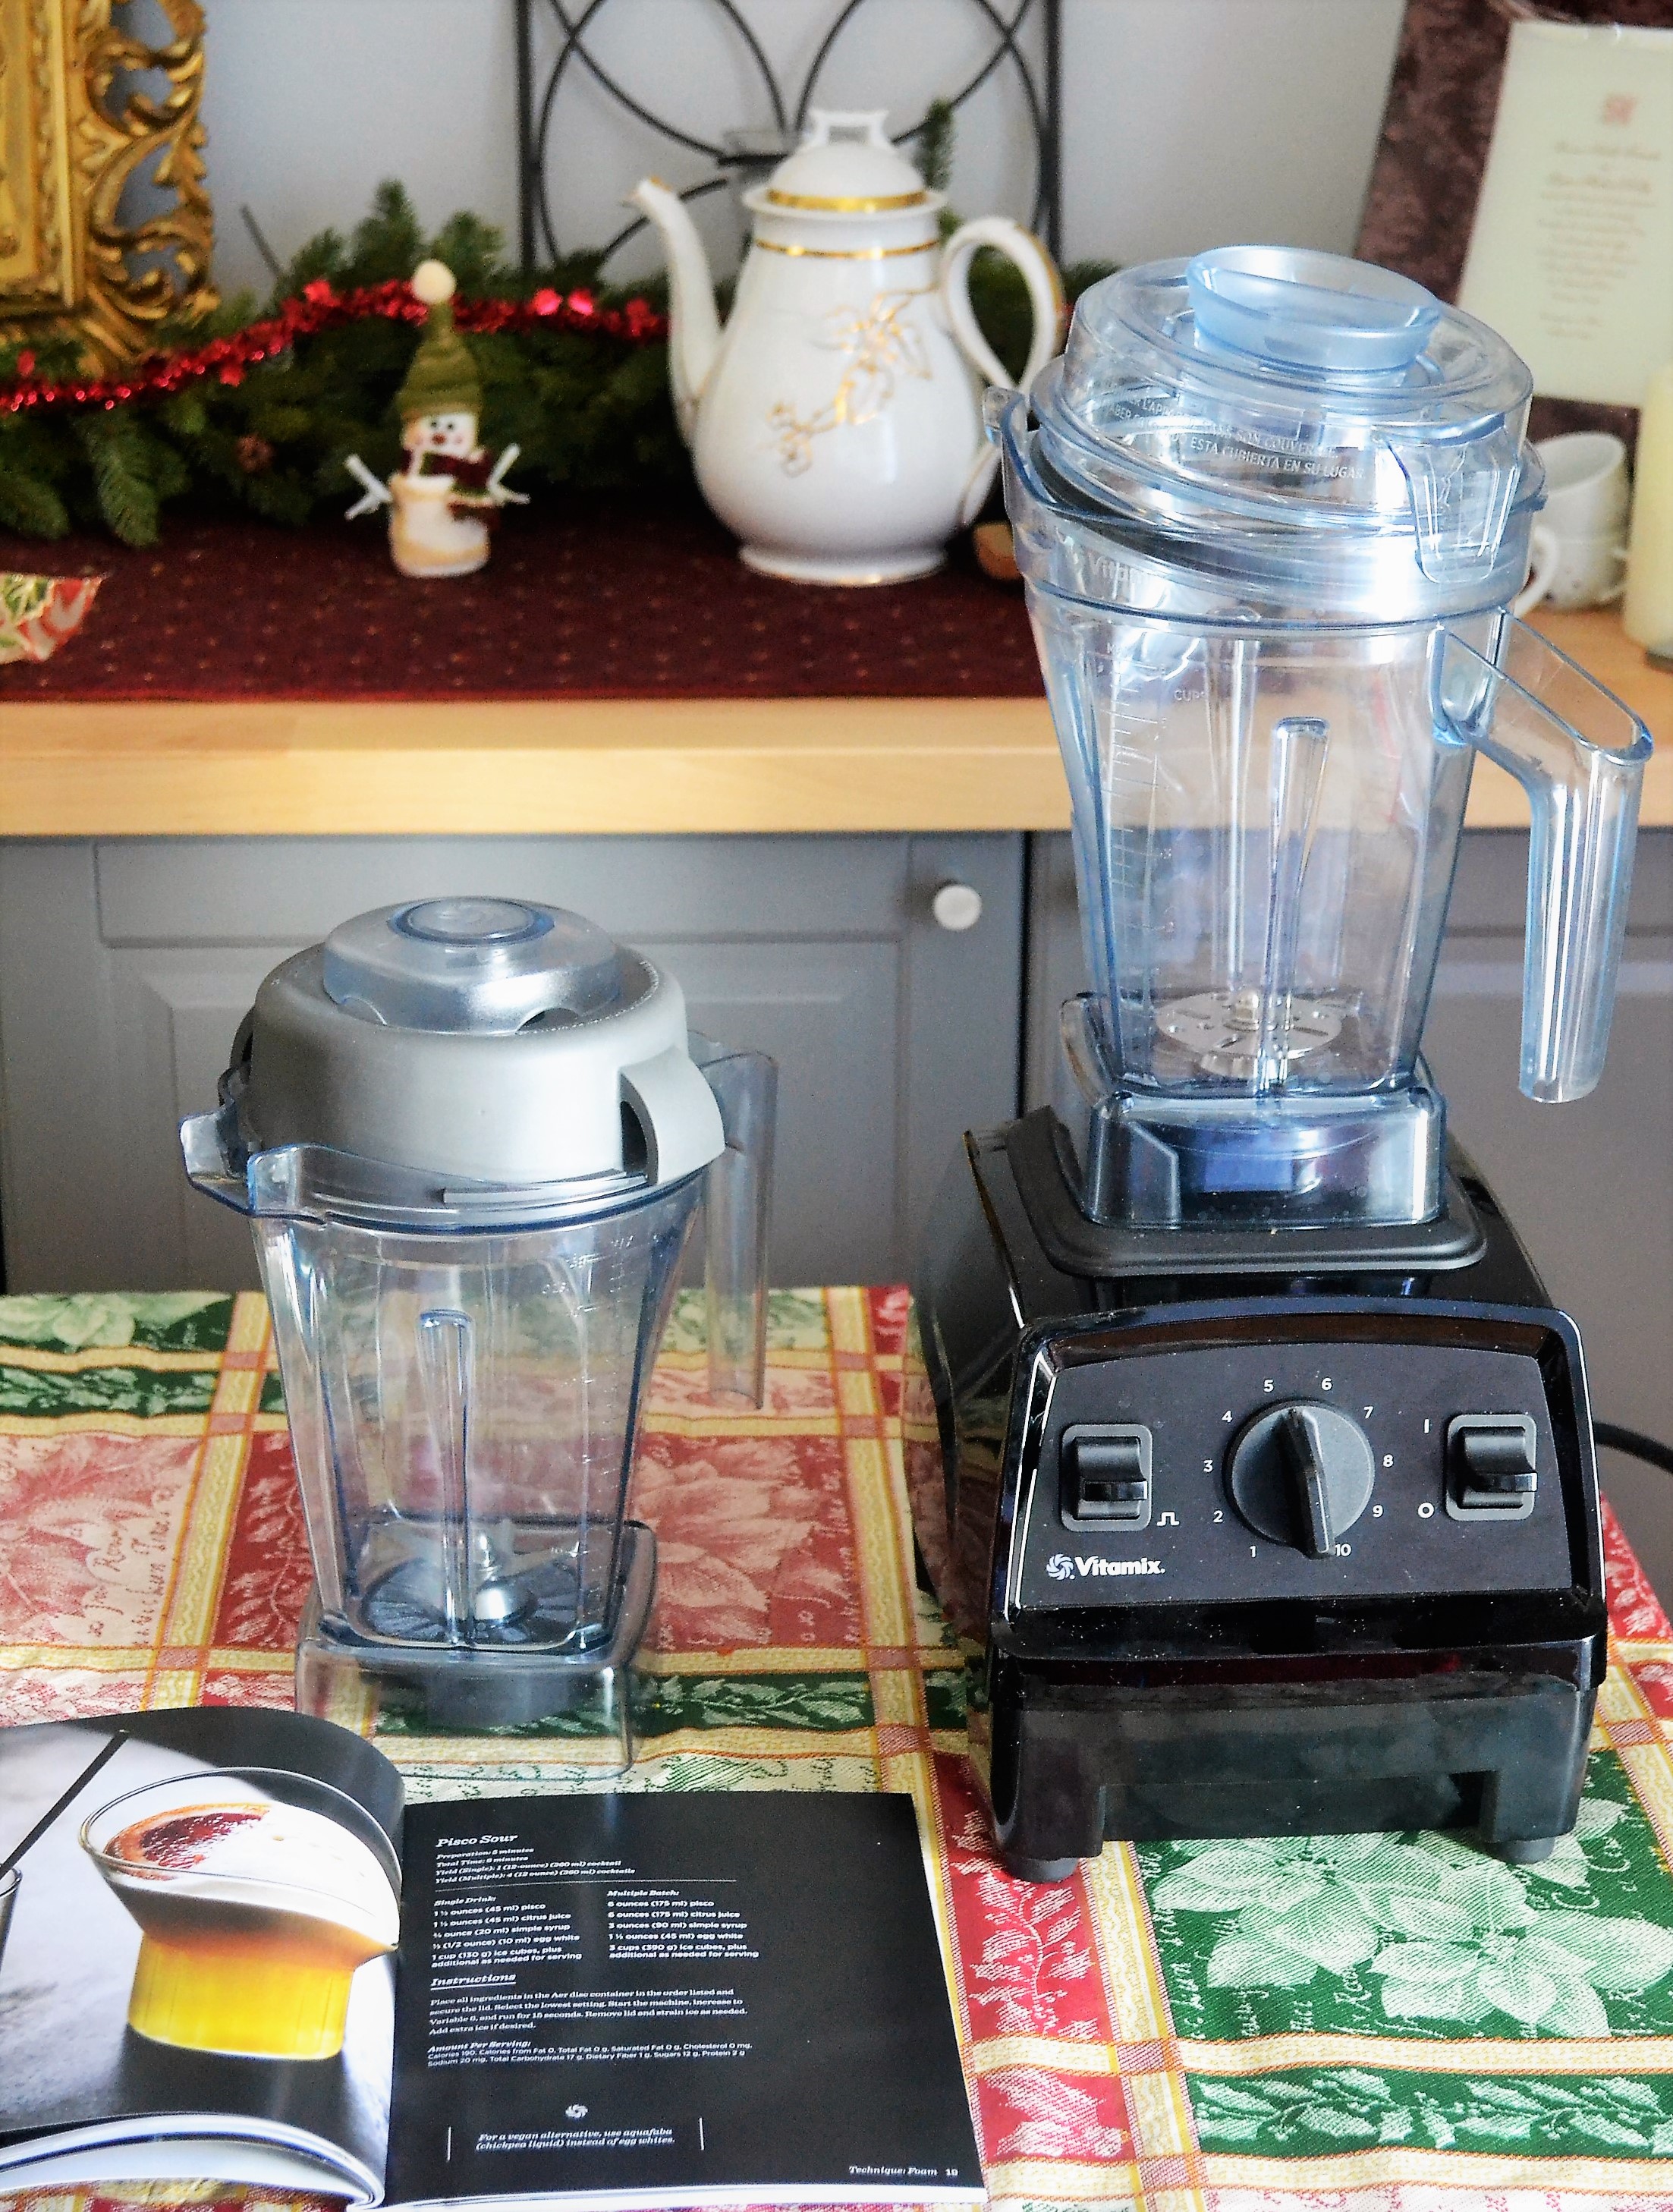
What makes this appliance so special? This patent-pending Aer disc pulls liquid through small holes in the spinning disc. It then aerates and emulsifies ingredients while other firmer ingredients like ice, fruit, and herbs are agitated but not puréed.
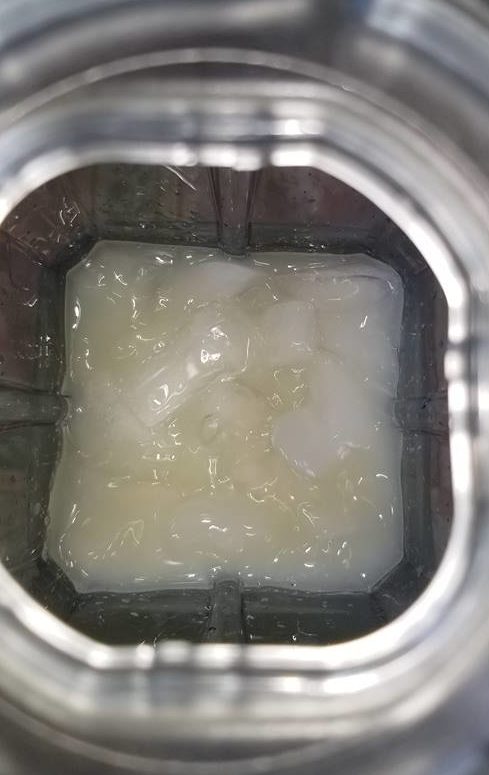
It was hard to pick what to try first but when I received the Aer Disc container and the Vitamix E310 Explorian Series Blender, I also received a great little recipe booklet with ideas on what to try first. I made 2 cups of hot chocolate made with chocolate chips and milk. The lovely thing is that it did not require a stove or pots but only my blender and Aer Disc. Both ingredients were placed in the container and blended for 6 minutes. In that time the chocolate melted and combined with the milk. The drink was hot and frothy at the same time! YUM!!!

Sugar Free Pisco Sour
I wanted to try the foam experience so I made sugar free Pisco Sour for the first time! The instructions asked to place ingredients in a particular order ending with ice. I blended the ingredients for 15 seconds and immediately ended up with a beautiful froth.
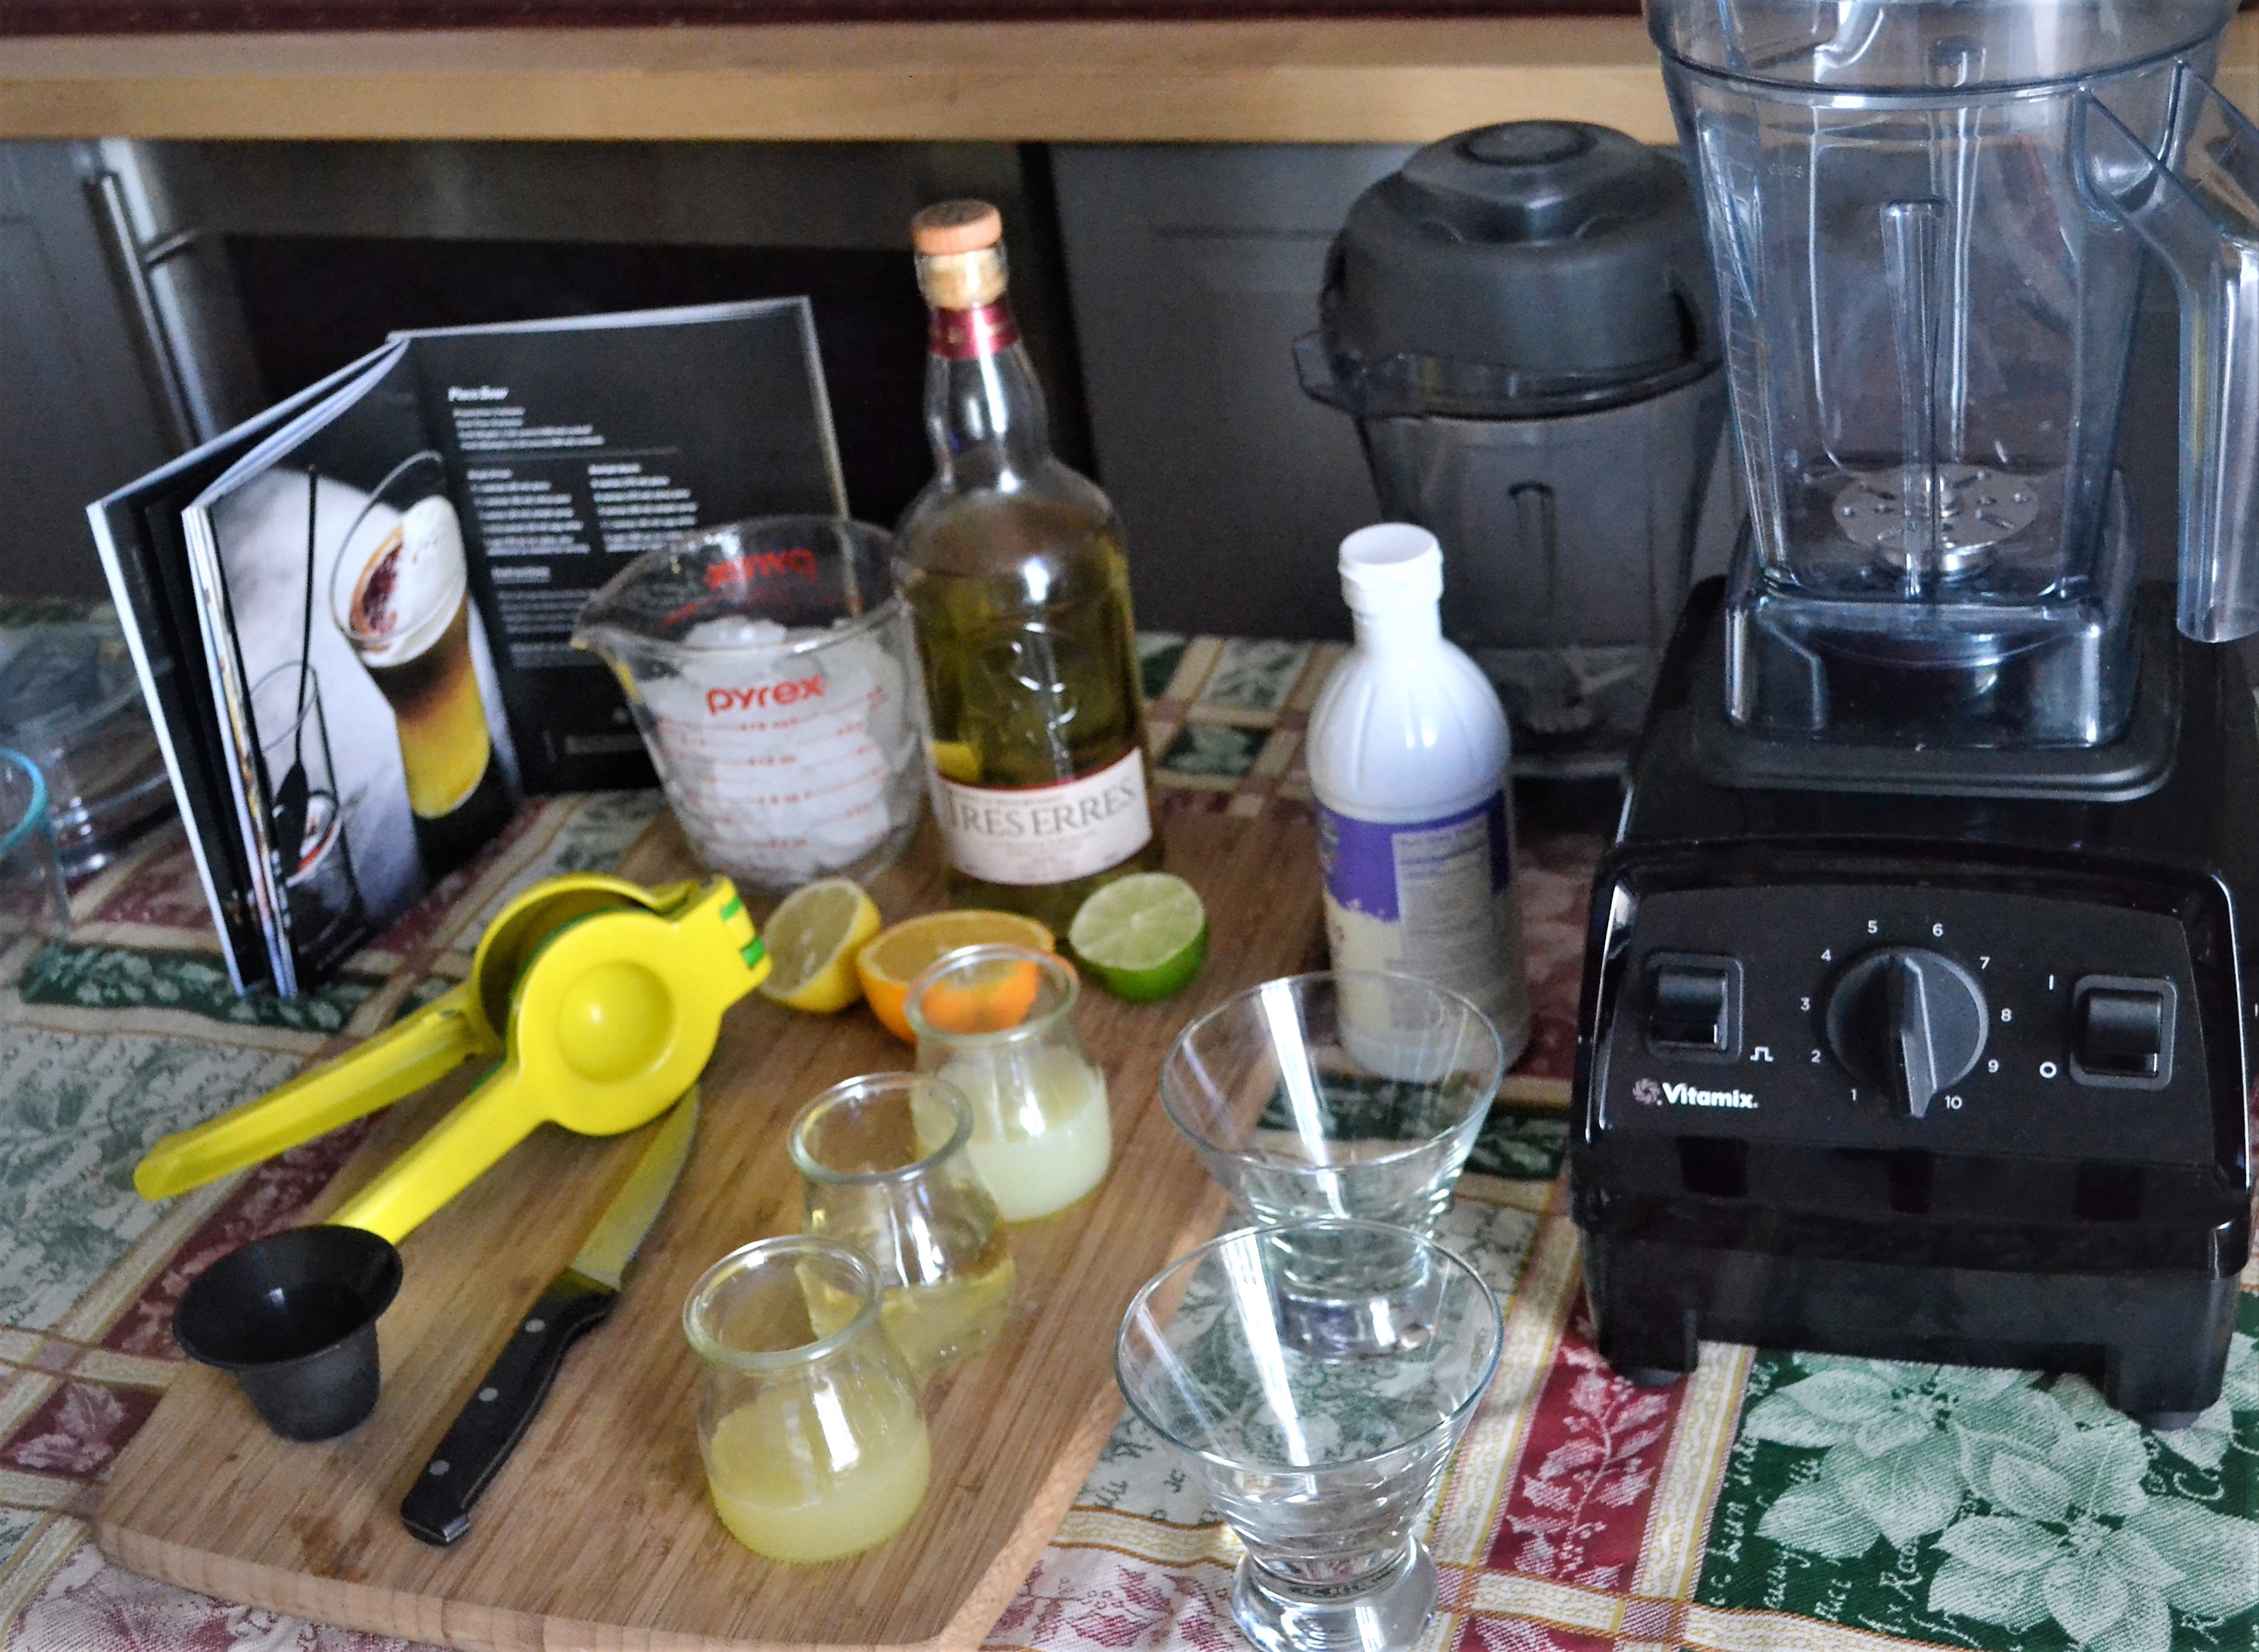
‘I doubled the recipe making a few changes to fit our lifestyles. I am happy to say that the recipe w, as marvelous especially since I got to open the pisco I brought back from Chile almost 3 years ago. I cannot wait to make some more cocktails for family and friends for New Years Eve.
Quick Sugar Free Pisco Sour

Prep Time: 5 minutes
Ingredients (2 cocktails)
Instructions
Juice the lemon, lime, and orange juice and combine. Measure 3 ounces and set aside.

Feel free to use liquid egg whites. Works beautifully.
Add all ingredients into the Aer Disc Container in the same order. Start at strength 1 for 3 seconds and go to 6 for 15 seconds. Allow the foam to settle for a minute then serve and divide between two small glasses.
Where to Buy
The Vitamix Aer Disc Container would make for a great gift for the foodie or cook in your home. If they own any Vitamix, the container is compatible with all full-size (Classic and Smart System) Vitamix blenders. You can either purchase directly online at Vitamix.com for $144 or on Amazon, which is now $22.00 cheaper with Prime shipping.
Learn more about Vitamix:
Website: vitamix.com
facebook.com/vitamixcorporation
twitter.com/vitamix
instagram.com/vitamix
Sharing is Caring!

Sugar Free Tomato Relish for Cheese Boards
December 7th, 2018There is always a need for lovely sides that make an ideal cheese board. When I was looking to pair a sharp cheddar, I read that a great tomato relish made for a delicious pairing along with some roast beef. Steviva helped me make this relish sugar free and with no guilt.
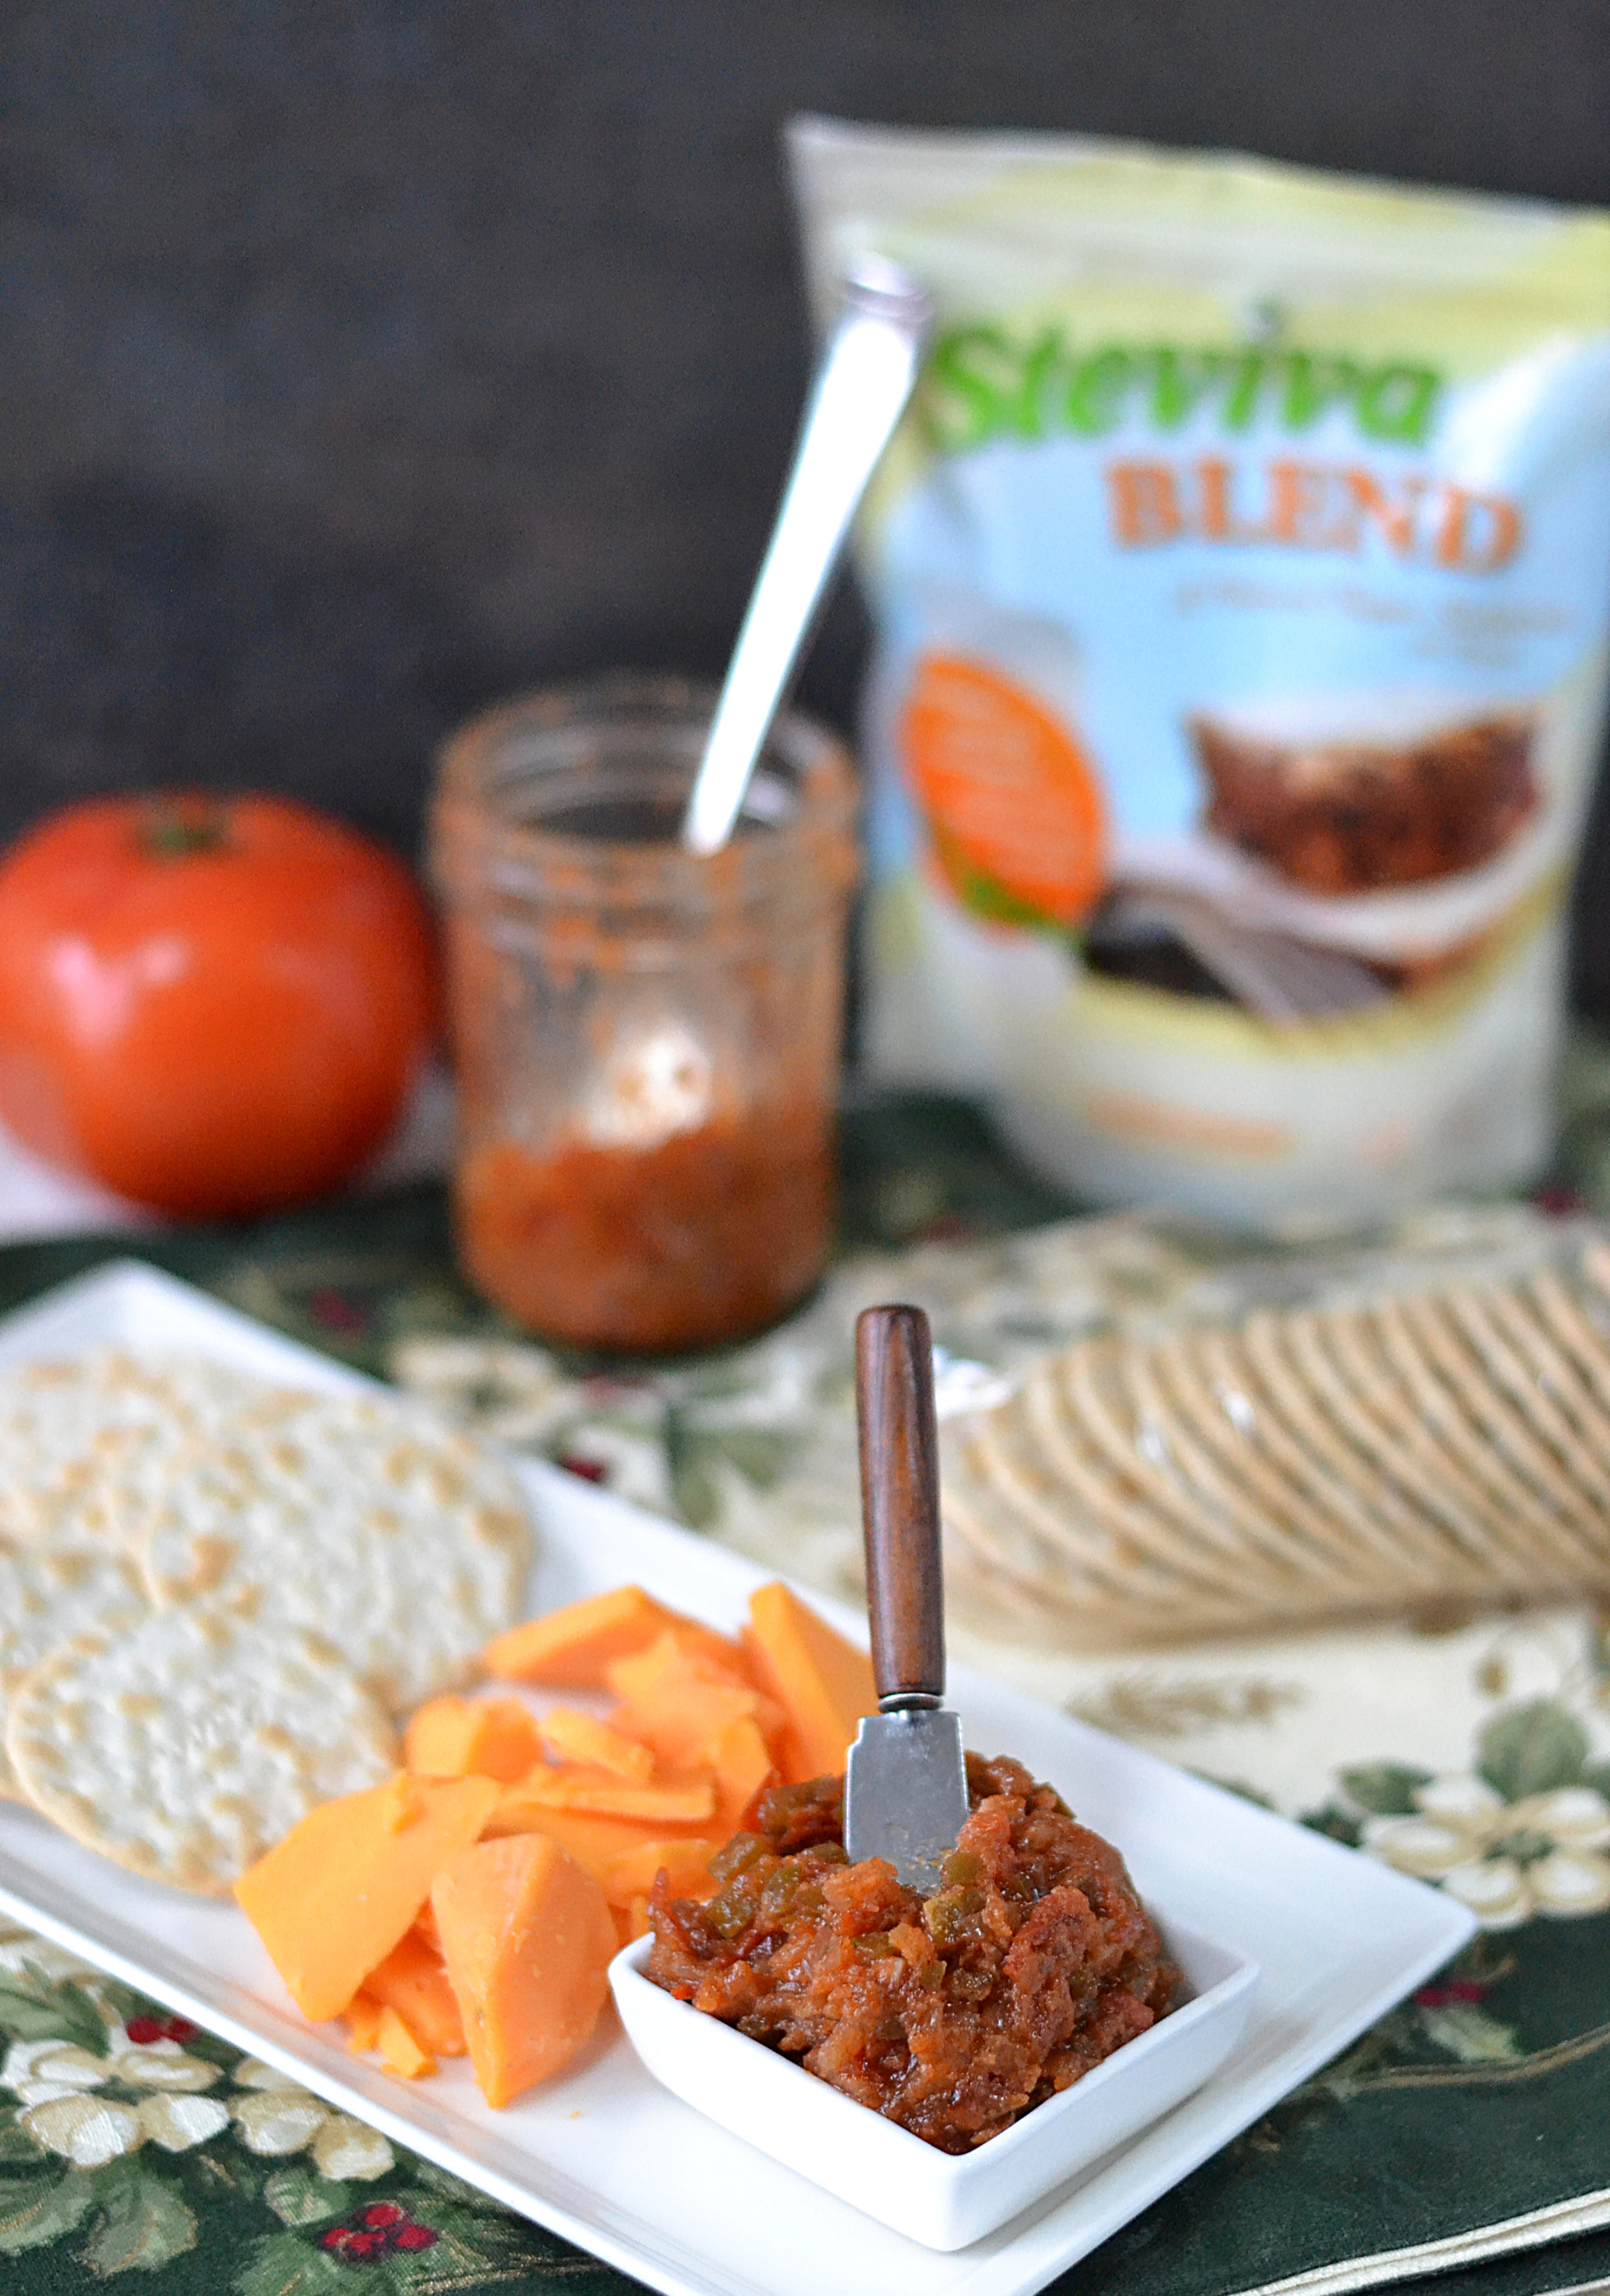
Cheese-pairing goodness
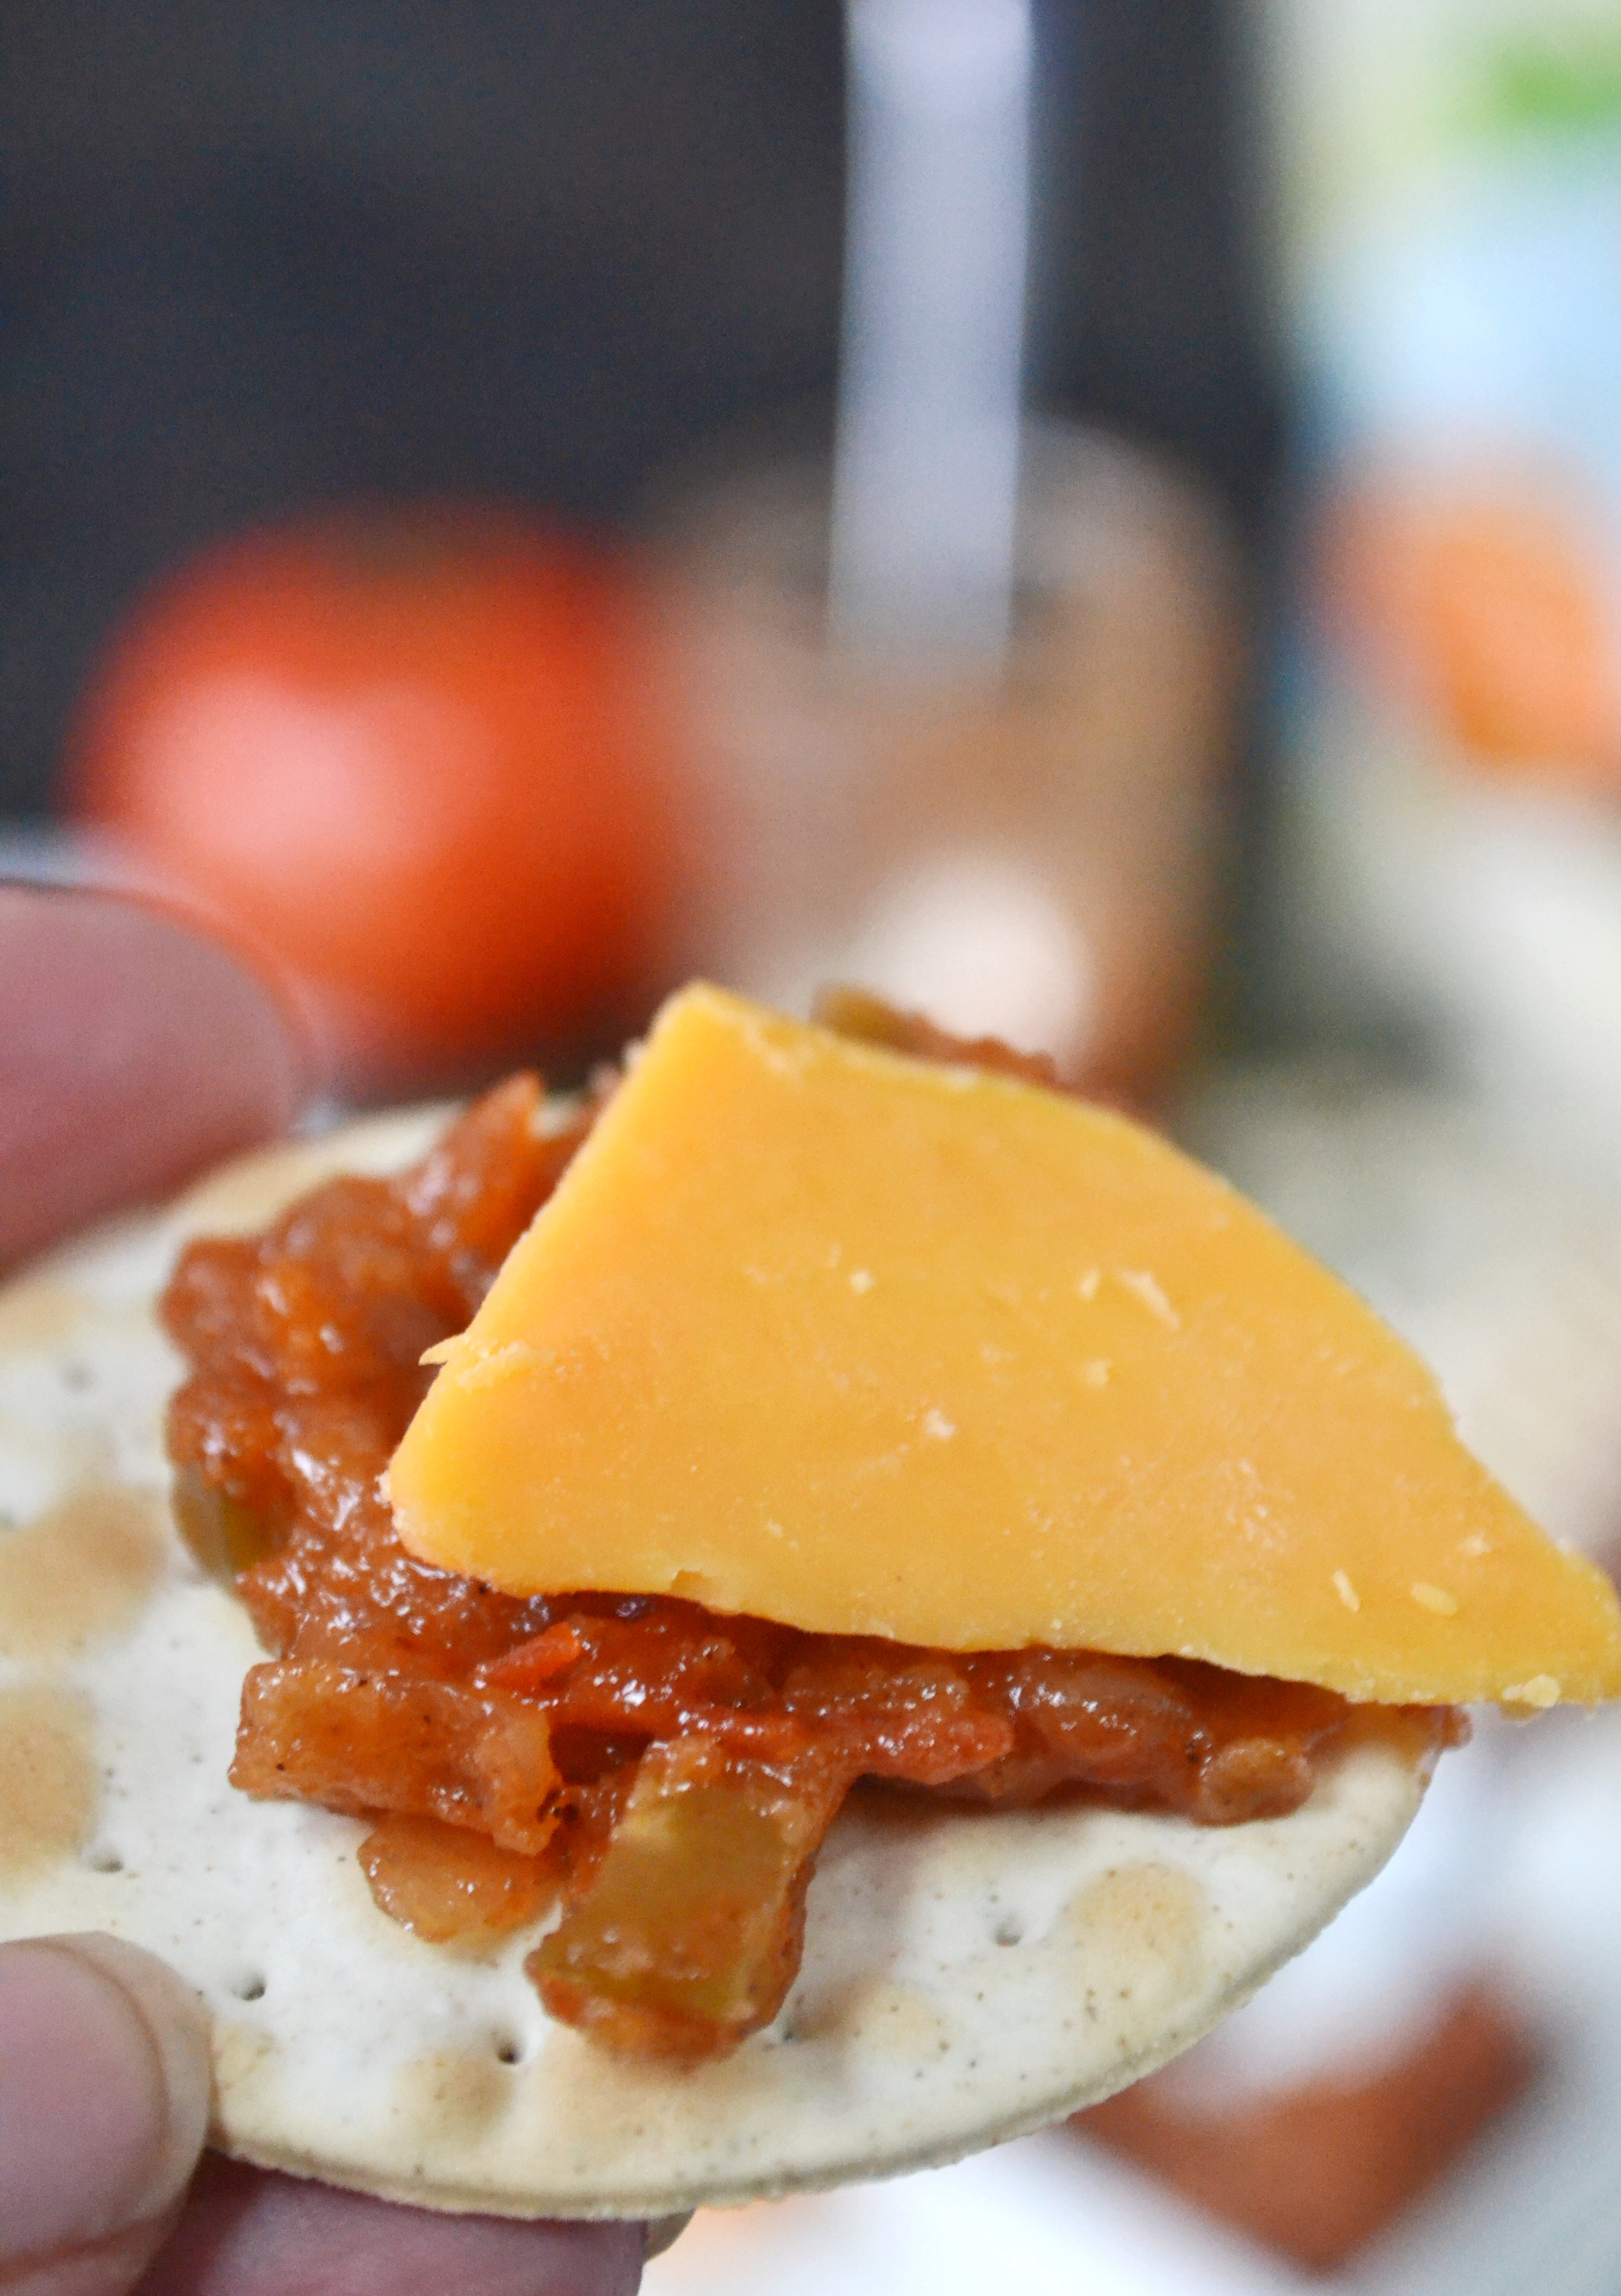
I love eating my tomatoes fresh but amazingly enough when you mix in a few ingredients wonderful things can happen. When I had a cheese-tasting party a few weekends ago, I was sent some 4-aged sharp cheddar. A few simple crackers just would not do the trick in enjoying such a lovely cheese.
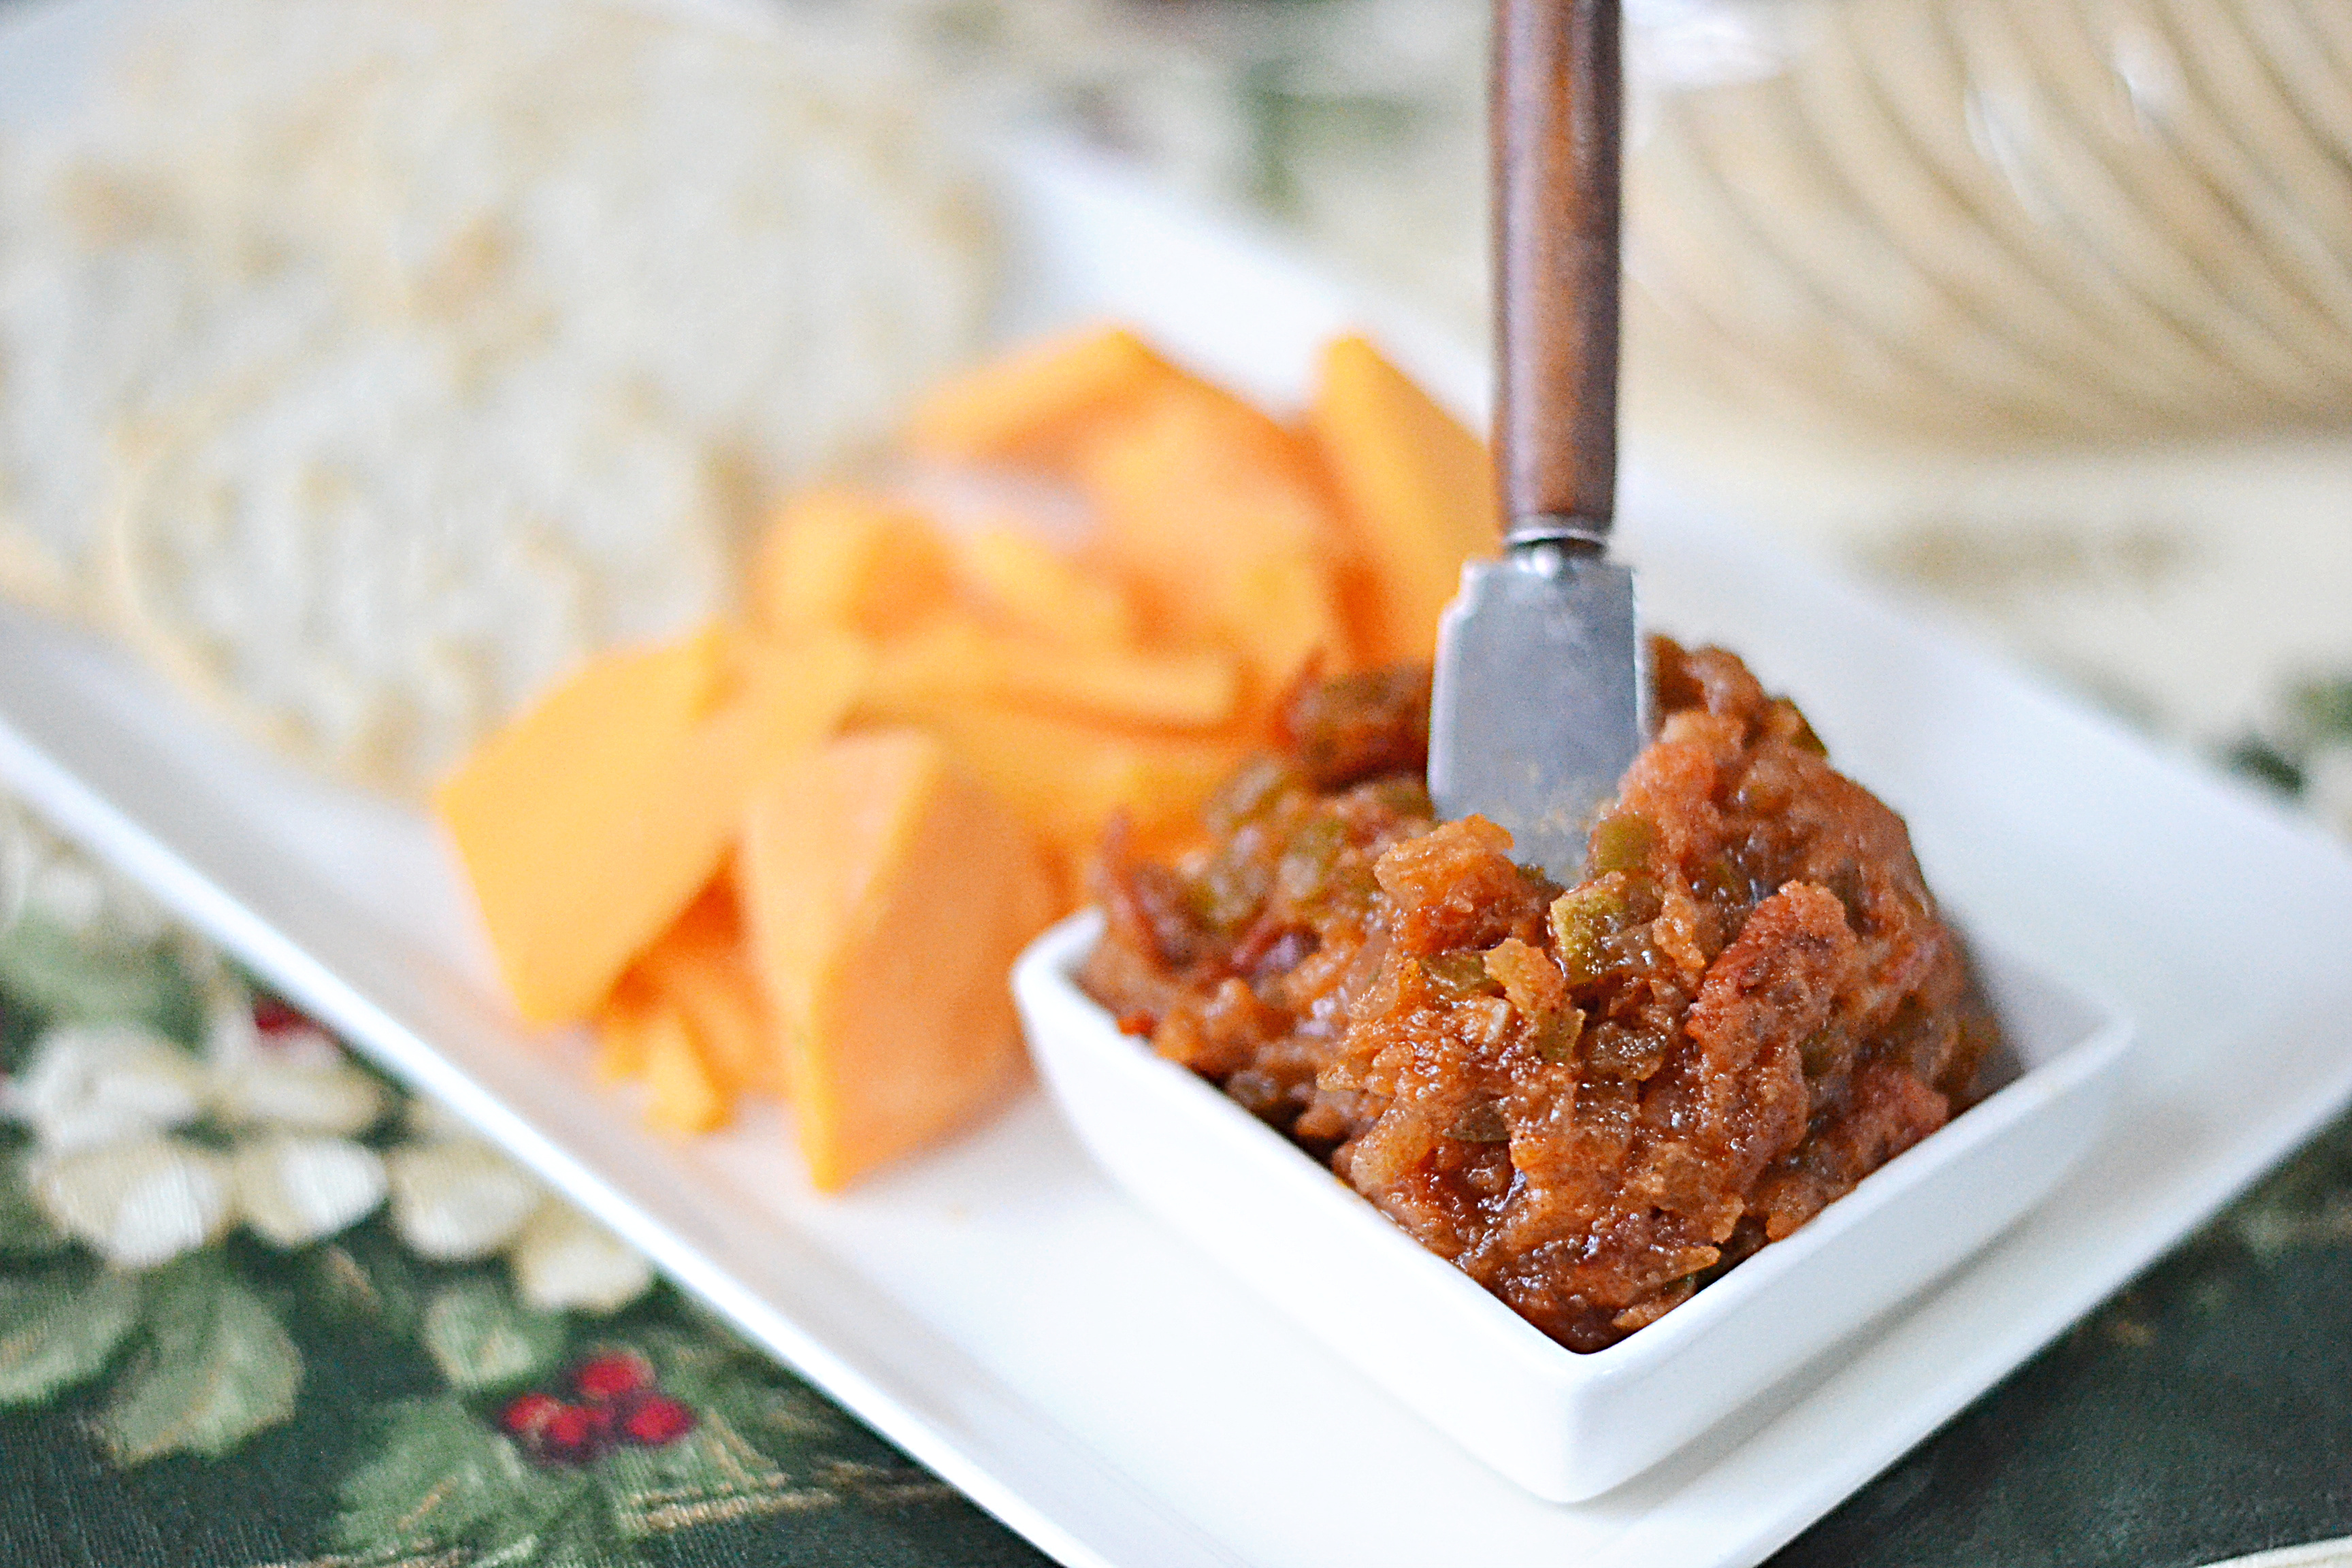
When I was reading about what a relish is all about, I was looking forward making my own. A little sweet, sour and spicy is what I decided I wanted to go for.
Steviva Sweetener
If you do not know much about Steviva, they are a great company that strive and have succeeded making products ideal for those leading low-carb, keto, diabetic lifestyles. One of the products I have been using is Steviva Blend which is a blend of erythritol and stevia.
It is easy to use but it is sweeter so you only need to use half the portion you would in a normal recipe.
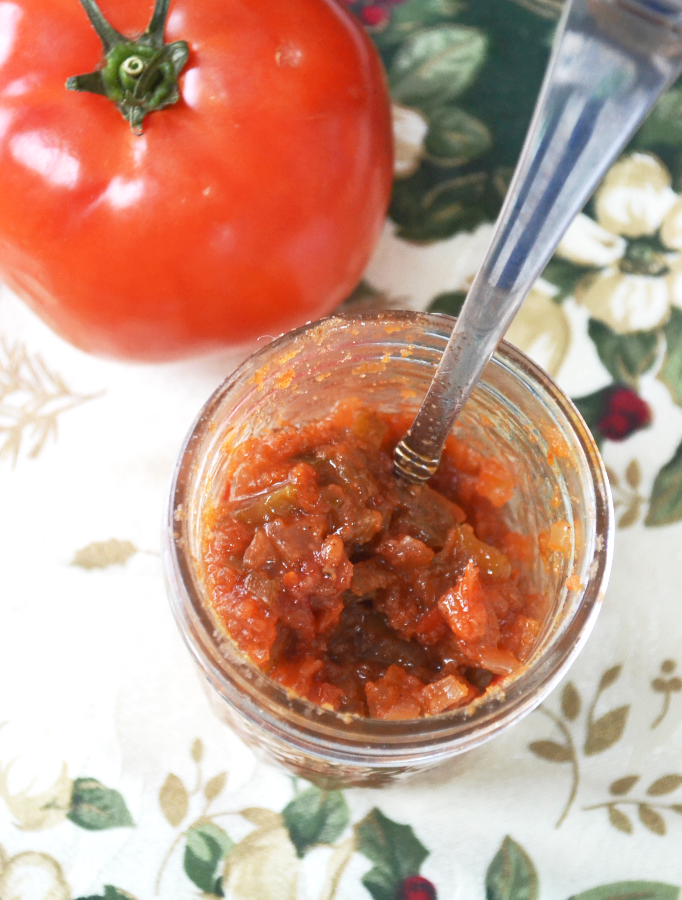
Sugar Free Tomato Relish
This is a quick recipe that is ready in 30 minutes. It is delicious with a sharp cheddar, crackers, and roast beef. It was a sure winner at our cheese-pairing party. This is ideal for the holiday season and your future cheeseboard.

Prep Time: 10 minutes
Cook Time: 30 minutes
Ingredients (makes 1 cup)
Assembly
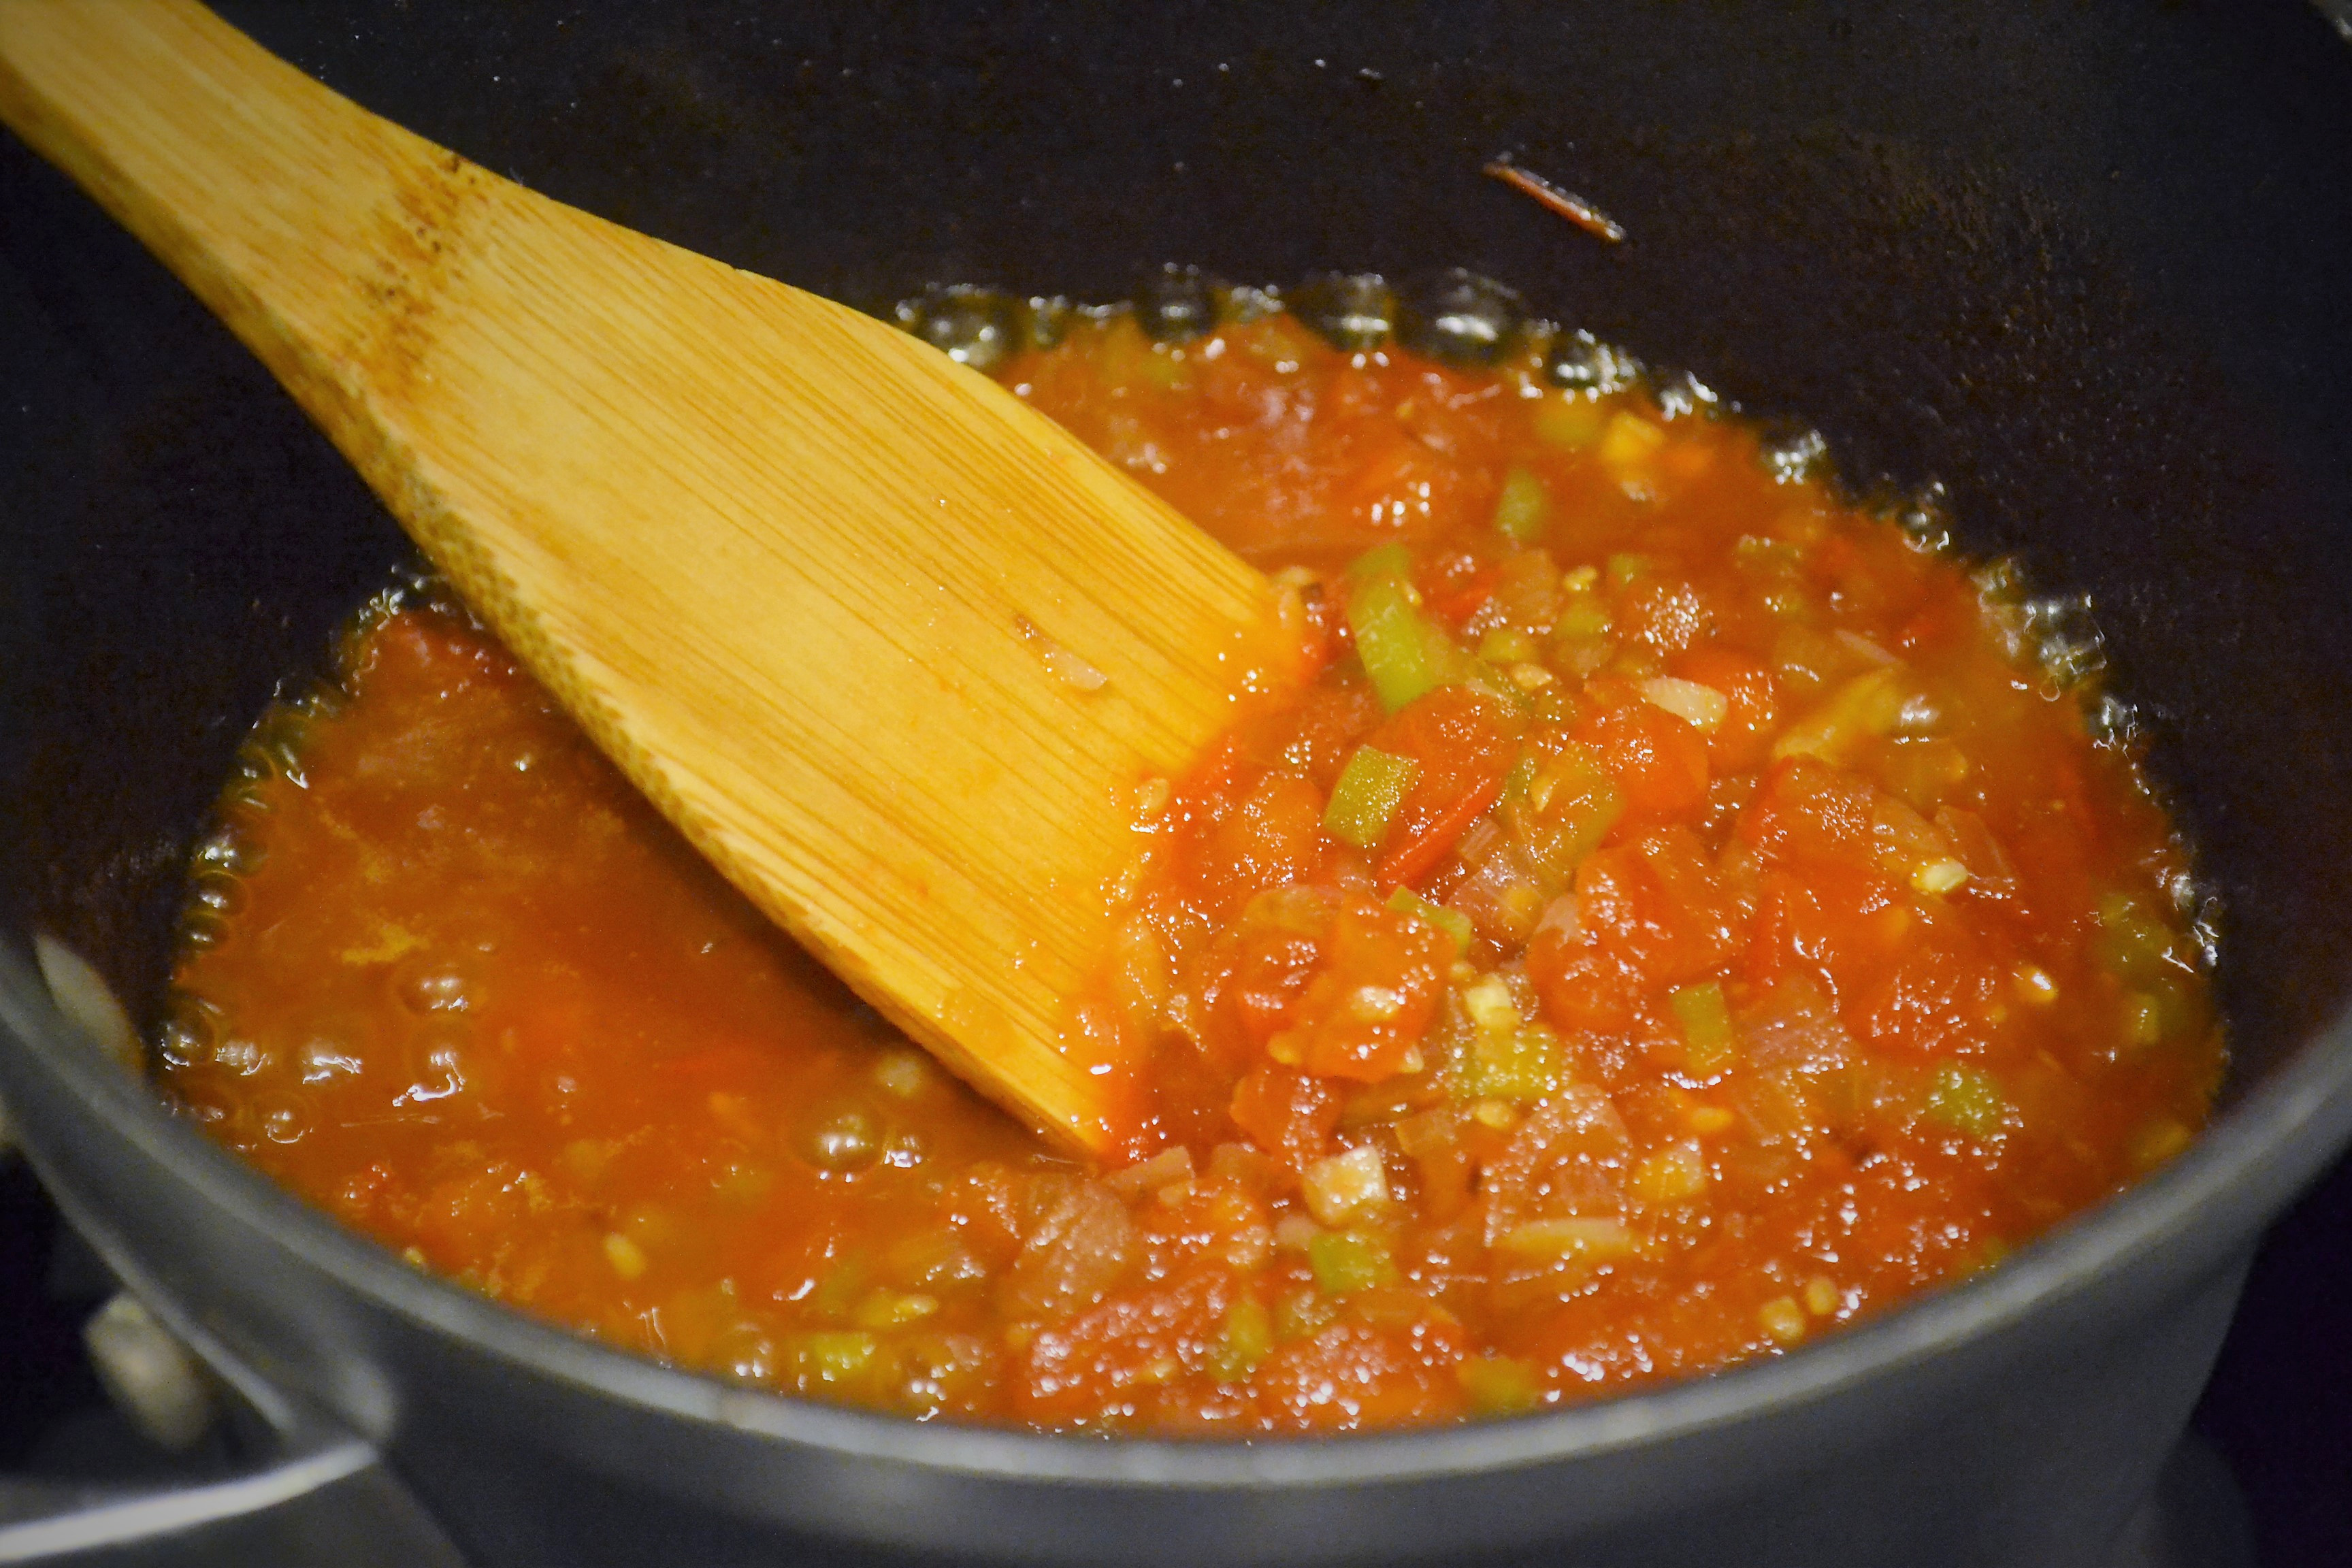
Learn more about Steviva
Facebook: https://www.facebook.com/steviva
Twitter: https://twitter.com/steviva
Instagram: https://www.instagram.com/stevivabrands/
Pinterest: https://www.pinterest.com/stevivabrands/
Sharing is Caring!

Matilda The Musical at Walnut Street Theatre Review + GIVEAWAY
December 6th, 2018Do you love reading and watching these very books come to life onstage or on screen? I had the privilege of watching Matilda The Musical at The Walnut Street Theatre, a childhood favorite book of mine. Thanks to PR for providing tickets for our evening.

Based on the beloved Roald Dahl novel, MATILDA THE MUSICAL is the story of the courageous little girl with an unbounded imagination who proves that despite the odds, you can do anything you put your mind to—and change your destiny.
If you’re looking for a funny and entertaining show for your family, you will find it in this production, thanks to the magical touches of Director Linda Goodrich and choreographer Michelle Gaudette.

As I entered the theatre, I was intrigued by the colors and props already displayed. I’m always excited how shows are staged since I’m very familiar with theater and opera life myself.

While there were 2 young girls chosen to alternate in the title role of Matilda, I was happy to catch Jemma Bleu Greenbaum of Elkins Park, PA making her debut at Walnut Street Theatre. She was simply spectacular, I at one point thought she was British or from Irish only to find she is a local actress. She sure fooled me because her accent on onstage was spectacular. The role is a hefty and emotional one and she delivered it really well.

The next two roles that stole my attention came from Ian Merrill Peakes (Miss Trunchbull) and Jacob Tischler (ballroom dancer).

Mr. Peakes is no stranger to the stage, making Matilda The Musical his 127th professional production. He was hilarious to watch especially in this role because everything that the author Roald Dahl described in his book was embodied in Mr. Peakes.
Mr. Tischler is in a supporting role as the ballroom dancer and somehow in the middle of the musical, he stole the show. Thanks to him for adding a comedic effect to his role.

If anything, I’m always amazed by the performances of young singers especially in this show.

MATILDA THE MUSICAL runs at the Walnut now through January 6. The Wednesday, December 12 performance will be ASL interpreted and Audio Described. For tickets and information, call 215-574-
3550 or 800-982-2787. Tickets are also available online 24/7 by visiting
www.WalnutStreetTheatre.org or Ticketmaster.

GIVEAWAY
Walnut Street Theatre is giving 4 tickets away for a family to enjoy a show from here until January 6th. To enter for a chance to win, tell me what your favorite Broadway show is and I will pick a winner by next Wednesday, December 12, 2018.
and follow the post for more chances of winning.
Sharing is Caring!

Sugar Free Sweet and Sour Chicken
November 20th, 2018Are you ready for some holiday recipes and easy meals during this busy time of the year? I am! I find myself trying to make delicious quick meals like this Sugar Free Sweet and Sour Chicken. It is low-carb and uses Steviva as my sugar free option. My family devoured the dish and it is definitely going on my rotation. I am partnering with Steviva by entering their recipe challenge. If you make this recipe, let me know!

Sugar Free Alternative for Cooking
Steviva is known for their low-carb, low-carloric and low-glycemic products that are safe for those who are diabetic or those following the keto, paleo and LCHF lifestyles. While they offer a lot of products on their website, I was only sent the Steviva Blend which is a sweetener blend of stevia and erythritol in a granular form.
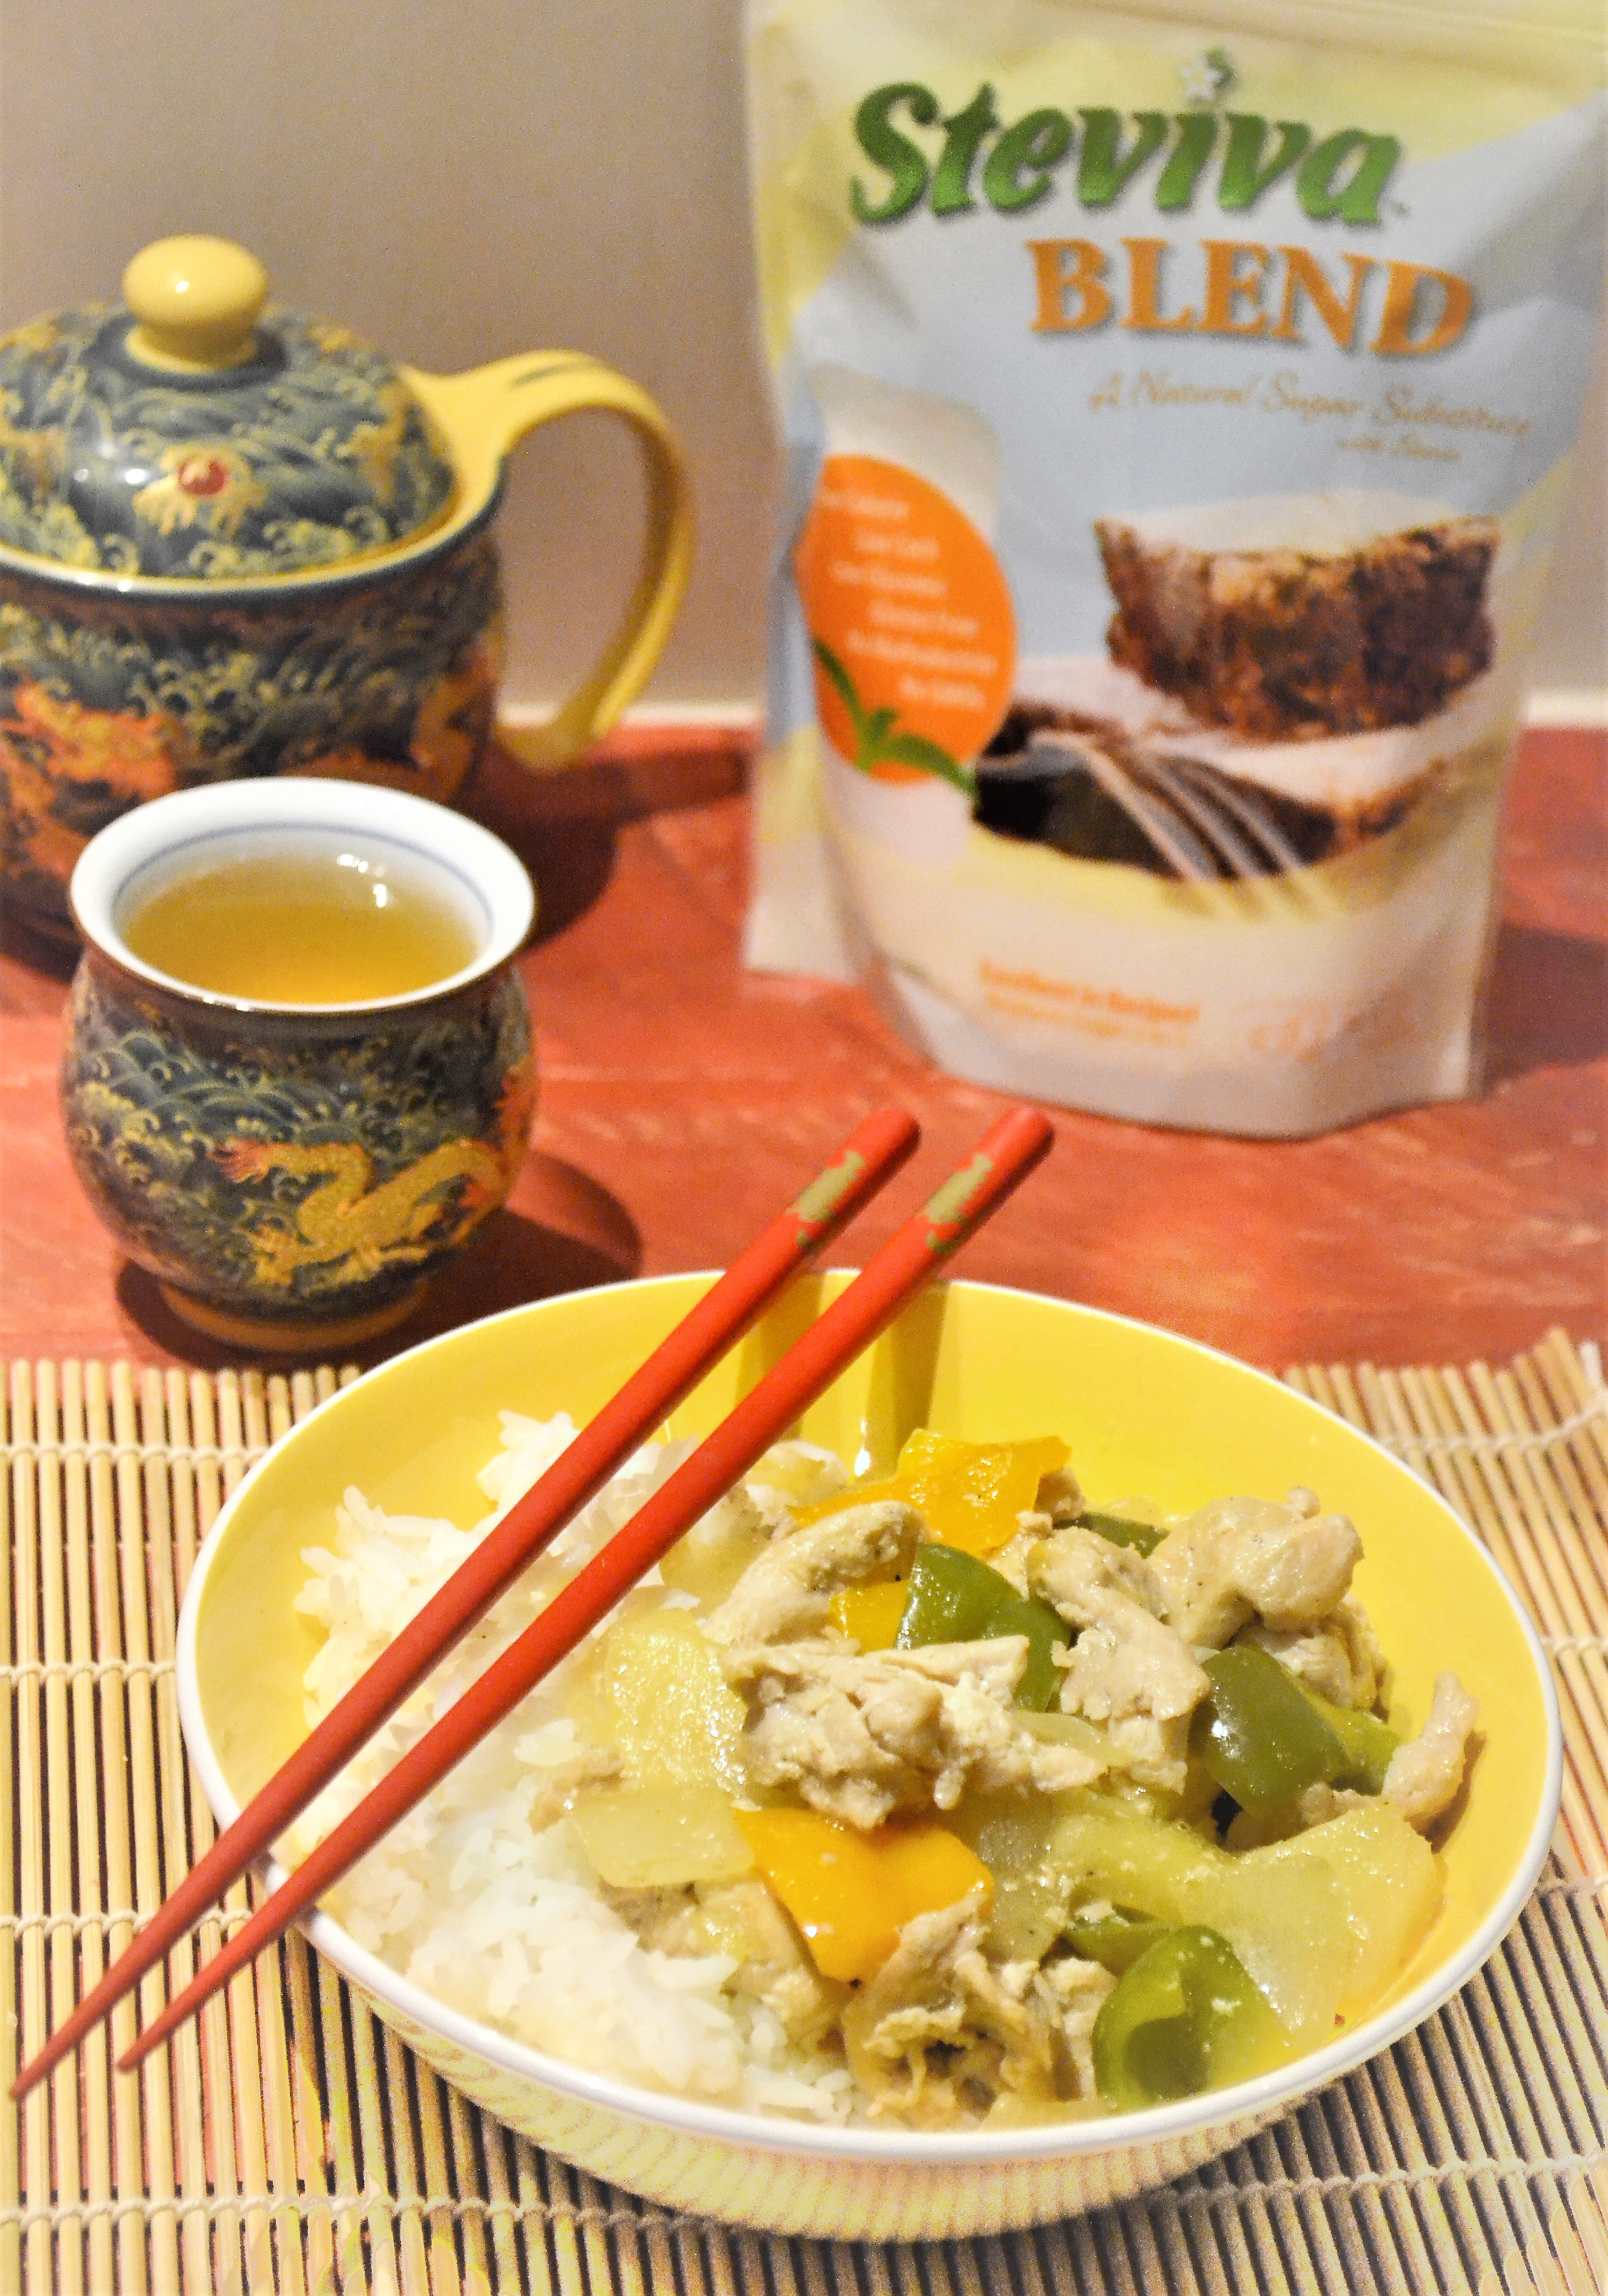
I like Asian food, but most of the time all the sauces require so much sugar that I normally do not make it or even order at the restaurant. I decided to try make Sweet and Sour Chicken using a mix of pineapple juice and the Steviva blend and the result was a mouthwatering Asian dish that my three little girls and husband consumed in its entirety.
This meal was ready in 30 minutes and can be served with white or brown rice or over low-carb noodles. I wanted to stay traditional, so I went with white rice with a side of green tea.
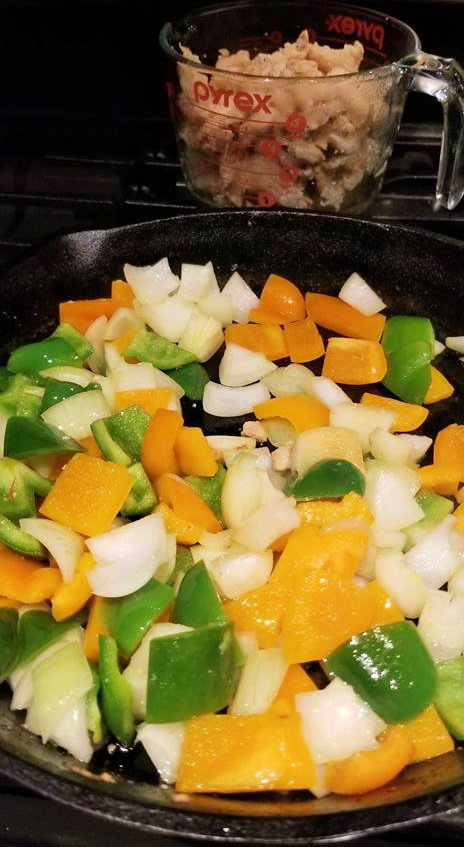
I cooked the chicken that I had seasoned in salt, pepper and soy sauce with 2 minced garlic. After the sliced chicken was cooked I sauteed the chopped onions, colored peppers and then added the pineapple chunks. I made a sauce with 1/2 cup chicken broth, 1/2 cup pineapple juice, steviva, and rice vinegar.

Once everything simmered I added a mixture of arrowroot starch and water to thicken the sauce and allowed it to thicken for 5-7 minutes. As soon as it cooked I served alongside some delicious rice. Enjoy.
Sugar Free Sweet and Sour Chicken

Prep Time: 10 minutes
Cook Time: 20 minutes
Ingredients (4 servings)
Chicken Marinade
Added ingredients
Instructions
In a large non-stick skillet, heat oil over medium high heat.
Season chicken to make marinade and let sit for 5 minutes and add to pan.
Brown chicken and remove to plate.
Add peppers and onions and cook for 3 minutes.
Stir in pineapple chunks, juice, Steviva, vinegar and chicken stock and bring to a simmer.
Simmer until sauce reduces for about 7 minutes.
Stir in cornstarch mixture and bring liquid to a simmer.
Stir in cooked chicken and cook for another 5 minutes.
Immediately serve over rice or low-carb noodles.

Life has seriously been busy but despite that I have been creating recipes and making yummy meals for my family. While I have not published a post in a while, I have been insta-blogging on Instagram. Taking photos of everything never changes so if you want to be updated, check out my profile.
More about Steviva
Check out Steviva on social and learn more about their products:
Facebook: https://www.facebook.com/steviva
Twitter: https://twitter.com/steviva
Instagram: https://www.instagram.com/stevivabrands/
Pinterest: https://www.pinterest.com/stevivabrands/

